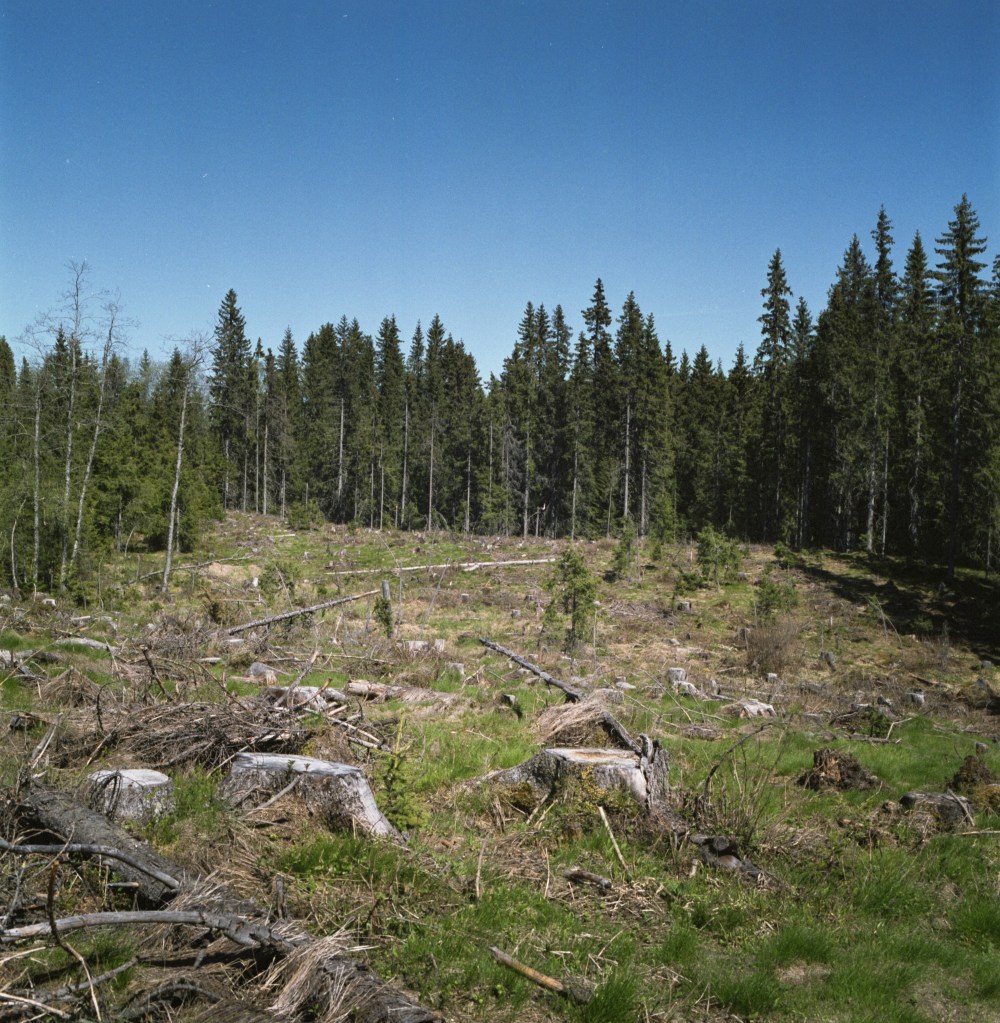
Over the last couple of weeks, I have done a lot of testing, trial and error of the cheapest film on the European market. The Agfa APX100. I have tried it for different types of scenes and landscapes and even in some cases some urban stuff. All in all, I am slightly underwhelmed by its performance and I have seen it having a really big tendency to become a grey mesh or insanely contrasty. This made me do something that I figured that I should have done far earlier. I looked into the data sheet for the Agfa APX100 looking for its spectral sensitivity curve. And I must say that this sensitivity curve was something I really did not expect. Compared to the films I have shot before and compared it to, the APX100 is not even similar at all.

The curve is jumping up and down all the way, indicating that this film has a dip both between blue and green, as most panchromatic films tend to have, but also a dip into the yellows. This would explain the difficulty I have in soft light where grass and boggy areas are shifting between greens and yellows. I’ll ad the curves for FP4 plus and Fomapan 100 under for comparison. These films have a much calmer curve and I am much more comfortable with films like that.


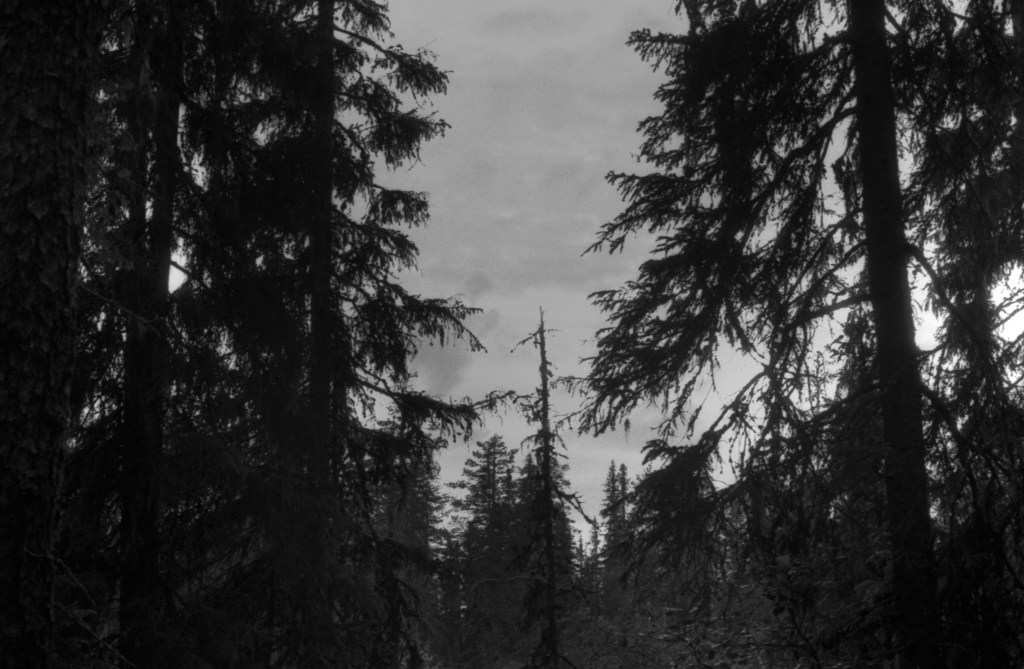
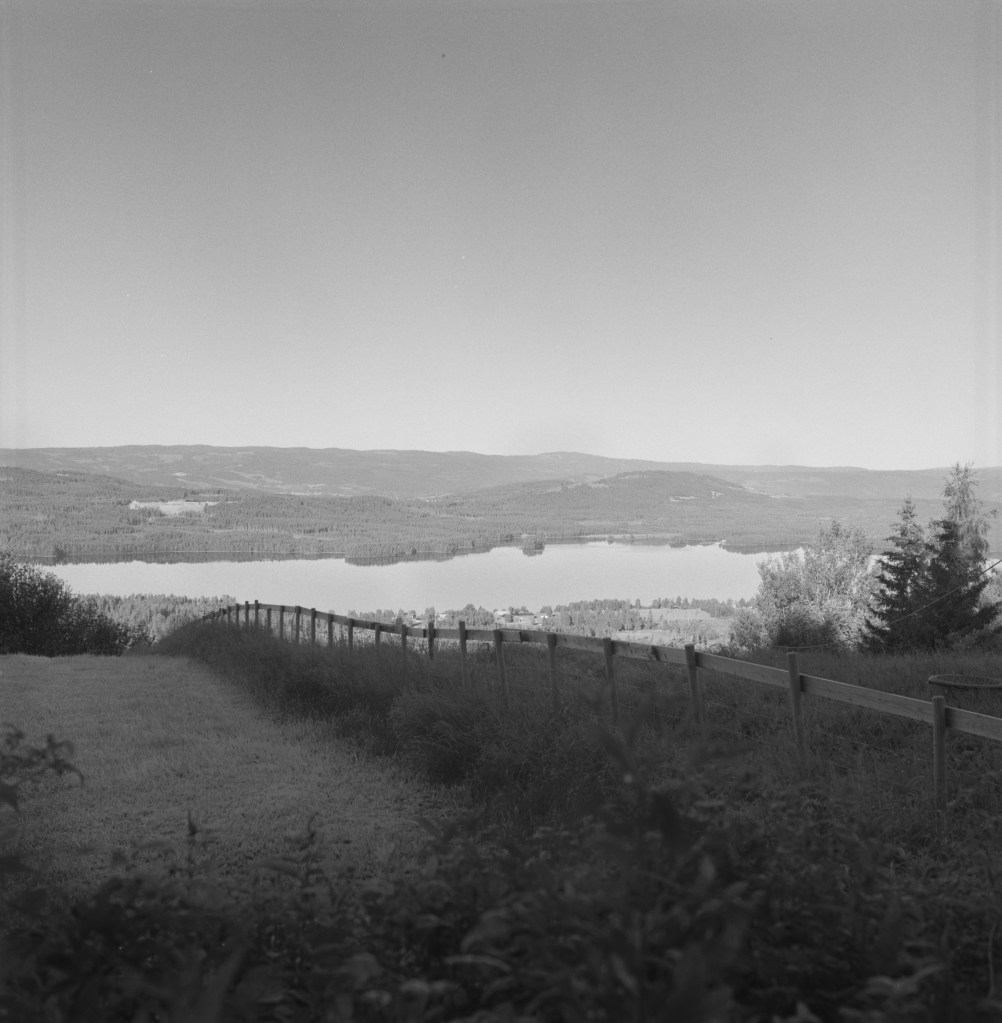
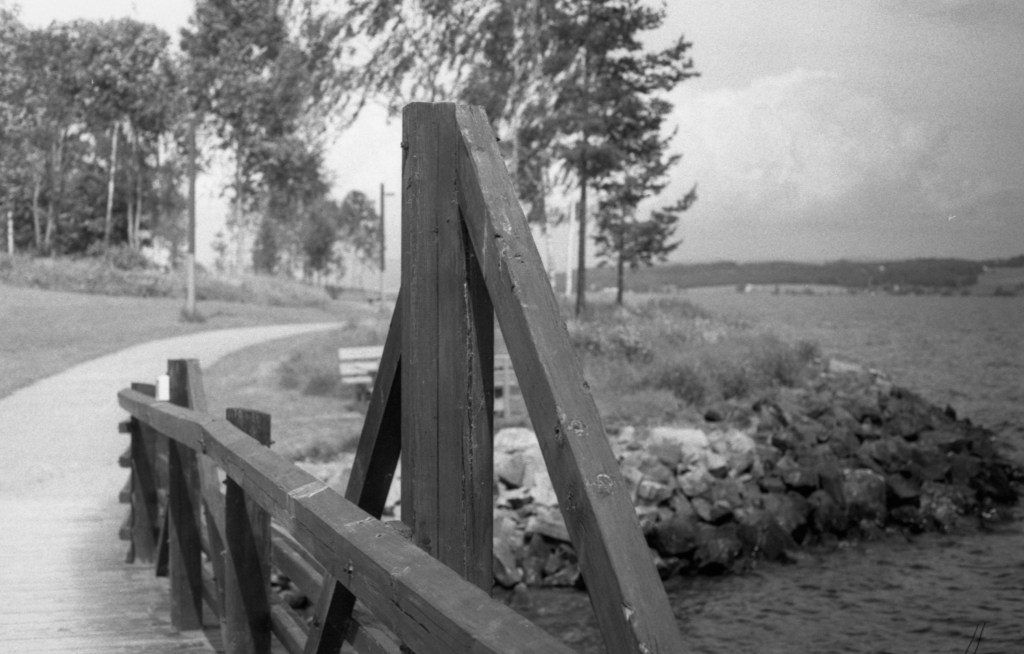
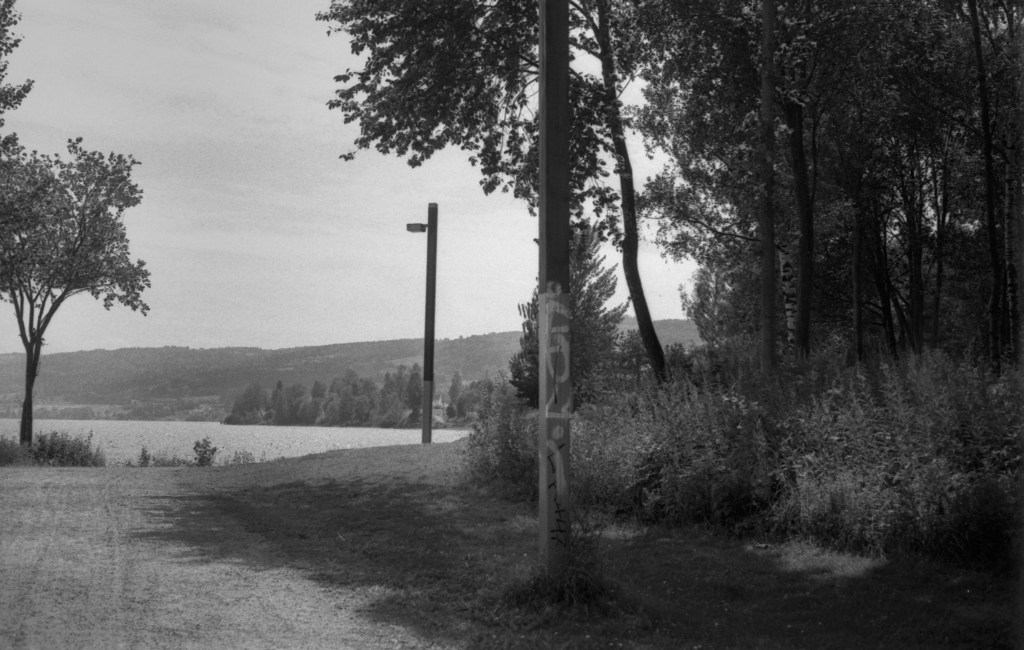
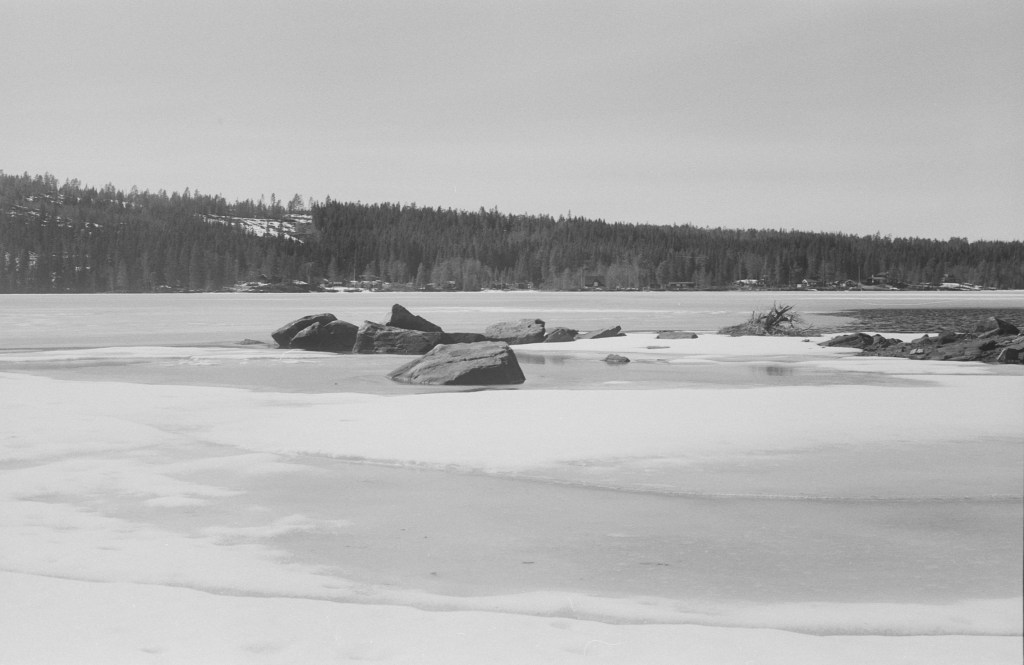
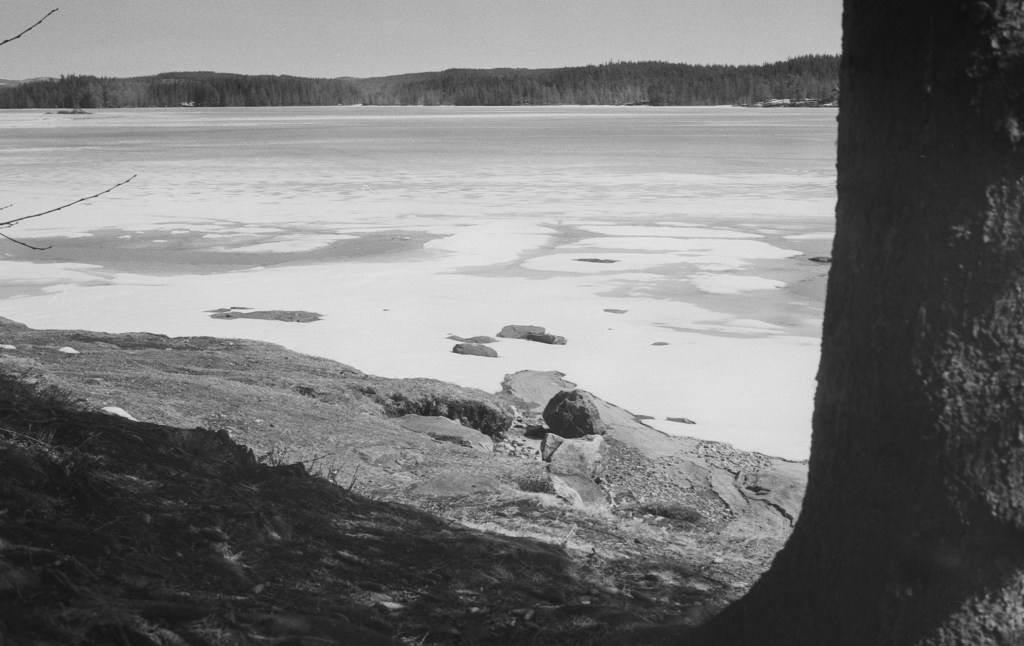
I then figured that maybe if I chose to shoot very high contrast scenes with this film and develop with Rodinal, that this would be a better use for its qualities. I therefore broke out the panoramic adapter and rolled a full length film, and went out as a cold-front marched in over the town to take images of trees along the lake.

This time, I really saw something happen that I liked with this film. Even though my stand development technique gave me some slight maks on the negatives and that I got a weird light leak on one of the frames, I am very happy with how this outing went. The high sensitivity to blue made the sky blow out somewhat but the contrasty clouds made them come back in a really nice way, painting the skies beautifully.

I chose to once again meter my exposures at 50 rather than 100, and I think metering a stop above is a very good idea with this film as it tends to get «inky blacks» very easily. It does also seem that Rodinal is a good choice when working with APX 100. I does really give a nice result. I chose stand-development for this round because I think it is a very relaxing way of developing films giving a very smooth result. And I found it to really get the nice tonality out of the Agfa.

I should have looked into the data-sheet before beginning the work with this film, but now, a little bit wiser, I will use the film for its best use rather than at its weak points. For the rest of the bulk. For my morning soft-light grass-shoots, I will use FP4 or HP5.