Silky water with Fomapan 100

I have written a lot about Fomapan 100 on this blog. This is a film I absolutely love shooting, and that I have found to have some really nice qualities such as insanely fine grain when developed in Xtol stock, a rich and wide exposure latitude, that makes it very pushable and pullable. An obviously, the fact that this film is an absolute bargain with its low price.

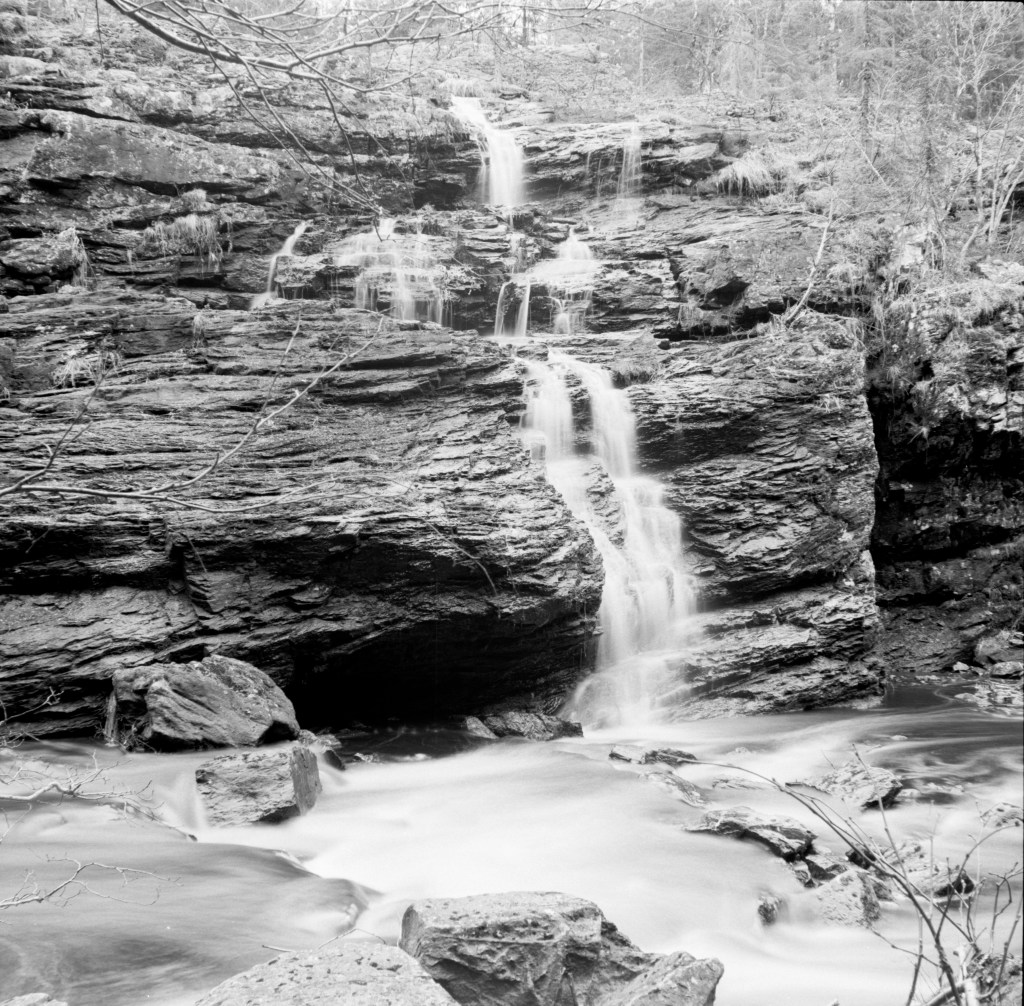
Back in the beginning of May 2020, when Norway woke up from lockdown, I brought my Zeiss Ikon Nettar 6×6 camera out to a location, to test longer exposures with Fomapan 100. To really get the longer exposure times, I brought with me what I thought to be a four stop ND-filter, but what turned out to be a three stop red filter.

My Zeiss Ikon Nettar Medium format 6×6 bellow camera.

Having already made the effort, and trotted myself a path towards the three waterfalls I wanted to shoot, I decided to go with the red filter, and see what results I would get in the darker forests in the early morning in May. The Nettar was placed on a tripod, and I had a cable release to avoid camera shake on longer exposures. I did some metering, and used an app to calculate the correct exposure times. For Fomapan 100, the Schwarzschild effect becomes important from shutter speeds at 1 second. Since I shot most of mine at longer times, I used the cable release all the time.

Reklamer

I had some happy time shooting this roll, and I struggled my way through tree roots and forestland with threes that had fell down over the winter. But when I went for the last three pictures, on a little view-point above the biggest of the water falls. I noticed a «marked» path around the whole area. At least I got some unusual angles in my shots. I cannot imagine that anyone else have been where I went that morning.
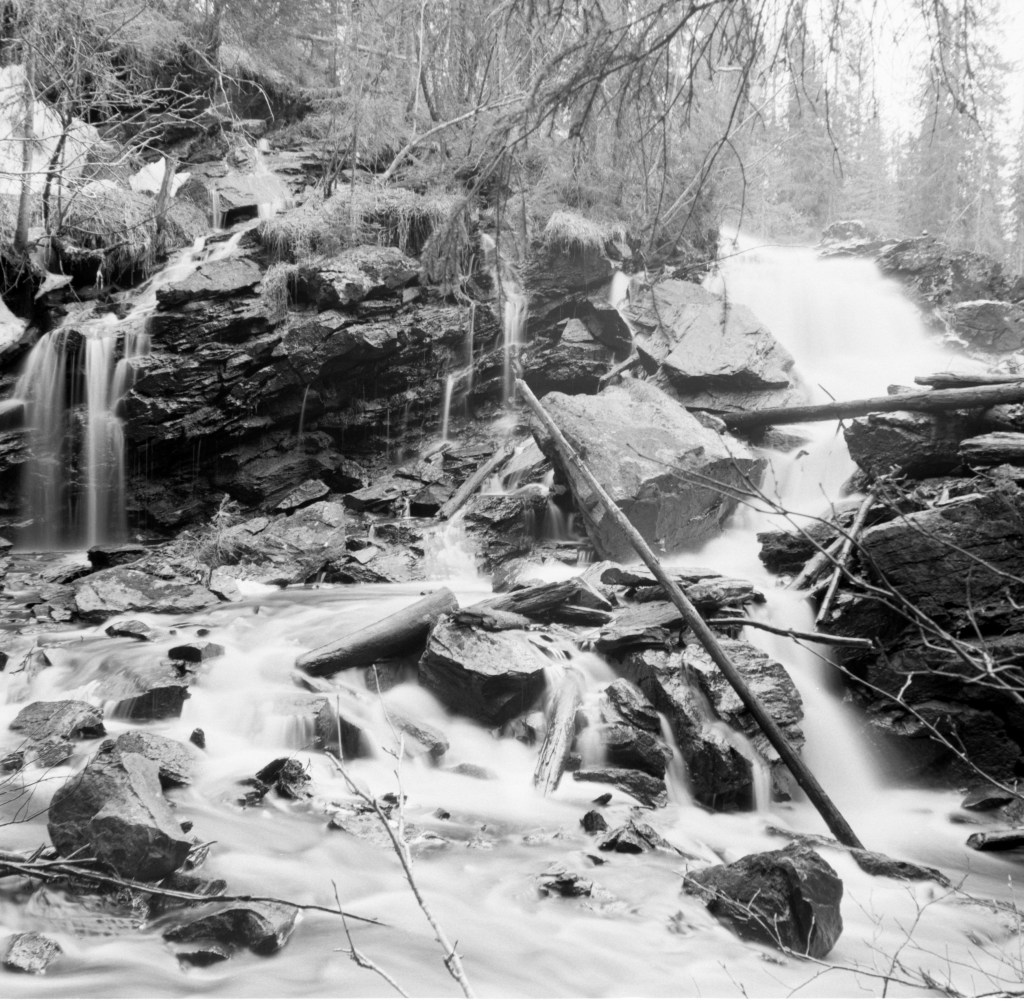
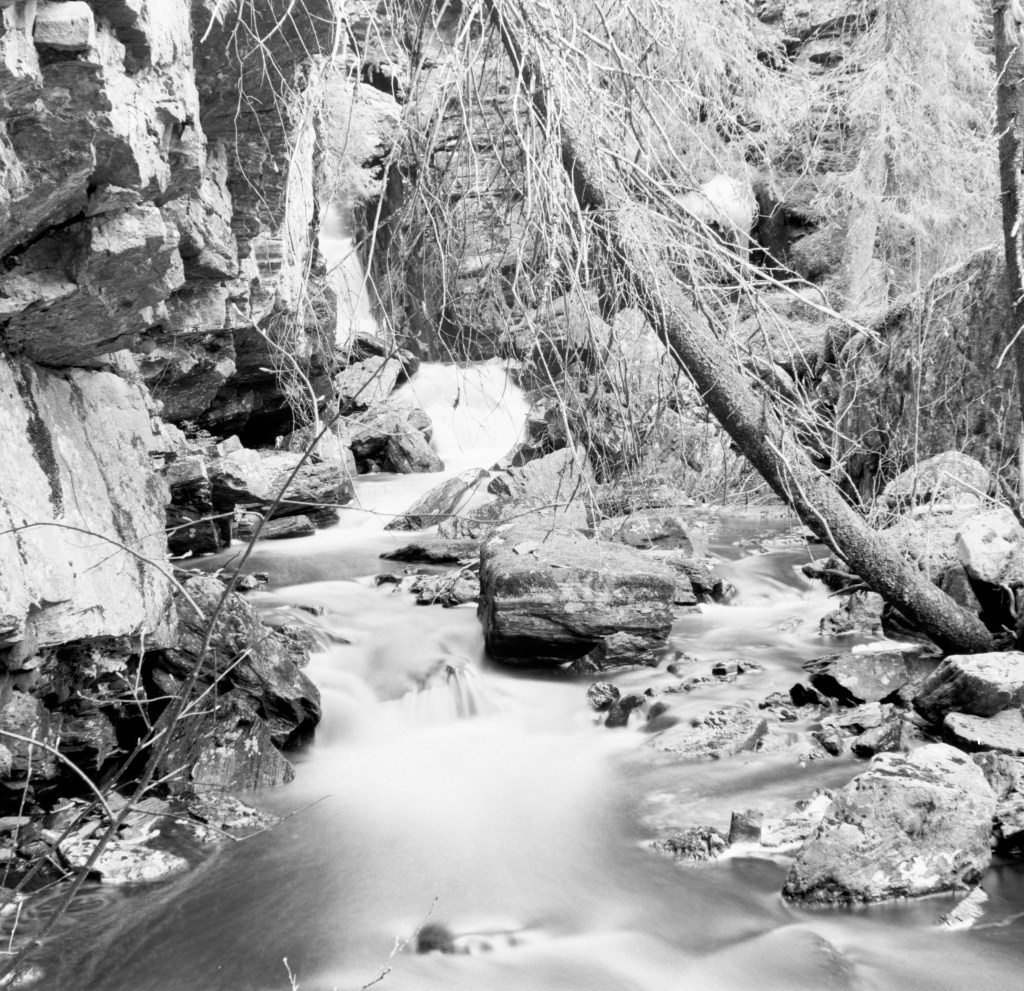
Zeiss Ikon Nettar w three stop red filter, f22, 4 seconds exposure time. Fomapan 100 Xtol Stock 5 minutes

When I pulled the developed negatives out of the tank, I was surprised to see how «normal» they looked. I had pictured a more contrasty result from a red filter than what I got in this shoot, and I did not really think a lot about these images before I started working with them in the darkroom a few days ago.

I realized that they were actually quite interesting, and that the three stop red nearly gave me an «infrared» look in my shots. I have no huge experience with infrared photography, but I do like the effect it gives, and I will most likely do more of that in the future.

Reklamer

I also love the way the greys and whites create a dramatic scene and that it puts its emphasis on the silky water effect, creating a more dramatic look than I expected. Maybe the misplaced «red filter» was actually a good idea for this shoot. I do at least see this as a happy mistake. And I got to see a side of Fomapan 100 that I did not expect. The Infrared-ish side.

Contrast and foggy landscape

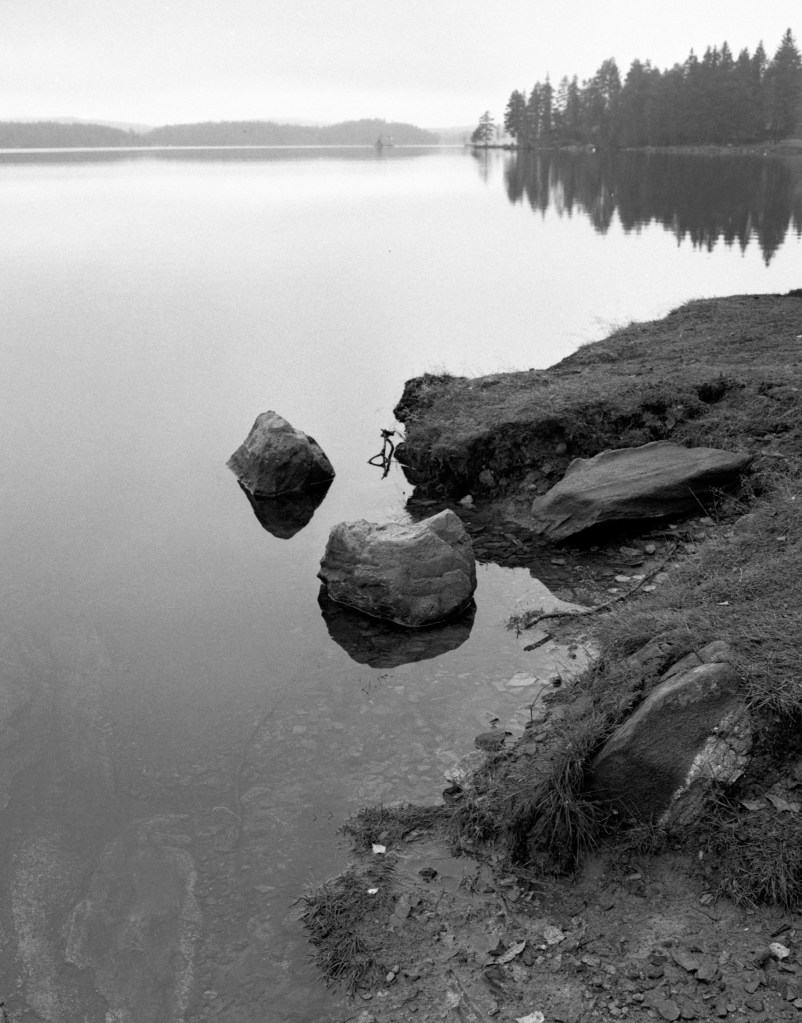
Today was a wet, unpleasant and foggy day in Norway. No real need and point in going out, but there was some interesting fog, and a very white sky that lured me out anyway. The conditions were almost black and white anyway, so I chose to go with a Black and White film. Because of the verylow level of natural contrast, I went with a slow film. Ilford FP4 Plus. I also chose to stand-develop the film in Rodinal 1+100 for an hour, to get some extra contrast and find some beautiful grays.

I chose to use the Bronica ETR, because I wanted to do medium format and that it would give me 15 frames to a roll.

I also got to test out my new scanner. Thank you for the friendly photographer who pointed out to me that my old scanner was probably shot. My new one is far better and gives me lovely scans.

Really pushing it with portraits

Sometimes you come across settings and situations where there just isn’t sufficient lighting to go smooth and grain free photography with reasonable shutter speeds and settings. Especially with living subjects, like people, you need to allow for some «life» in your model and hence use 4 seconds shutter speed. In these situations, an option is to push the film. However, when pushing film, you will lose some of the detail get increased contrast added to your images.

For this entry, I created a situation where I had very limited light, and I went for two 400 speed films which I pushed. My initial Idea was to push both of the two stops to 1600 and see what differences I could spot, but due to a change in lighting conditions, I had to do one of them at 3200, a three stop push.

Ilford HP5+@1600

My first film for this photoshoot was a roll of Ilford HP5+ Medium format film. This is a film I regularly shoot, and I am very familiar with the characteristics of this film at both 400 and 800, but I have never pushed it further than that before. Therefore, I was curious how it would deal with the extra stop of push, both in terms of grain and contrast.
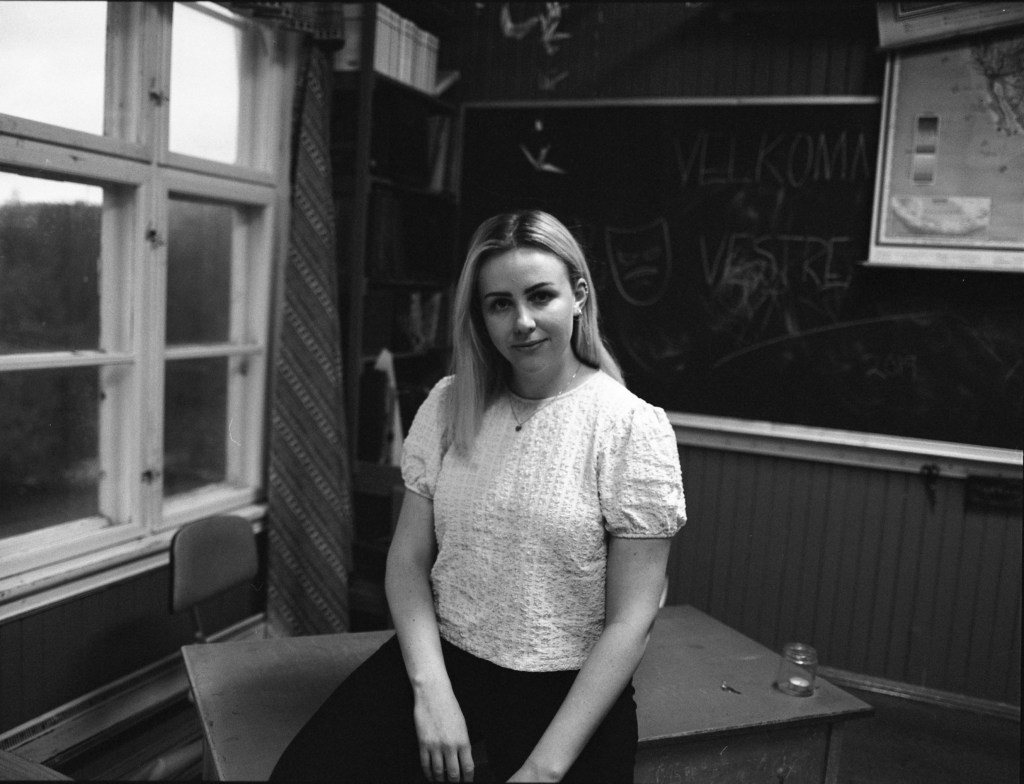
The only lighting used for this shoot was the available light in the old derelict class-room and what I could reflect back using the «sunfire»side of my reflector. I shot as close to F4 as I could and got shutter speeds around 1/60th of a second.

Reklamer

I was surprised to see the negatives when I pulled them out of the tank. I expected a very punchy-looking negative with a substantial lot of contrast and severe loss of detail, but the negatives looked reasonably good. The push was obviously visible, but not as prominent as I would have guessed. My quick scans also turned out some nice images. Although grainy, I like the look of these pictures.

I see that I got a bend mark on one of the images, I clearly was a bit unlucky when reeling the film for development.

Kodak Tri-X400@3200

If I expected grain and heavy contrast on the HP5+, I did not expect much of the images from the three stop pushed one. On my way home, I actually doubted my move and was already drafting my apology letter to the model, who friendly joined me for this experiment. I was, however surprised in two different ways.

Even though I followed the guidelines for a three stop push found in the massive dev-chart and had fresh and well tempered chemistry (20 degrees) some of these negatives came out very thin. I metered in the same way all the way through the shoot, and I obviously developed the whole roll at the same time so the big difference surprised me. I must have made a mistake with my metering at some of these images.

However, some of the negatives looked really nice. Although they were obviously very contrasty and punchy they looked to have kept at least some of the detail I looked for. As you can see in the pictures the push is very visible, and I would not go for a three stop push if it could be avoided.

This shoot was a real gamble, and I am thankful for the model who helped me on this. Although I couldn’t really compare the two films because I had to do different pushes, I must say that I am surprised how well both films coped. However, I would say that the grain and latitude of the HP5+ appeals more to me than the TRI-X. But this is a personal observation.

I have decided to try out these negatives in the darkroom at some point, and I will post my results and workflow from that at a later point.

Trying out 645

For a while I have been looking to buy a 645 camera. Preferably a SLR of some kind and many different options have been considered. Both Mamiya 645, Pentax 645 and even some Hasselblads. However, some days ago, I came across a very reasonably priced Zenza Bronica ETR. I have had my experiences with Bronica. I once owned an Zenza Bronica S2 fitted with a beautiful Nikkor 80mm lens. I only sold this because it had the habit of giving me half frames a few times on each roll and I cannot afford wasting expensive film and possibly losing a strong shot due to a camera issue.

I contacted the seller on the ETR and we came to an agreement and got a deal together. Very reasonable and rather quick.

Zenza Bronicas are beautifully designed Japanese cameras, with incredibly sharp lenses and a rugged feel to it. The camera is heavy, about two kilos, and you can get them in different configurations. Later ones are more plasticky and lighter, but I don’t really mind the weight, as I often shoot on a tripod. My ETR came with a prism, eye-level viewfinder and a razor sharp 50mm f2,8 Zenzanon lens.

I went out the other day to test the camera, and I made some really beginner mistakes.

Fist of all, I used the wrong film. I loaded the camera with a Fomapan 100, because I had one lying around about to expire, and I found I could «waste that one» if the camera did not work properly. The biggest problem was that I went out on a very dull and overcast day where there was not really sufficient light to shoot 100 ISO. Because of this I had to shoot around 1/30th of a second, and I forgot to bring a tripod. A lot of motion blur later, I decided to discard the test and go out for another go with a different film.

Reklamer

This second time, I went out in the morning as the fog was lifting from the lake (Mjøsa) and went for a short session Trying to capture some magic. Wiser than last time, I loaded the camera with a roll of Kodak Tri-X 400, a film I don’t use that often but had lying around and went down to the docks in Gjøvik.

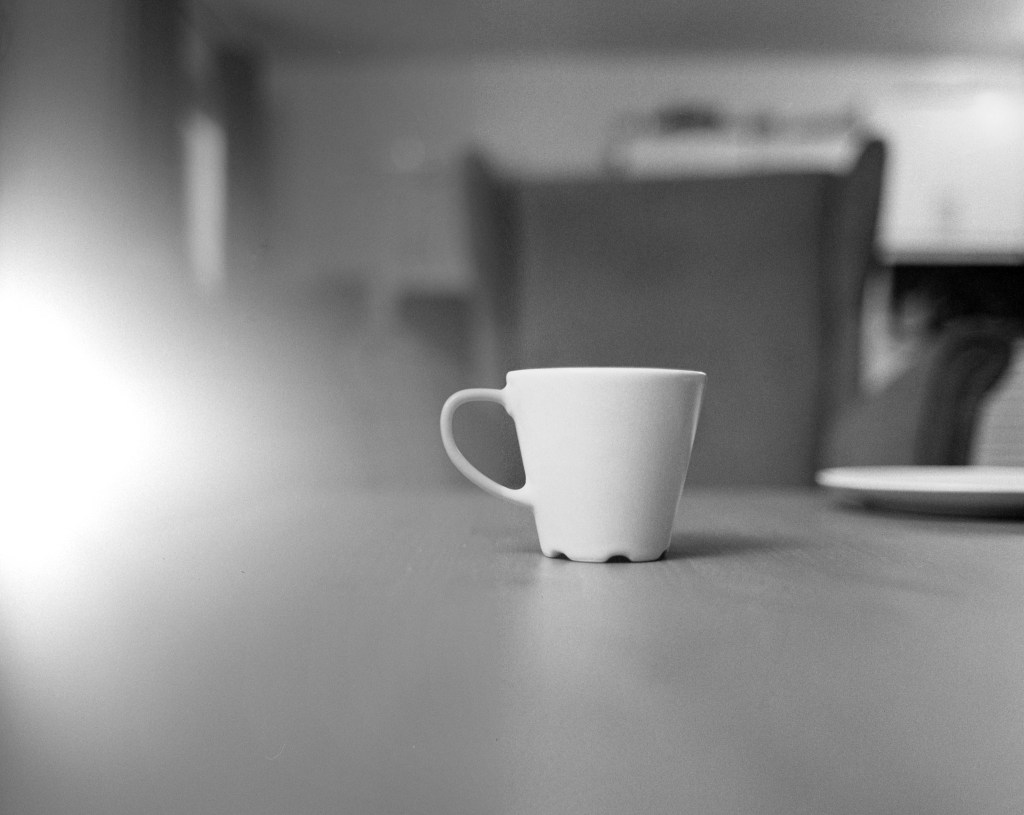
Before I went out, I had a coffee. I documented my coffee with an image taken at f2,8, maximum aperture at 1/15th of a second.

Zenza Bronica ETR w 50mm Zenzanon 2,8. Kodak Tri-X400@400 Fomadon Excel 1+1 9 minutes

I am really surprised with the smooth bokeh the Zenzanon lens gives me, and I find that the Tri-X grain and contrast gives the image a really nice tone. A tone I don’t often find with Tri-X as I find it a bit to punchy in the contrasts for my taste. Similarly I like the way it handled my location by the lake.

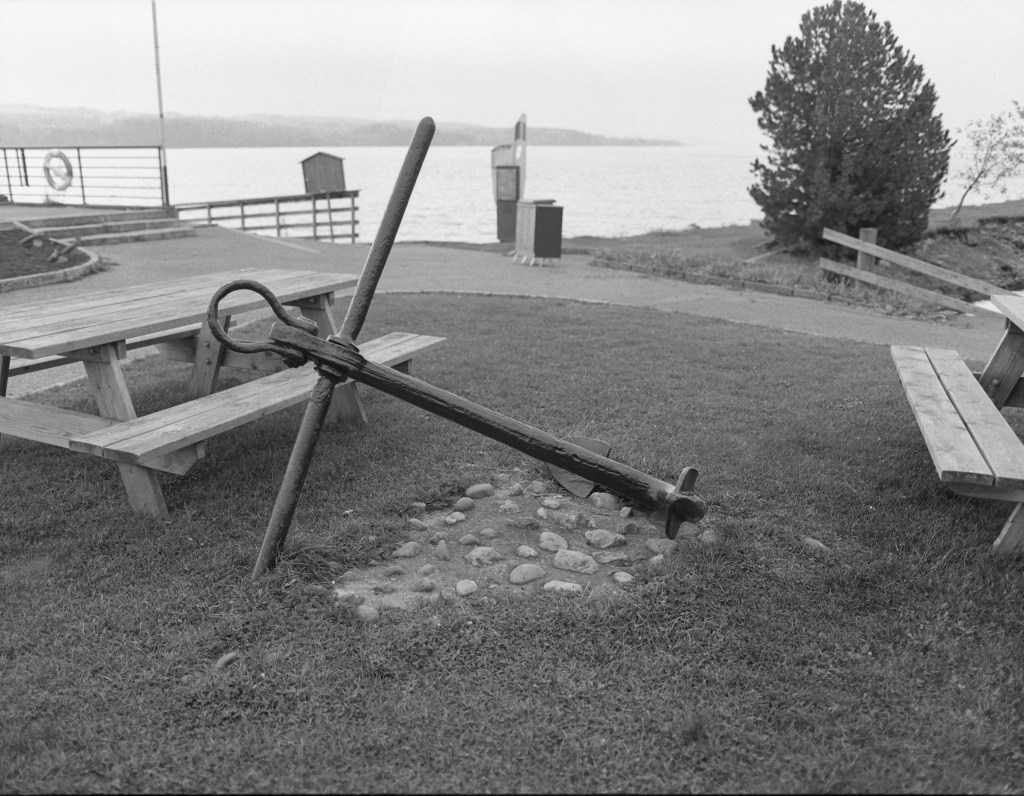
I appreciate the tones I got in the picture of the anchor. Shot at f4, it gave me a perfect depth of field for this image and the Tri-X tones gives the smooth tones. I also love the way the background disappears into the fog behind.

In a slightly under exposed image of some birds fleeing away from the Norwegian winter which is approaching in a months time. I find this image to be a bit «gritty» but I will attempt to make a beautiful print of this image in the darkroom.

All in all, I am very happy with my new Zenza Bronica ETR, as well as my expedition into 645 format, and will shoot it regularly in the future.

Stay tuned

Reklamer

Double tryout

A few months ago, I ordered a few rolls of StreetCandy ATM 400 off their own website. From previous experience I know that street film is very contrasty and that they are great to pull. I put one of the rolls in a new camera that I bought and planned to take it for a little spin around the area, looking for architectural shapes, trying to find shadows and deep contrasts. The trip did not happen because of Norwegian summer and some weeks of rain and dull weather.

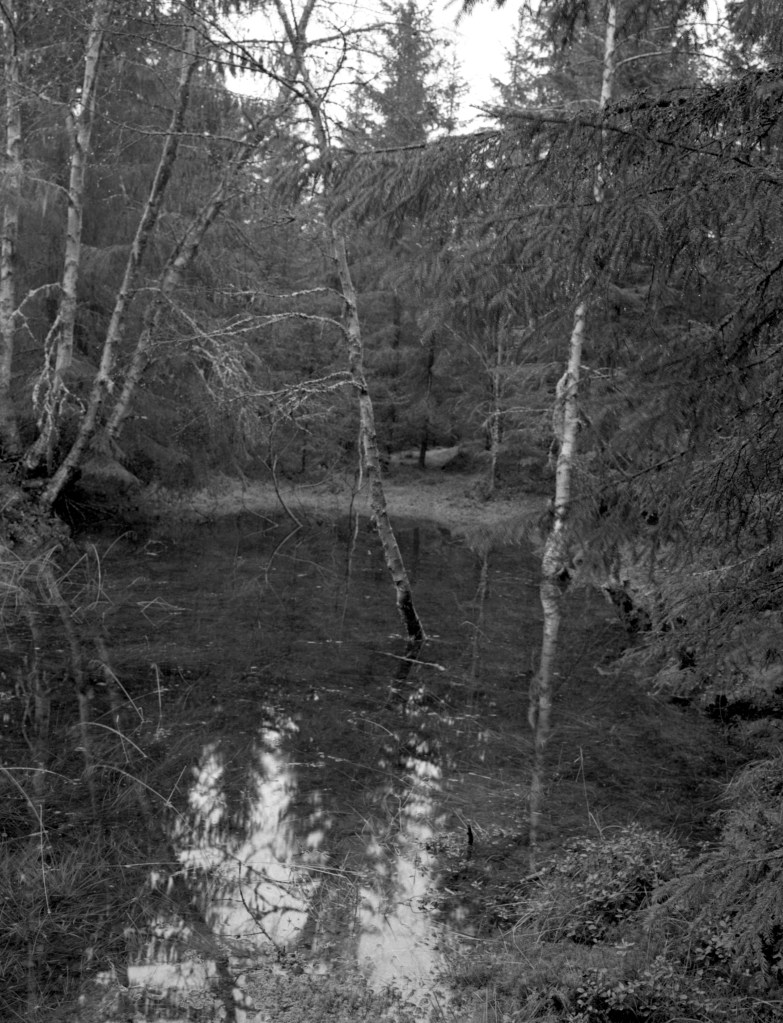
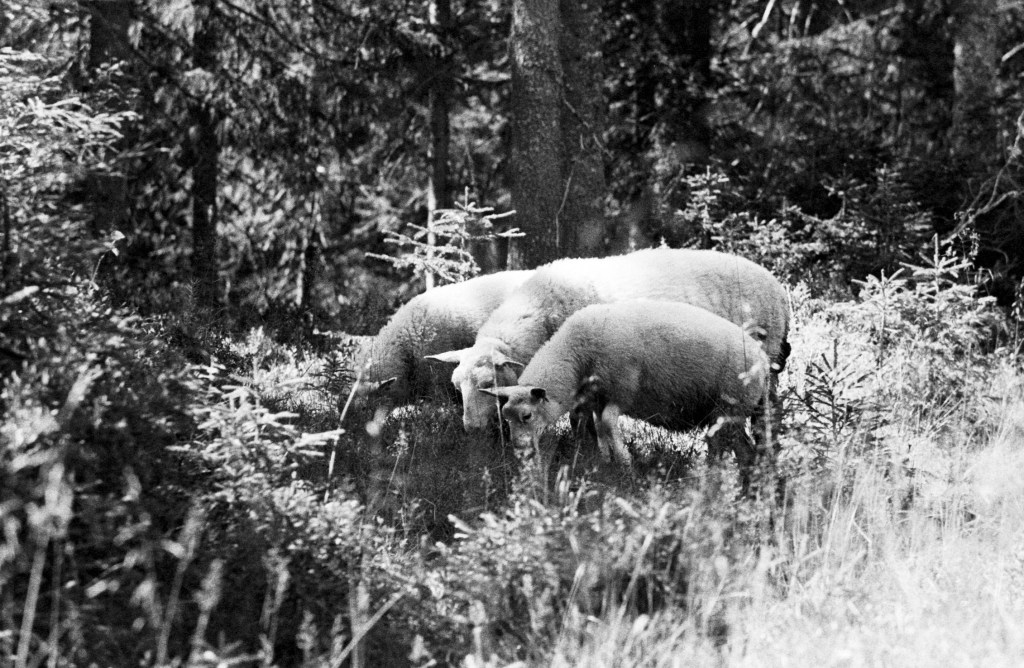
The other day though, I went out for a hike in the forest looking for some sheep and forest details to photograph. I decided to try out the Street Candy at box speed for this trip, and I shot the whole roll of film that was in my camera.

The Camera

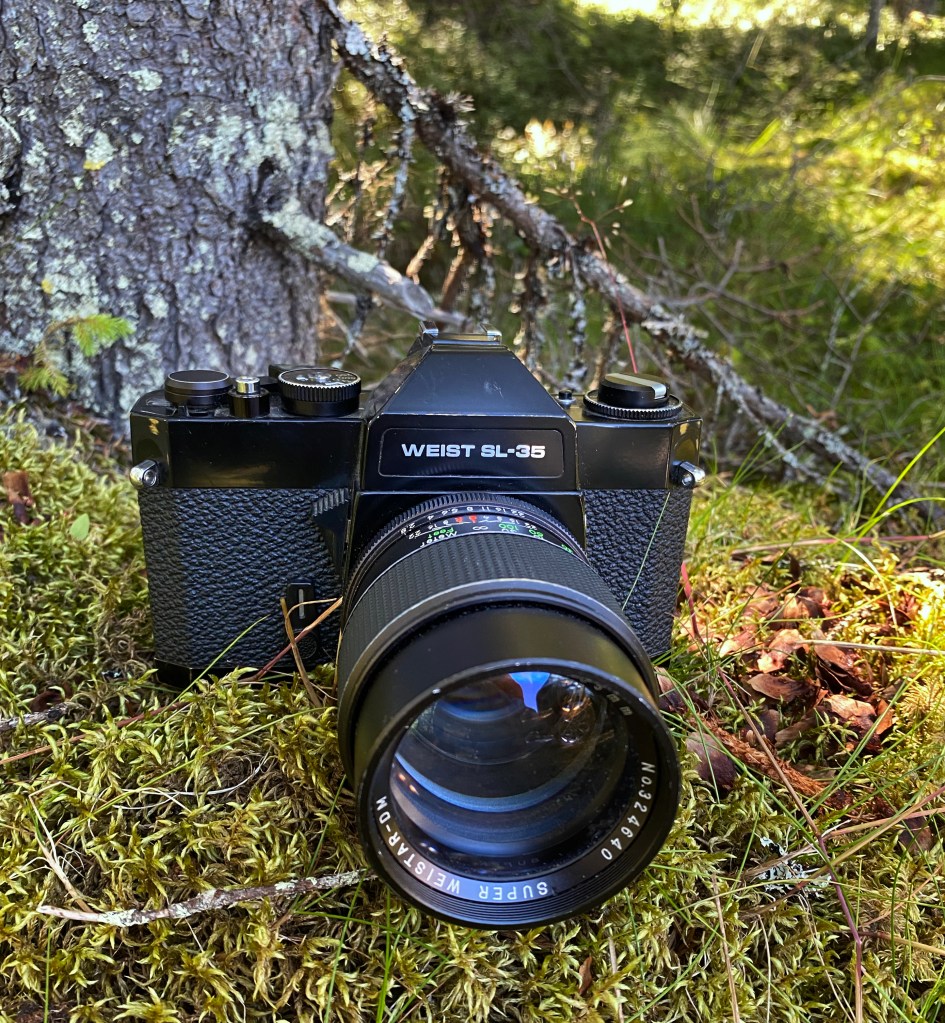
I love old, interesting and manual cameras. I often frequent thrift-shops and charity shops to see what kinds of old, forgotten and dusty stuff they have on their shelfs. On a recent trip to a local charity shop, I picked up a Weist SL35 with a «Super Weistar 135mm» lens. I have tried to google the camera, but not much came up. The best lead is that it could be a rebadged Chinon CX. Nonetheless, it is heavy as a brick and feels sturdy and solid in your hand.

I am happy for any details on this camera, as I do not know much about it other than that it seems to work perfectly and accurately. Even the lightmeter is working and fairly accurate based on this shoot.

Reklamer

This was my first time trying out this camera, and I must say that this camera will become a frequent companion for me. the M42 screw mount makes me able to use some of my favorite lenses, and it is surely more accurate than my Zenith Olympic Edition.

The film

As I stated earlier, the film I used on this trip was a Street Candy ATM400 street film. You can buy it from the manufacturer’s own website and at a fairly decent price. Be aware that they use the slowest shipment partner you can imagine. From their address in France to mine in Norway, it used more than two months. I have tried to imagine how that can even be possible. In the current Covid-age I could have traveled to France, stayed two weeks in quarantine, picked up the film, traveled back to Norway, stayed two weeks in quarantine. This whole process would have been a quicker way of getting the film, than using their shipment partner.

My guess is that their films are delivered by just one man, picking the film up at their address, walking to a port somewhere in southern France. Who then jumps in a rowing boat, rowing around Gibraltar and over the Nordic Sea to deliver it. Probably.

Reklamer

From their own website, you can learn something about this film. It is a medium speed, 400 ISO, film originally made for surveillance cameras to keep people safe. In the modern days, these systems have turned digital, and the films are unnecessary. Street-Candy has made this film available for film photographers to use, and I am truly grateful. This film is great, even when I took it out of its comfort zone and into the first.

Not what it was originally made to photograph.

The grain-structure is beautiful and very fine for a 400 ISO film, but as most other street films, it is very contrasty. In my negatives I saw the contrast immediately, and some were to contrasty to turn out anything in this setting, and a normal Tri-X or HP5 would maybe be a more suitable choice for this kind of shoot, but some of the results were really unique.

On Street-Candy’s website, it advised to refer to the same development cycle as for Ilford HP5 plus, which I did on this cycle. Eight and a half minutes in Xtol 1+0 and then normal stop and fix, rinse and Photoflo.

Reklamer

I am looking forward to trying out my other rolls of this film both for proper street photography and pulled one stop for portraits. I can imagine brilliant results from this film. I am also surprised to see how well it coped in the forest with the sheep and structures I found out there

All in all I am very happy with both the camera and the film, and if I would order this film again. If you come over a Weist SL35 at a decent price, it is worth buying. My cost 35 Norwegian kroner, approx 3,5 Euros.

There are always two people in every picture: the photographer and the viewer.

Ansel Adams

An old-camera adventure

The oldest camera I own is an Argus C21 from 1947. I bought this one rather cheaply last summer and it was in «unknown» condition. I tried a film in it back in last summer, but the back lid, fell off and the film got ruined. Then i forgot all about the little Argus.

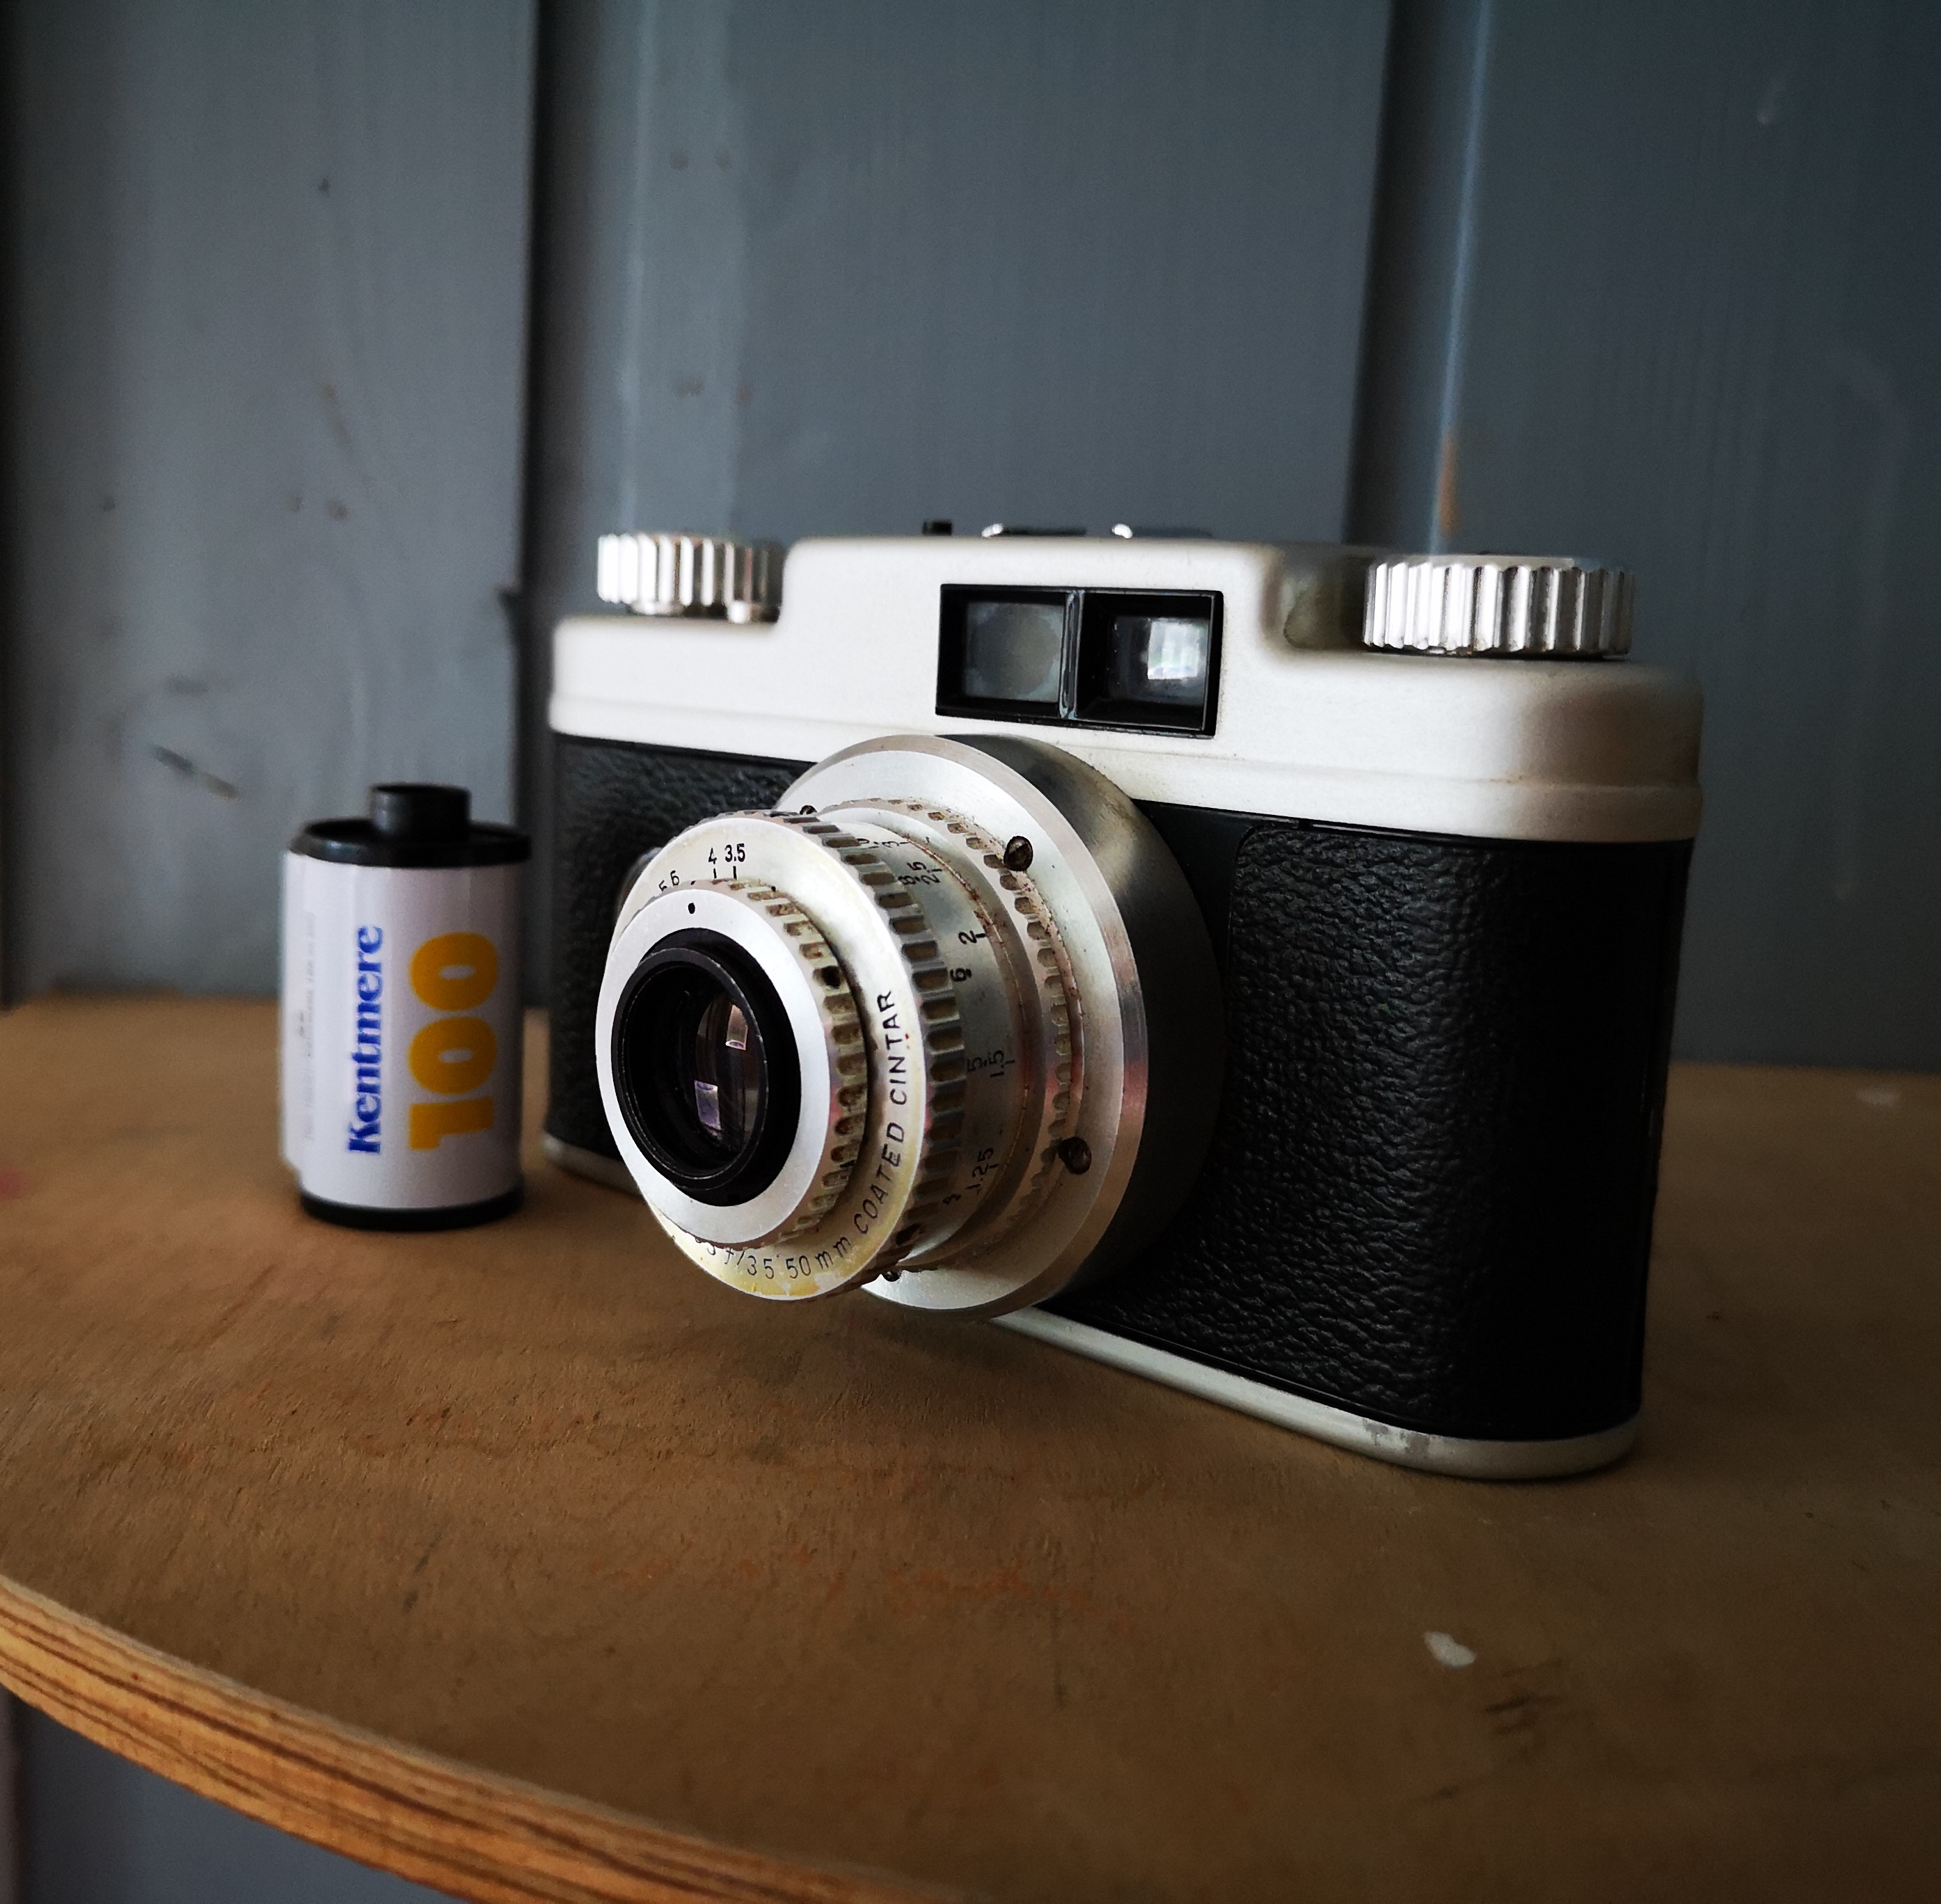
Today I brought the old Argus back to life with a Kentmere 100, and brought it along as I went for a little drive.

A little documentation image of the Argus C21 and the film.

When the negatives came out of the tank, they looked farily evenly developed and exposed, but when scanning and working with the negatives, it is clear that the lens sufferes from some hazing and probably build-up of dust.

That said, I am really intreagued by the results, and they show that the old Argus still has a sharp eye.

Also, the Kentmere 100 shone with its traditional grain structure, and gives the images a really old fashioned look, even in Xtol. The development cycle for this round was Xtol 1:0 9 minutes 45 seconds at 18,5 degrees. Then I used a water stop, six minutes fixer, rinse and photoflo. Images turned out ok.

The camera does also scratch the film slightly as you can see in this photo. It might be mendable, but I do not mind a few scratches from a camera this age. Especially not at the price I payed, around 15£.

Also, I like how the Argus focuses, It gives a really sharp middle of the picture focus and a gentle unsharpness at the edges, making a vignetting effect which is pleasant.

As always, images in this blog are untouched by Adobe. Straight from the Plustek-scanner.

A little walk with the Petri

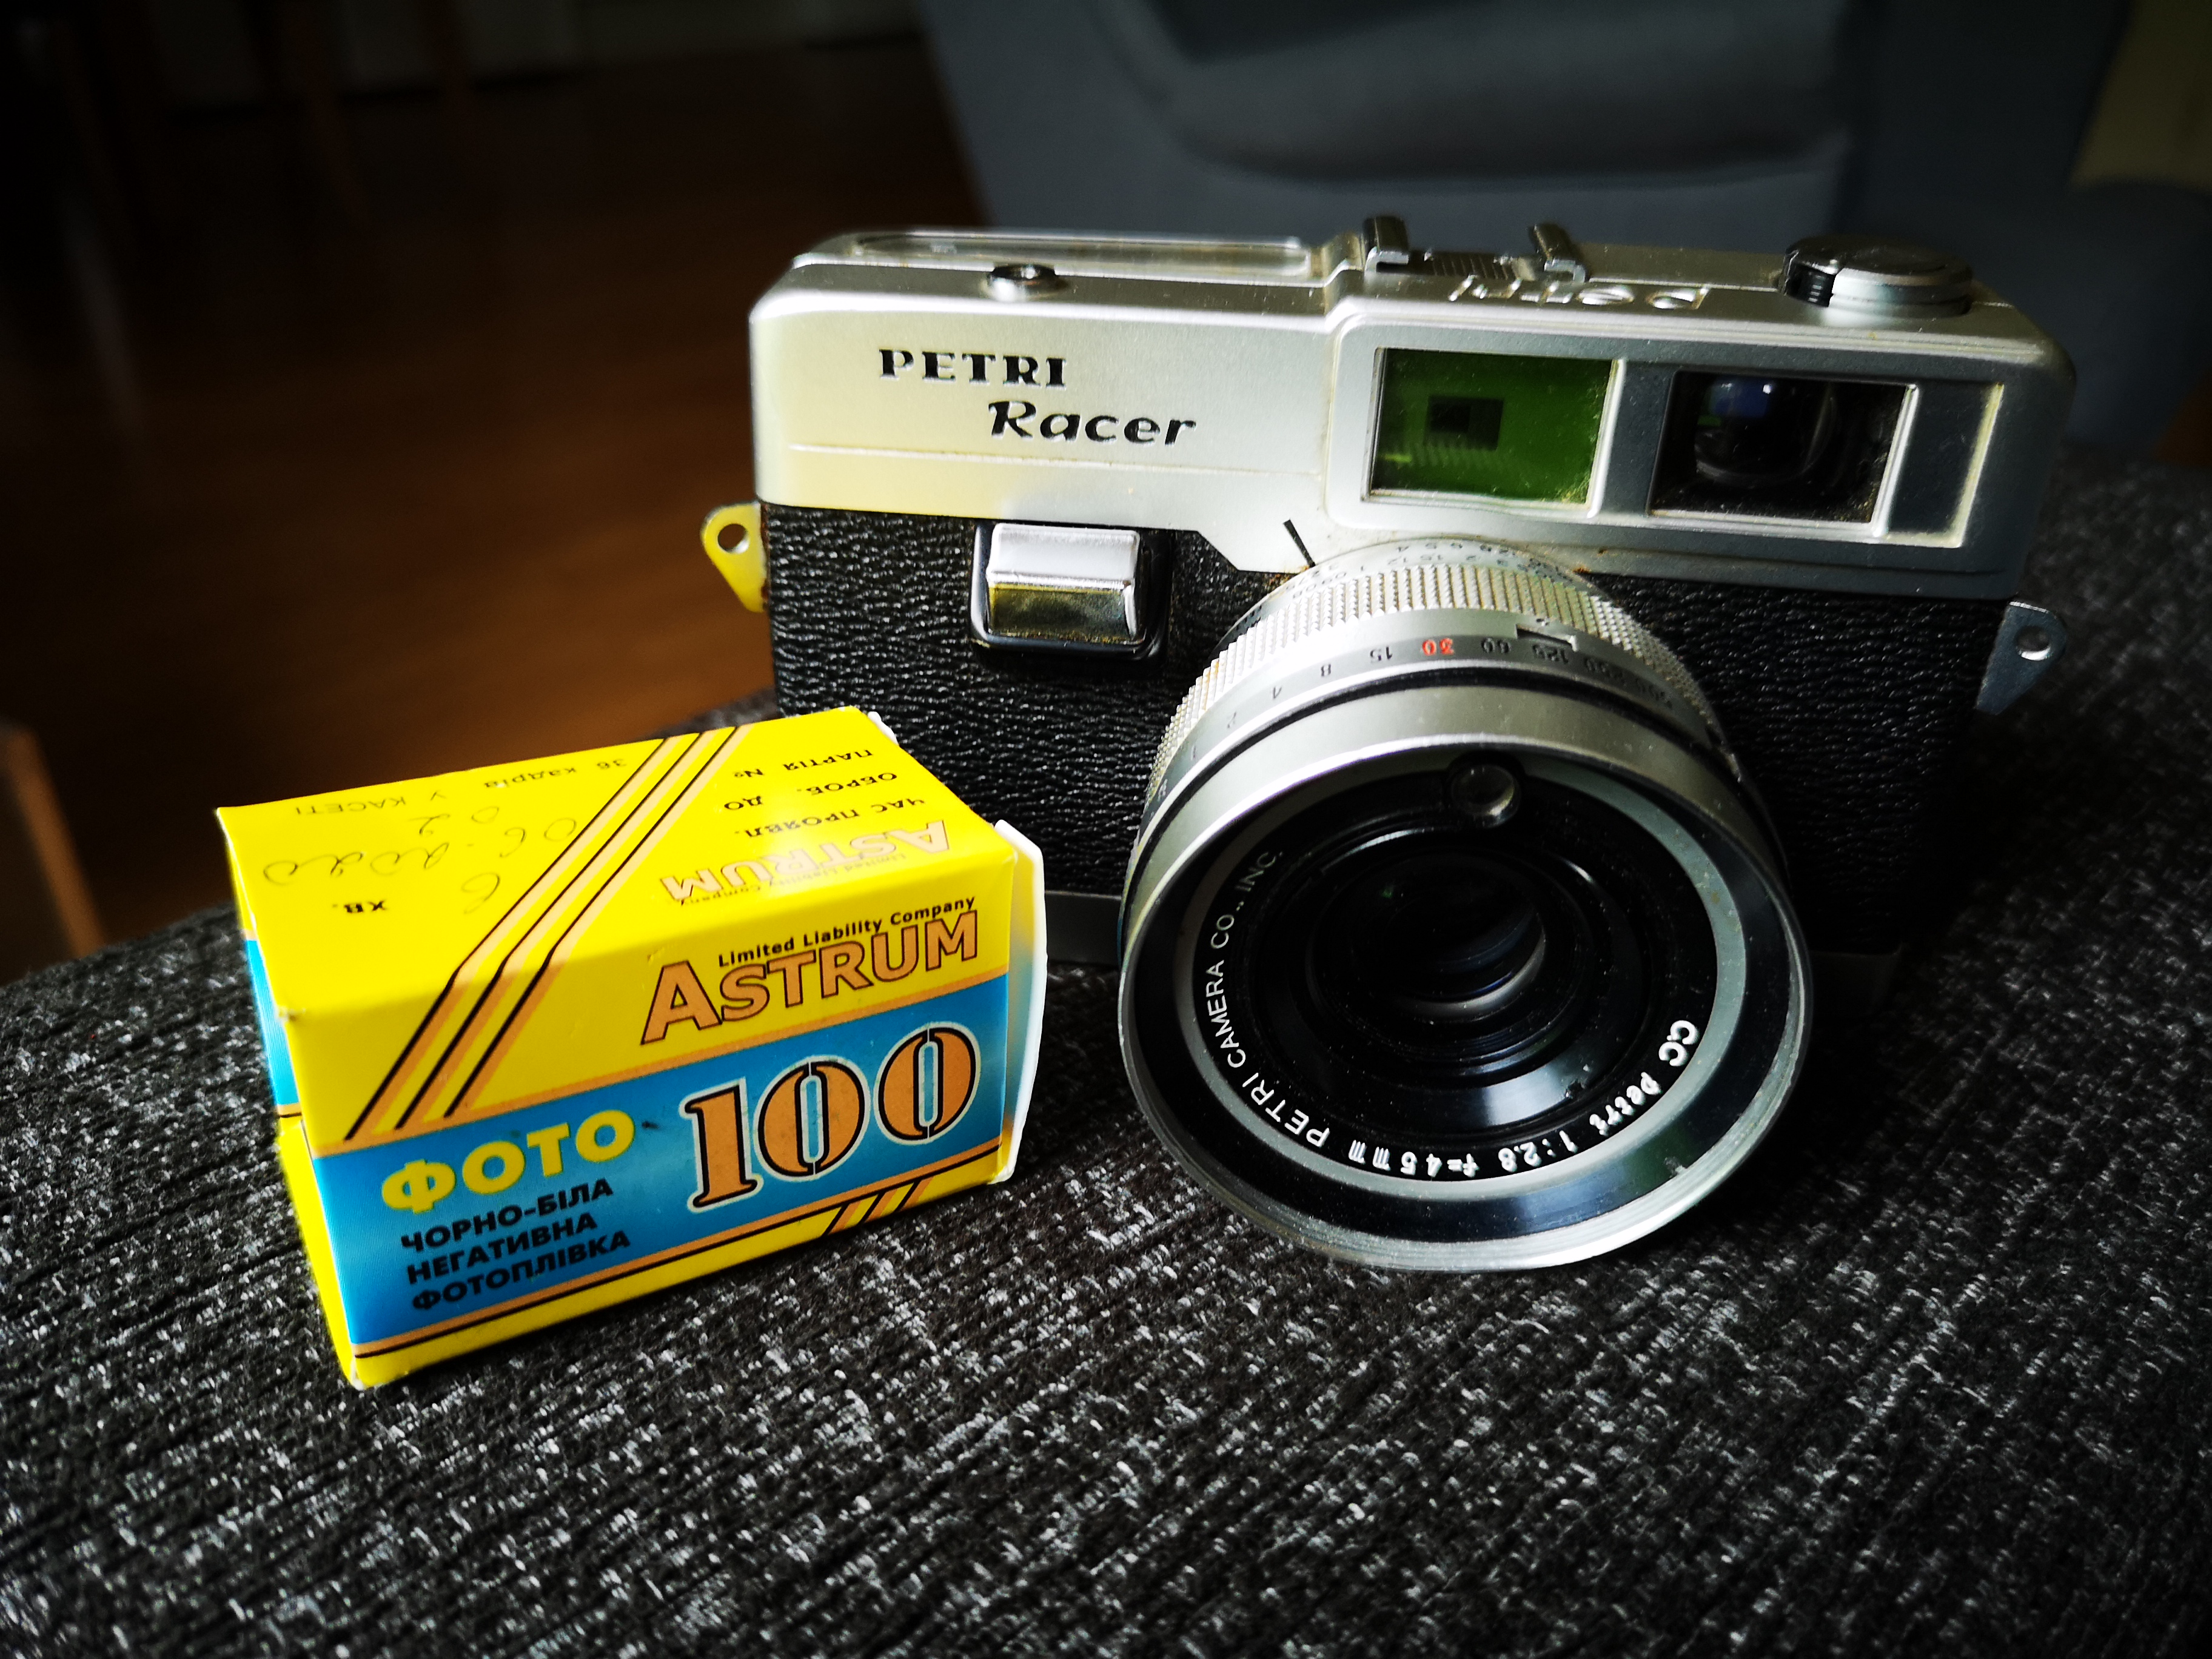
Today, I had a portrait assignment at a local museum ground, and I decided to arrive a bit early to have a little adventure with the Petri before my shoot. A few days ago I got a few interesting films in the mail, and i decided to try one of these films; an Astrum Foto100, from what I understand the company that bought Svema, when they ran out of business.

A documentation picture of the Petri and the Astrum.

I was curious about the Astrum-film, since I had never heard about the brand. Also I could not find development instructions anywhere for Kodak HC110 and Astrum Foto100. After some browsing I found a very interesting blog, where the time 9.45 was suggested for 20 degrees water. My water was 21 degrees, so I ended with 9.02 for the developer.

I shot the film using the sunny 16 rule, or as is more appropriate in Norway, the sunny 11, rule. Our sunlight is not as bright as some other places in the world.

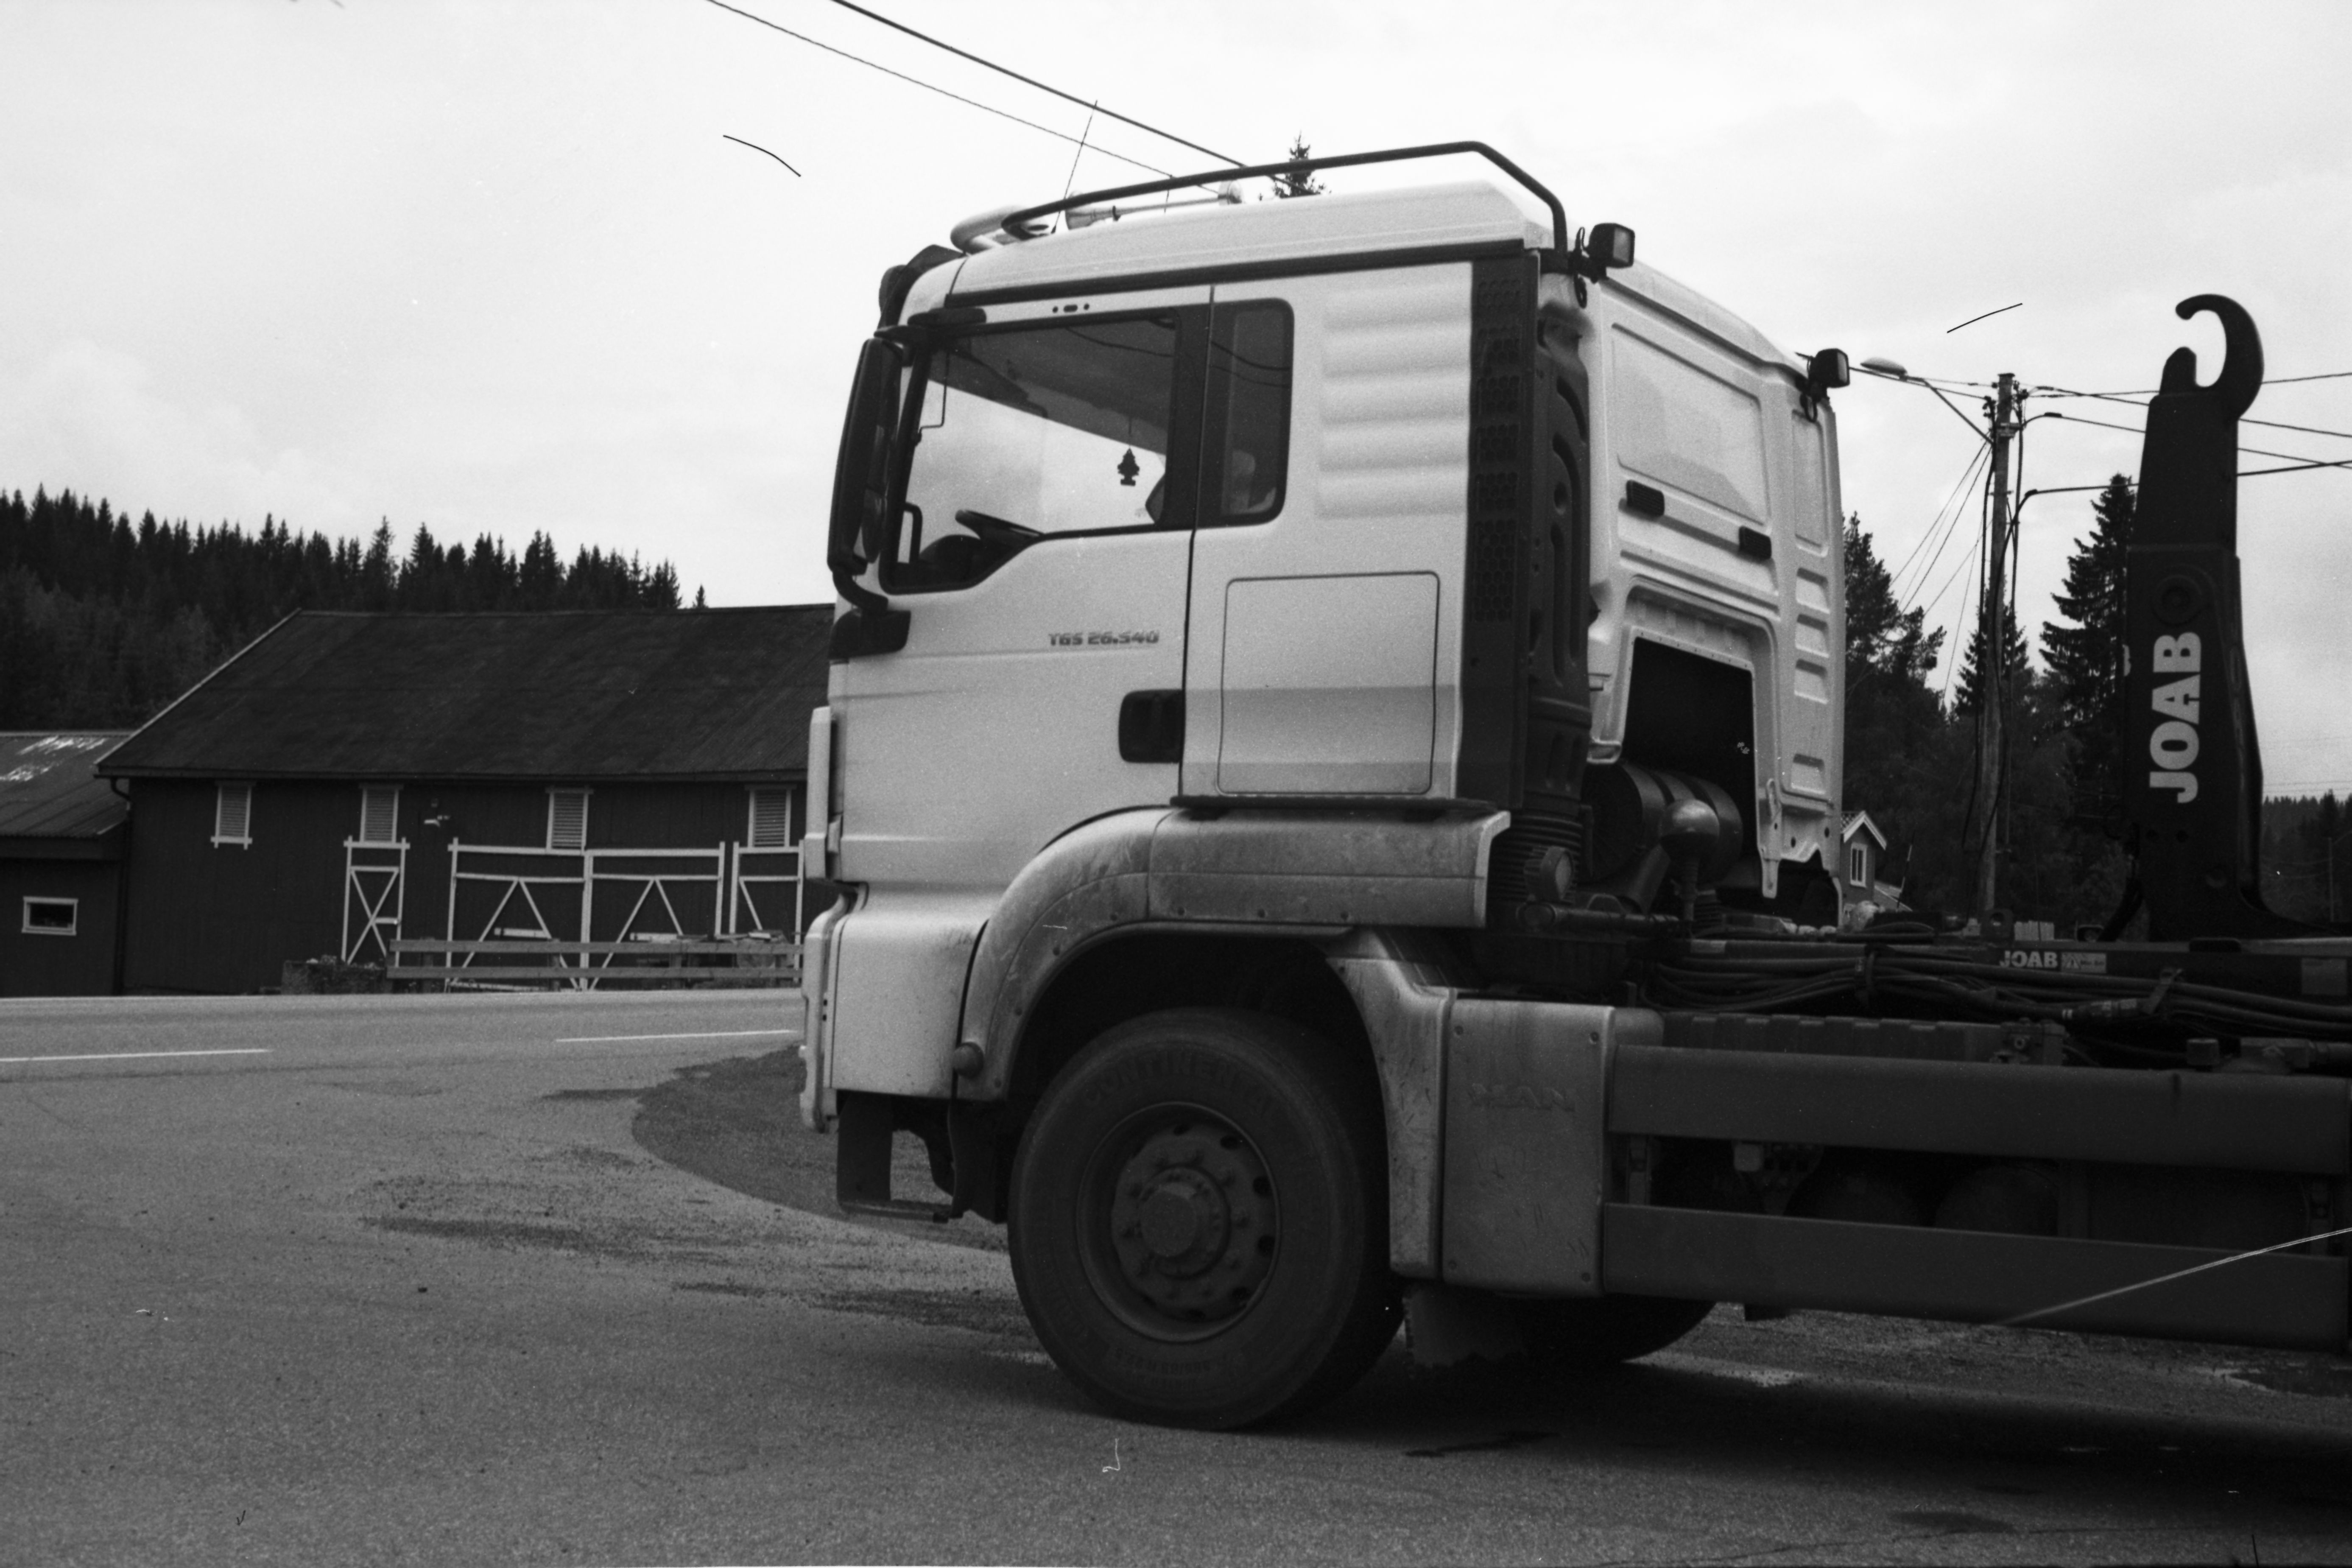
I fired mostly landscape photos, using apertures between f8 and f16, and had a really nice little walk around enjoying the sunshine and the Petri’s company. And when removing the negatives from the tank, I was amazed of the fine grain, range and general quality of the images. Also, the negatives were crystal clear.

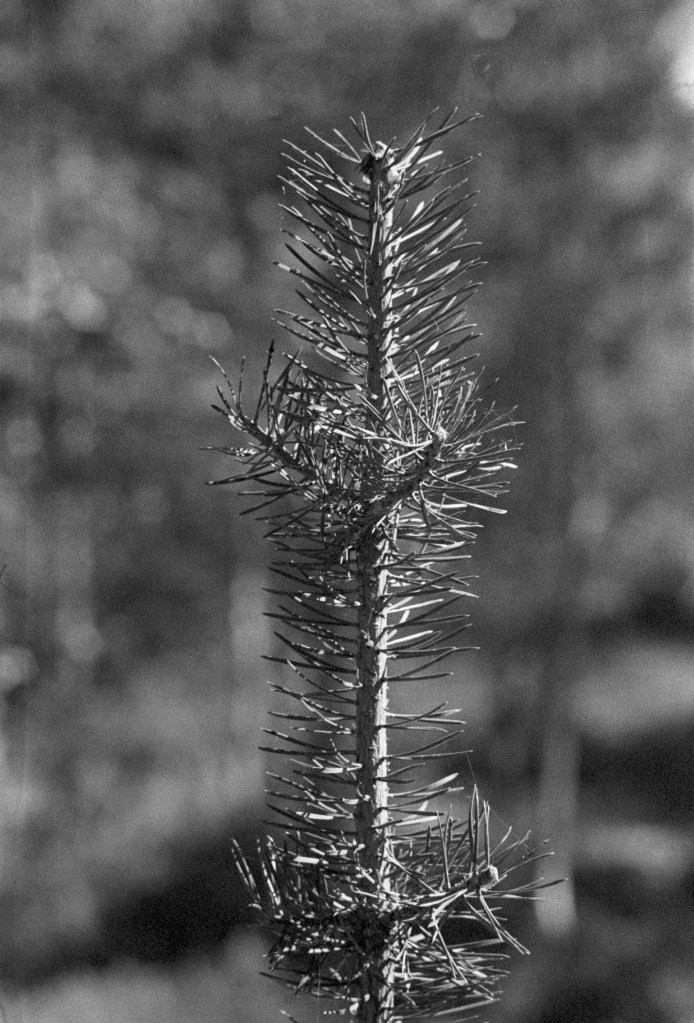
A sample photo.

The Astrum Foto100 is definitly a film I will use again, and I’m very surprised that HC110 is not listed as a recomended developer with this film. I have to say I am very happy with my results, and would use this combination again. I am also curious to test a film this great with X-tol or Rodinal.

“Color is everything, black and white is more.”

Dominic Rouse