Playing with a Point and Shoot

The market for film cameras has changed substantially over the last two-three decades. In the 90s there were a range of very simple easy cameras that you could use to get some pictures without knowing anything about photography nor wanting to learn about it. They were simple, fully automatic and would give you acceptable images with minimum effort. These were the fully automatic point and shoot cameras. They’d set the film speed through DX coding on the cassette, they would set the aperture and shutter speed accordingly. The small catch, you had to press the shutter release button yourself. The bigger catch, you had no idea what the images would look like.

This morning, I played around with one of these cameras. I haven’t used one of them for a long time, and I was curious about what it would «bring to the table» of images and quality. The camera was bought cheaply online and arrived by Norwegian snail mail two weeks after it was posted from a town reasonably nearby. Well done Snail Mail. After this wait, I was the confused owner of a Chinon Pocket Zoom AF.

The Chinon Pocket-Zoom AF – 38-60mm lens (probably f8 or something like that as widest aperture)

I was eager to test it out, and I gave it a roll of Rollei Retro 400s. The electronic and automatic wind-on mechanism did its job and rolled on a few frames that could have been used, and the display on the back showed «1». The Chinon was ready. I went out in very dull weather and the Chinon did not seem to be too fond of dull and «boring» light. It constantly set off the flash, and I had to manually reset it to «flash off» every time I changed compositions, as it would have reverted to flash mode automatically. It is a bit like an overbearing parent, the security net is always there.

Reklamer

Shooting the Chinon was like shooting with your phone. You aim vaguely in the direction of what you want to photograph, you press the shutter button and wait for a while while the small elves inside the camera gets to work setting up your exposure. This takes a while, and you would probably not use this camera to photograph running animals or people in action. If you used it to photograph someone playing football, they would be done with their game and home for dinner before the camera takes a shot. After a while, when you hear the reassuring sound of the shutter and the winding mechanism, you are ready for your next shot.
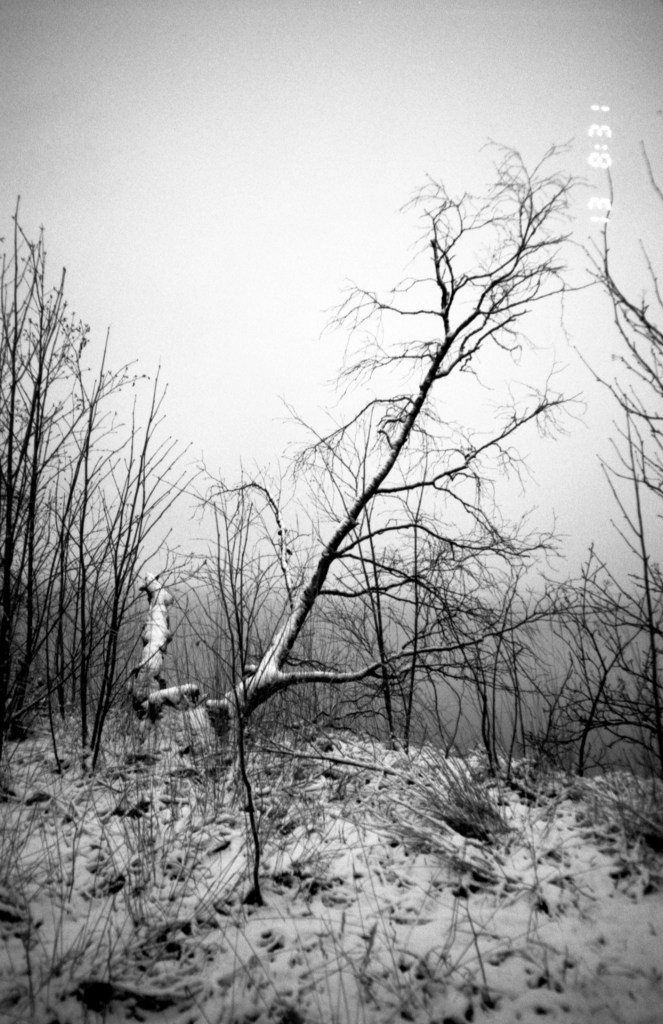
Chinon Pocket Zoom AF – Rollei Retro 400s – Xtol Stock

When looking at the final images, they are not that sharp and crisp as you would hope. But since I have not had any control in the making of there images other than pressing the shutter release button, I don’t really feel it is my fault.

Some issues I see. The lens is probably not that bright and certainly not very sharp, and the images seem all slightly under exposed. They have a strange vignetting, much like the one you get while shooting a Holga camera, and the lens perfomance isn’t that much better on this Chinon. Also, you get these imprinted numbers on all your frames, and I was not aware that it would be printing numbers on my frames. I have left them here in all their atrociousness.

My conclusion. I will sell this camera to someone who will use it. I will certainly not use this camera again and if anyone wants it, please contact me.

I like this image because of the mood, and that it is evenly blurry all the way over.
Chinon Pocket Zoom AF – Rollei Retro 400s – Xtol Stock

Did I choose the wrong film?

When I drove home from work today, I noticed that the contrast between the December darkness and the artificial light from lamp-posts, lit buildings and petrol stations actually would make very nice images indeed. I thought about going for long exposures with either Tri-X or HP5 plus, and I composed some nice images in my head. My chosen subject, Skibladnerhuset.

Skibladner is an old paddle steamer the people who lives around the lake Mjøsa are very proud of. It is currently the oldest paddle steamer in scheduled traffic, and it will sail on the lake in the summer months. When the winter comes, it will be parked on display in its own, specifically designed house. A special building with I find to look incredible with its triangles and diagonal pillars and poles. The house was drawn by the architects at Kontur in Gjøvik and was built in 2001. It has become a landmark for Gjøvik and is visible from RV4 as you drive through the town.

I chose to roll up the Zenza Bronica ETR with a roll of JCH Streetpan 400, and test out how an extremely contrasty film would deal with the lighting conditions in a Norwegian December afternoon. In retrospect, this might have been the wrong film for this outing, I should have gone for Tri-X og HP5 plus.

Reklamer

First of all, I could not find any information about the reciprocity features and long exposure compensation anywhere. Therefore, I went for combining the information from the Ilford HP5 plus and Kodak Tri-X. This means compensation from 1 second and more. My logic became – If the meter gives me 1 second, I’ll shoot 2 seconds, if it gives me 2s, I’ll go for 4. It could seem; however, that this was not anywhere near enough compensation.

Marina light – Zenza Bronica ETR w 50mm Zenzanon f2,8 – JCH Streetpan 400@400 1 second at f8

My negatives got very thin, so thin, that I wouldn’t imagine printing them in the darkroom. Three negatives came out reasonably OK, and showed the contrast level I was aiming for, however, the other 12, not so much.

I developed the film in Xtol stock, both because I have a batch of Xtol that is about to go out and I want to use it, and because I just did not «love» the prospect of doing development for 17 minutes with 30s agitation frequency. Call me lazy, but this is who I am.

I also considered using Rodinal 1+100 and do Semi-Stand development, but I wanted a more specific development cycle that I knew would give me the correct film-speed. And with Rodinal at that dilution and development times of an hour plus, I don’t really get that level of control.

This was just an experiment and a shot in the dark (pun intended), but I learnt quite a bit about the Streetpan 400, and when not to use it. I might do a reshoot of this outing with a roll of Tri-X at some point, to pay the amazing architecture the respect it deserves.

Please enjoy the images.

Emptying the roll of RPX25

In my last entry, and video, I tried out the very slow Rollei RPX25 film. I shot it with my Olympus OM-1 and I used a yellow filter because of the lightning conditions that I found to be ideal for yellow filter. Also, I must say that I got images that I am very pleased with. I only shot half a roll of the film, and cut it out of the camera, much because I was not sure what to expect in terms of contrast and metering.

Today, I rolled up the rest of the RPX25 in the OM-1, and went for a little outing to shoot the rest of the roll. The weather was absolutely horrendously nasty, with snow/rain blend and temperatures around 0. A typical nasty early winter day in Norway, and I went to a location I know very well. A little lake close to where I live, Skumsjøen, and looked for something that would allow me to shoot wide-open, at f1,8 with the 50mm Zuiko lens.

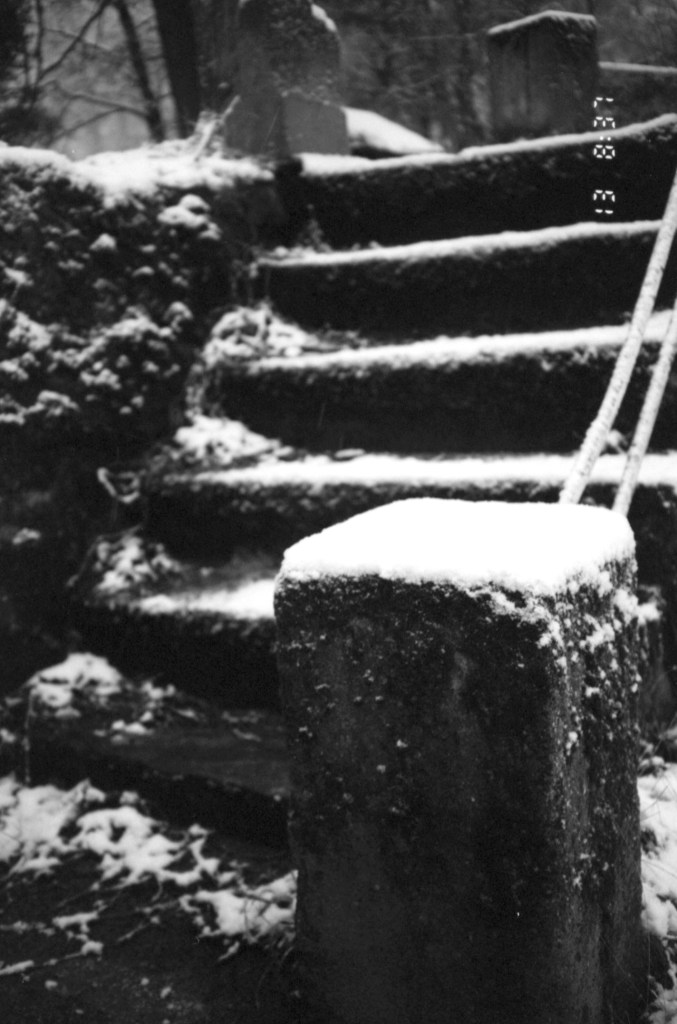
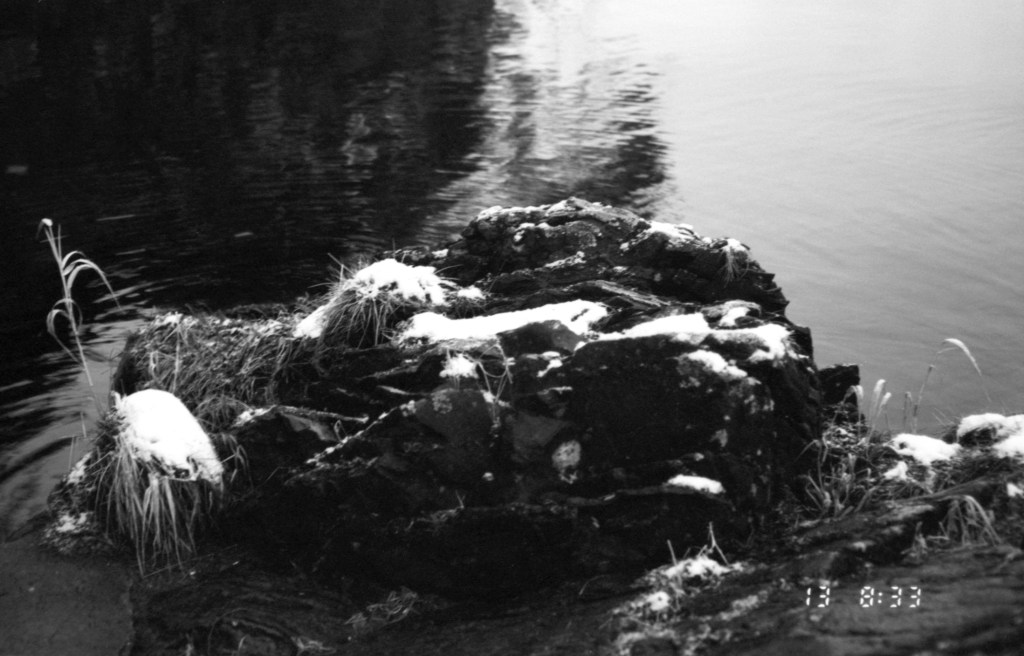
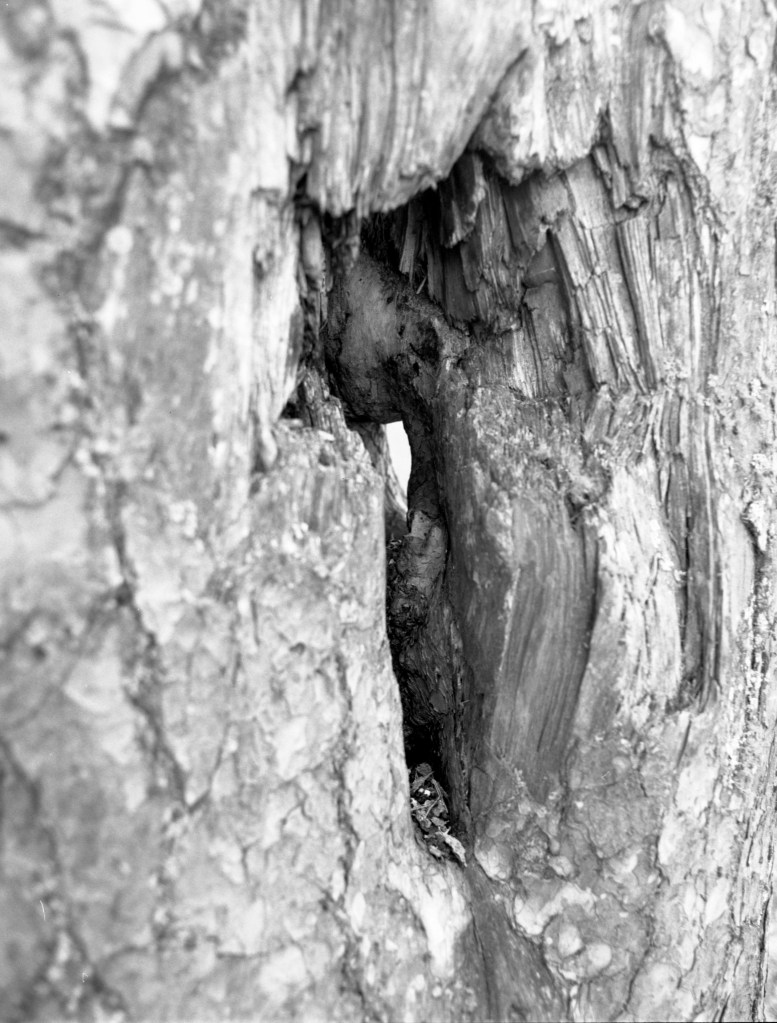
Tree root abstraction – Olympus OM-1 w Olympus Zuiko 50mm f1,8. Shot wide open f1,8 with Rollei RPX25. Semi-stand development Rodinal 1+100 70 minutes, agitated beginning and midle of cycle.

I went for some very abstract close-ups of tree roots near the frozen water. I even took the risk of walking on the newly formed ice, as it felt safe, to get the best angles. Luckily I did not fall through.

From my last outing with this film, I remembered that I got very hard contrasts in the negatives, and I gave it a whole stop of over exposure to retain more grey-tones in the details. Another measure I chose to reduce some of the contrast while retaining the sharpness, was a cycle of stand-development with Rodnial 1+100. This is not a type of process I often use, but for slower films, I have found it to work well with my style. It also gives a certain «character» to the shots, that I find to suit my eye.

Reklamer

I am not in anyway competent to comment on the performance of this film, nor its abilities. I have not used it enough to know how to handle it properly yet, and I am no film expert. However, I find it rather enjoyable to play with this filming trying to rethink my exposures to get the results I want. Also, I have only shot the film in dull, overcast weather, but I find that the Rollei RPX25 gives me a fun challenge to work with. In short, this film is fun to work with.

A video will be available on Youtube soon. Search for Ccadventures.

Working with a slow film

I have shot some slow films before, especially PanF 50 and I love the way a slow film looks. Smooth, calm, invisible grain and deep contrast. I also love how they allow me to shoot with very open apertures and longer shutter-speeds without having to compensate using ND-filters.

A film I have tried some times before without success is the «Rollei RPX25». I bought some rolls of this film for my medium format cameras, and my experience was not that great. One of the films turned out to be incorrectly cut and was more or less impossible to reel for development, and when I finally got it reeled and developed, it had the nastiest mottling I have ever seen. From some research online, I understood that this problem could be down to lack of prewash. Wiser and happier, I went on to try another roll, but on this one, I got nasty camera-shake even though the camera was mounted on a tripod and triggered using a release cable.

Some weeks ago, I bought a few rolls of RPX25 for my 35mm cameras, and today I set out to try it.

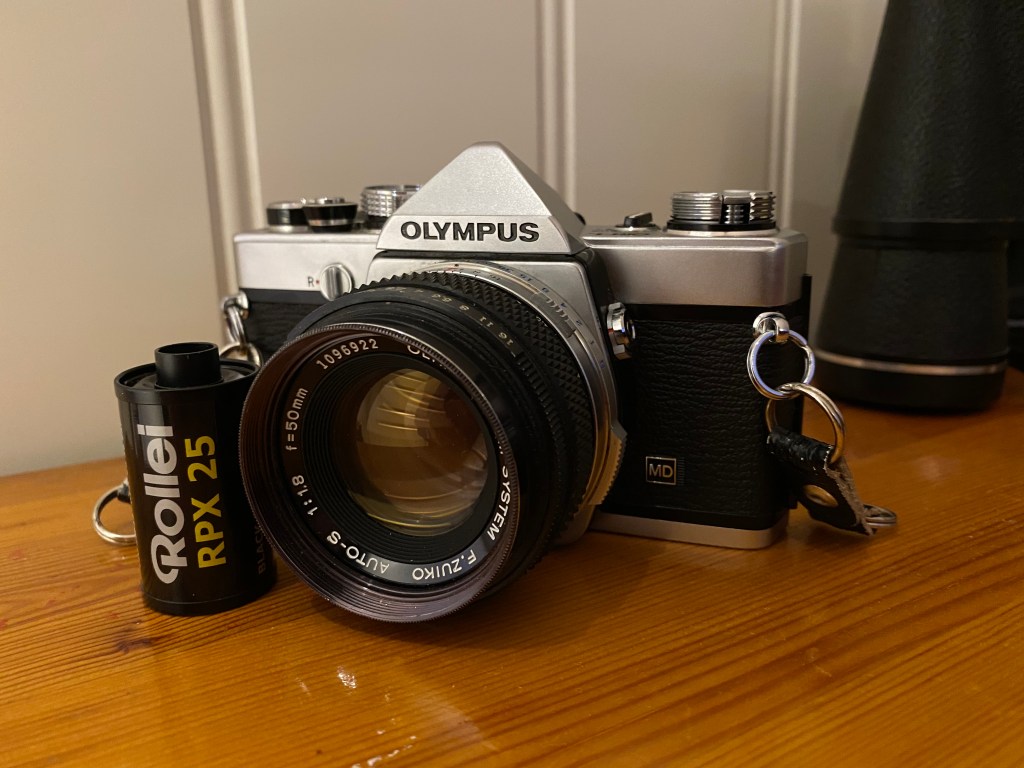
My equipment for the day. Olympus OM-1 w 50mm Zuiko f1,8 and the Rollei RPX25 canister.

I wanted to try this film out in a snowy winter environment, to see if I could tame the contrasts the film gives and end up with a contrasty, but nice winter shot. I chose to shoot at f8 with a yellow filter, to have some aperture to go on, as well as not shooting very long shutter speeds. The yellow filter is also very helpful to shape the contrasts. To be on the safe side, I bracketed the shots to be sure I get something.

Reklamer

So why did I chose the OM-1? I chose this camera because I wanted a reliable camera that I know is fairly accurate both at aperture-settings and shutter speeds. I don’t worry too much about this when I have films I know and that has some latitude, but I was very unsure how this film would handle potential under-exposure, and chose to play it safe. I exposed the film at 20 ISO, which is the lowest my light-meter would go, and developed as shot at 25. My negatives were contrasty but actually rather good looking.

Here are some shots.

I am very happy that my shots didn’t completely blow out the white snow, and the yellow filter helped me keep the detail in the overcast sky, without adding too much extra contrast to the already dark buildings. I am happy with this try-out, and I will finish the roll at another time.

If you want to join the shooting and hear some Camera-babble, a video will be available on YouTube shortly.

Playing around with a Petri 7s

If you have followed this blog for a while, or read some of my posts, you may know that I have a Petri Racer that I really love shooting. I find the little Petri to be very reliable, accurate, light and handy as well as giving the images some character. I can’t really put my finger on why I like that particular camera so much, it is just a camera I enjoy shooting. A few weeks ago, I came across a Petri 7s on an auction online, and I won it on a very low bid.

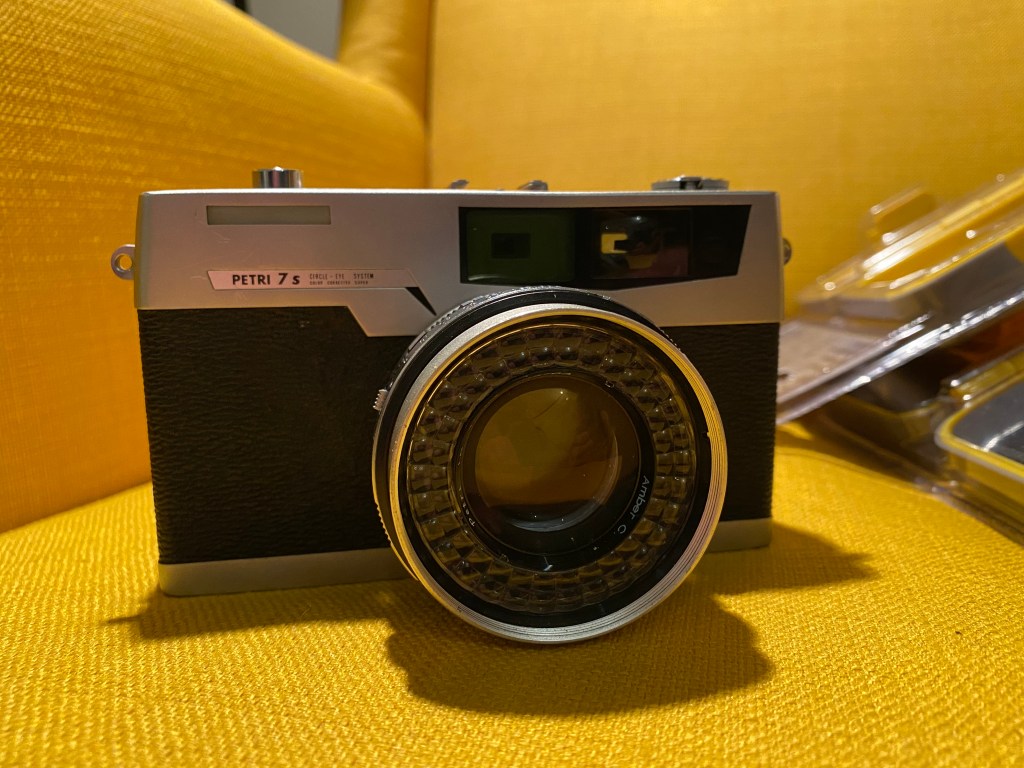
The reason I was interested in this particular 7s was that it had the f1,8 lens, which some sources claim to be a six element lens with an interesting bokeh-pattern. Whether it is six element or four, as the f2,8 version, does not necessarily mean that much to me, but I do love nice bokeh and sharpness. For the very low price that I payed, it was worth the gamble at any rate.

The Petri 7s f1,8 Rangefinder camera w. amber coated lens

A gamble it surely was as this camera has a few personality traits that is very specific to this particular one. First of all. The Rewind-knob is loose, and you cannot turn the camera on its head without risking the film to lose tension as the rewind knob disengages. Another interesting «asset» this camera has, is a dodgy lock on the back. This means you will get the luxury of using electrical tape to secure it from opening mid-roll. In addition to this, the camera invites to a creative approach to focussing, with a rangefinder (although rather dim and dodgy) that jumps in and out of «sanity» a few times pr shot. I ended up guesstimating my focus because I trusted my own eyes more than the rangefinder unit.

Reklamer

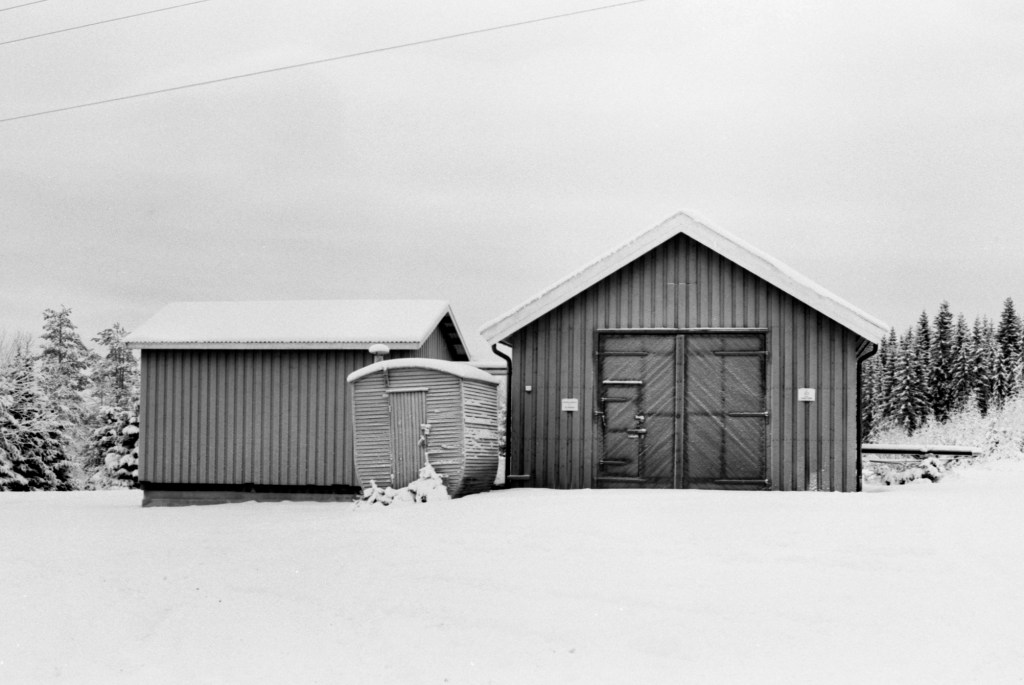
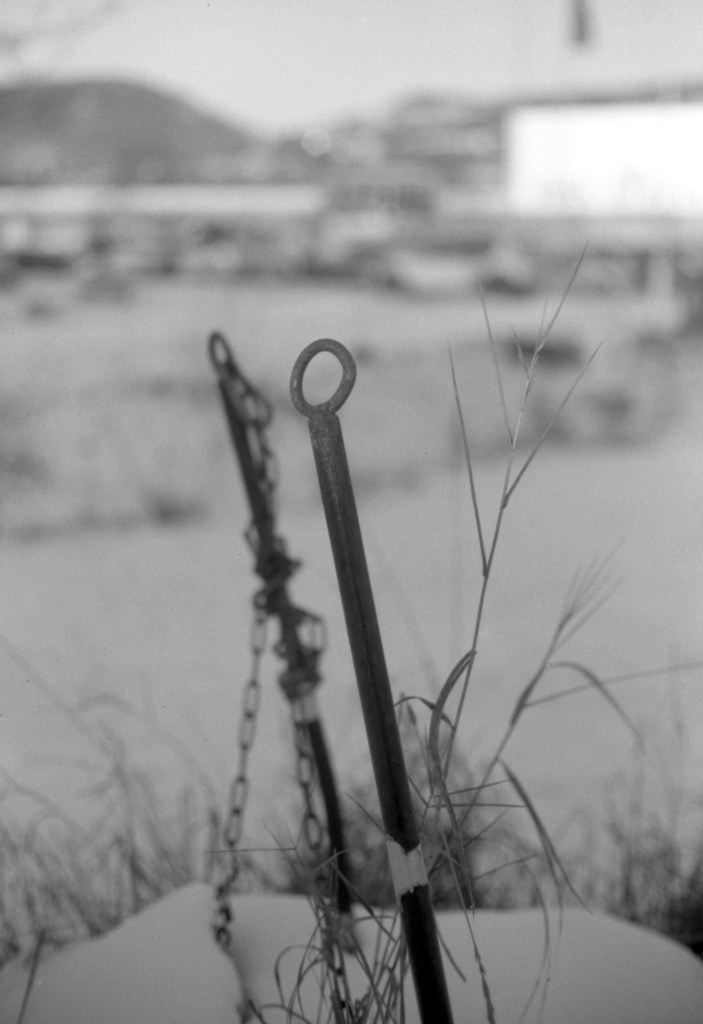
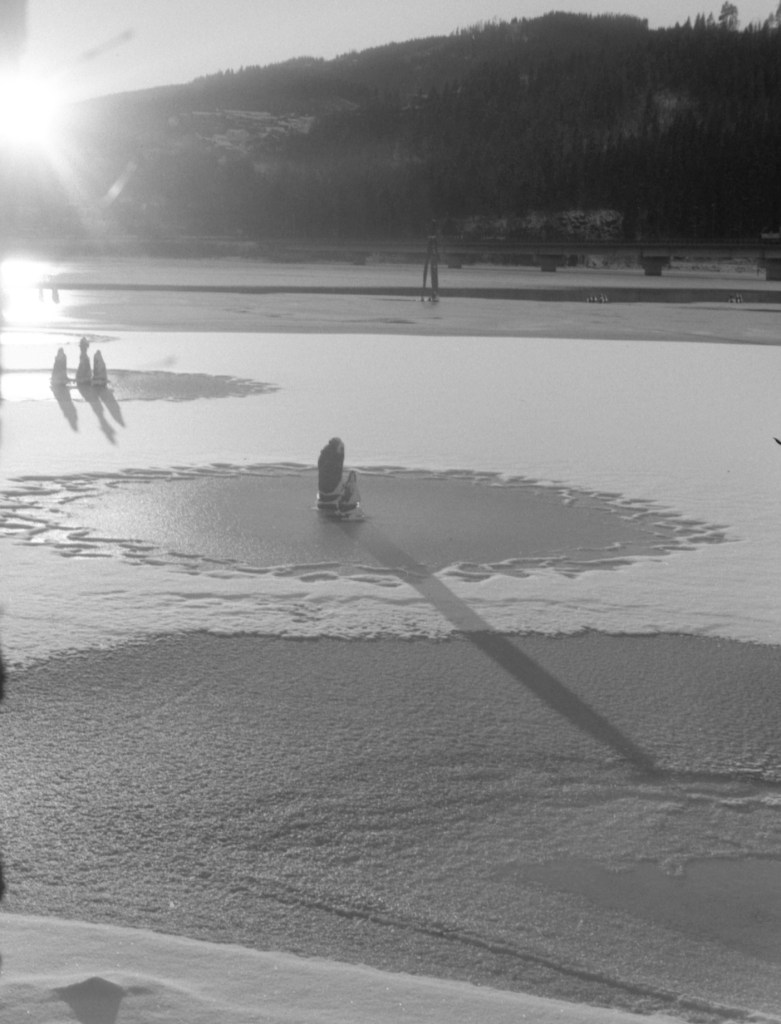
These faults aside though, the aperture settings and shutter speeds are fairly accurate. When I took it to Lillehammer to try it out on the newly fallen snow, I got very good negatives. My test was done with half a roll of Fomapan 200, which I because of the lighting conditions shot at 100. I shaved 20% off the development time compared to box-speed, and ended up at 6 minutes with Xtol Stock.

As you can see, in some of my images, my lens fogged over. However, this is not lens-haze, but rather an issue of a swift temperature change and a forgetful photographer who didn’t remember to wipe the lens before shooting against the sun.

Going minimalistic with Delta 100

Today as I was relaxing, enjoying a cup of coffee, I looked out the window. The first fall of snow has just blessed us with its arrival, and this always brings new objects to my attention. Things that I maybe haven’t noticed because it is hidden in the November-browns.

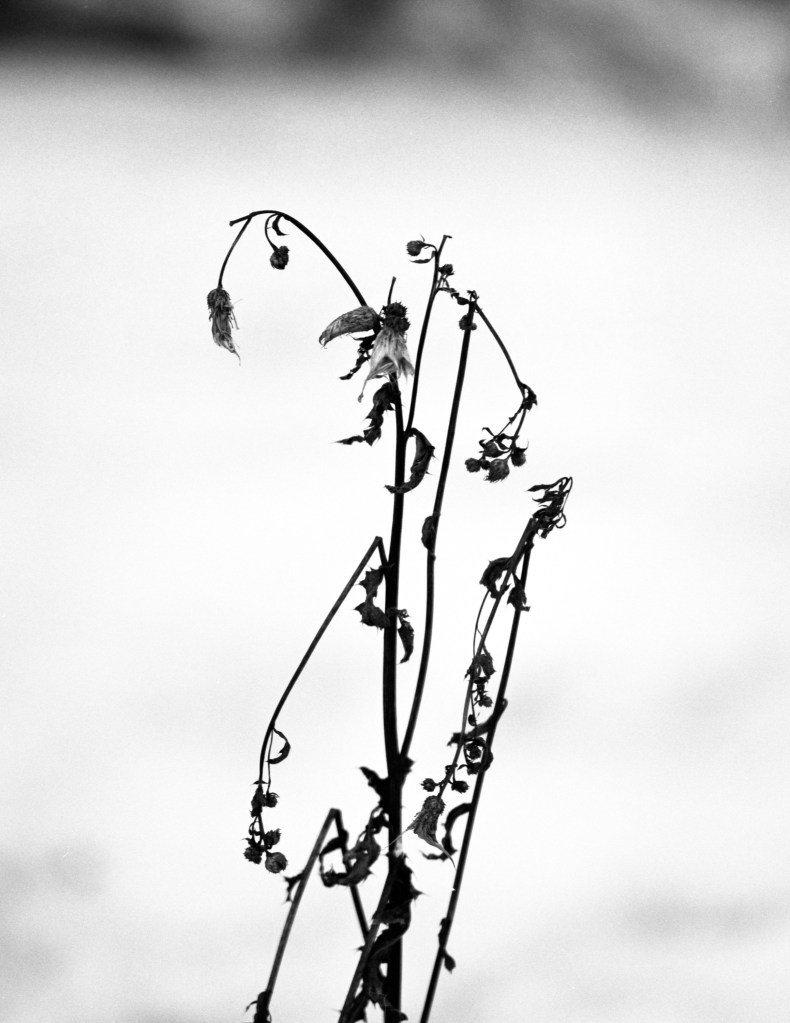
Today my attention was drawn towards some wilted plants. Their very dark brownish colors made a nice, almost minimalistic, tone towards the snowy background. I immediately ran to put a roll of Ilford Delta 100 into my Bronica ETR. I also fitted it with a lens I just bought. a Zenzanon 150mm f3,5. Equivalent to around 90mm at a 35mm camera, and used a yellow filter to get the minimalistic contrast that I was looking for.

Zenza Bronica ETR w 150mm Zenzanon f3,5 + Yellow filter. Ilford DD-X developer

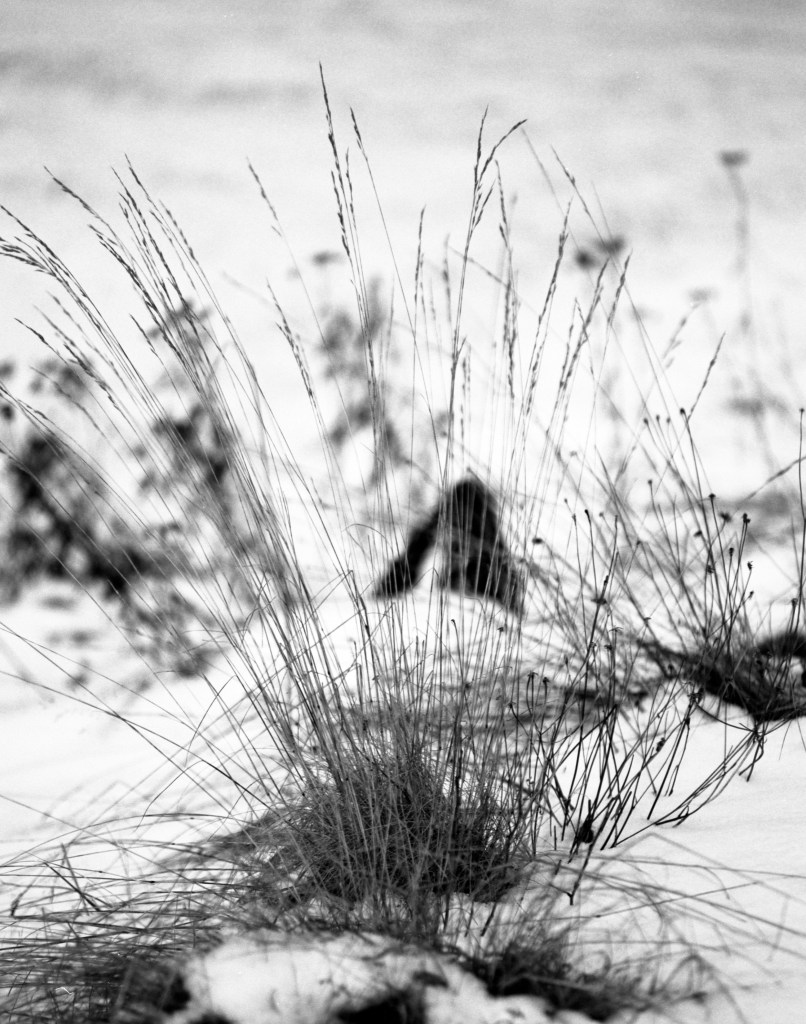
I aimed to keep the snowy areas around zone 8-9, to not completely blow it out, and my dark areas around zone 3-4 to retain some shadow detail. I got fairly good negatives, but I would have loved to have retained some more detail, especially in the most contrasty images.

Reklamer

Once again I chose to develop Delta 100 in DD-X developer, and this time as well, it gave me fabulous negatives. I am really looking forward to working with some of these images in the darkroom, and I expect to use lower grade filters, or maybe some split grading to get the most out of the negatives. A spot on my wall is already prepared for one of these images.

Once again. Thanks to Bjørn for sending me these films and the developer to test. I do really love the results it gives.

Trying again with the Condor

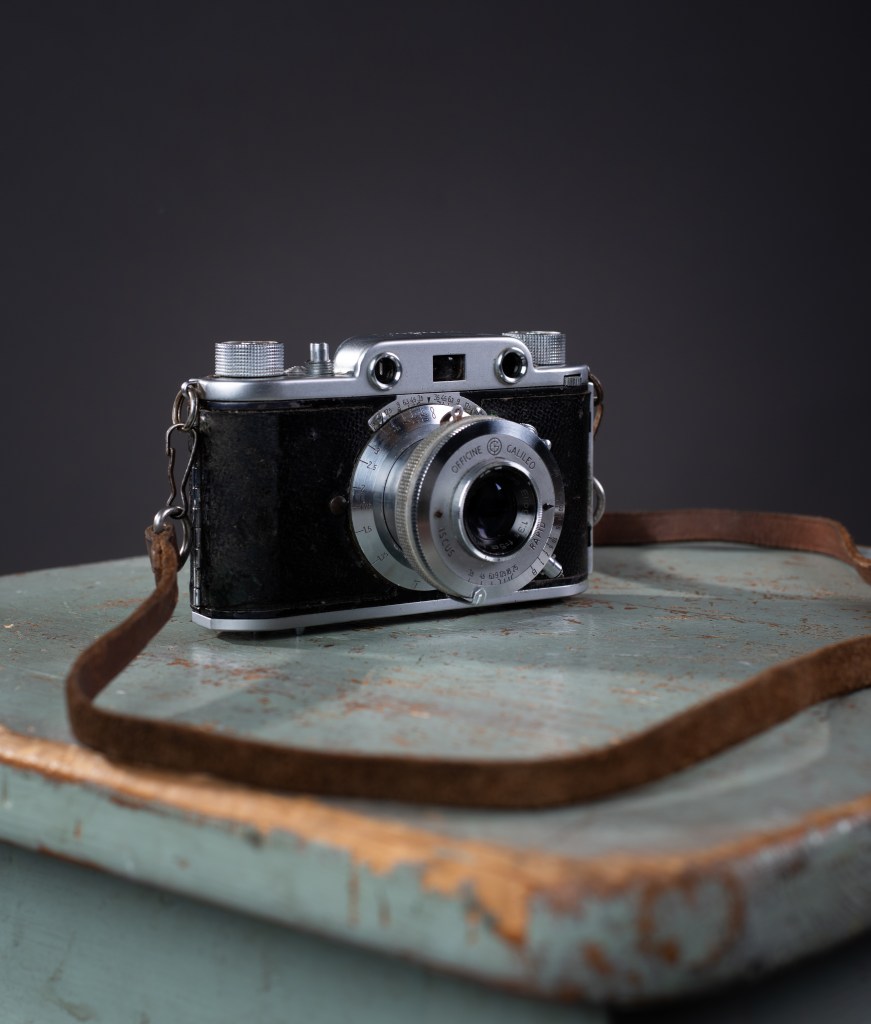
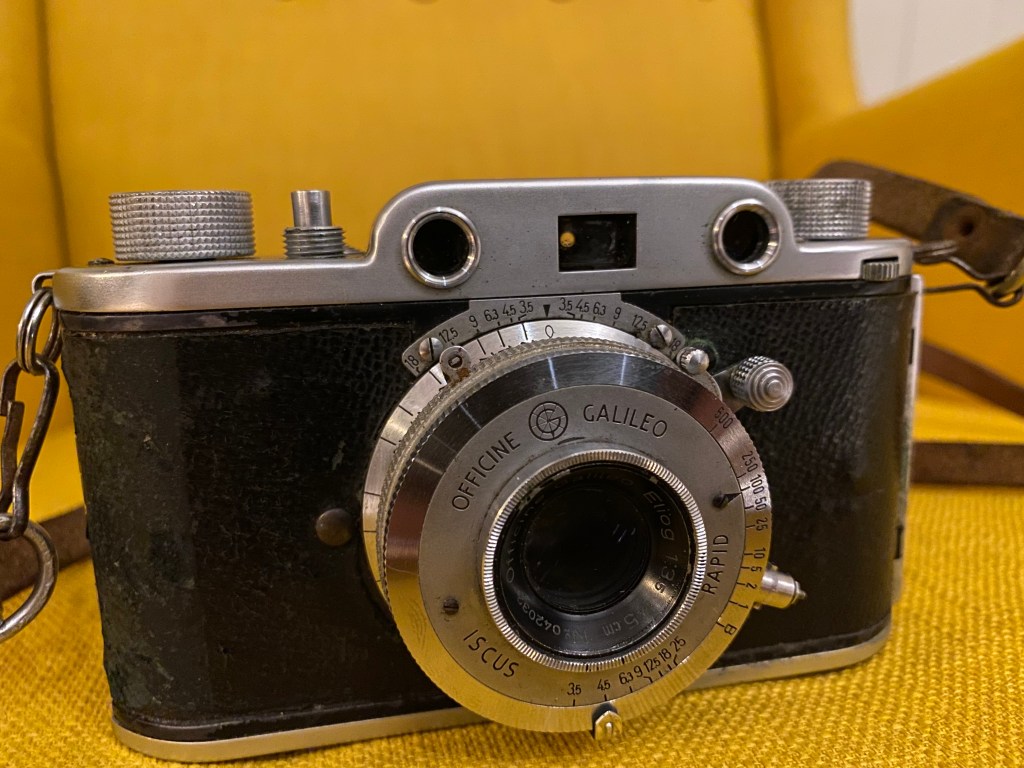
A few says ago, I wrote about my new camera. A 1947 Condor I. Mine was sold without the Ferrania logo, and from my research online, I see that these cameras were sold like this in 1947. This means that the camera is 73 years old, and was sold two years after WWII ended in Europe. In the early stages of the European healing time. In Italy, this is two years after Mussolini died, and Germany was still referred to as «Handelsschiffe» and completely divided into four sections by the allies. From Germany came the Leica IIc, a camera that is way above my budget, even today. And from Italy came Officine Galileo with their Condor I.

The Condor I is a relatively simple camera in many ways. 100% manual with shutter-speeds on a wheel around the lens, aperture settings on a lever and a coupled rangefinder with two viewfinders, one for sharp focussing with some magnification, and one for a preview of the whole Image. On mine, alas, the range finder is too dim to be of any help when focussing on my particular camera.

The beautiful Officine Gallileo Condor I

Operating the camera is a little fiddly, especially because of the very hard mechanics. It does not seem to have been used and looked after for some time, and it would not object to a little lubrication and a little clean. Other than that, it seems to work pretty well.

Reklamer

Walking around with a camera like this, makes you think more than if you walk around with a fully automatic digital camera, where you know that what you see is what you get. An old, vintage, piece of equipment seems also to put a smile on people’s faces. When shooting this today, I was asked by several elderly people about the film I used, what camera it was, and what I knew about it. I also had to tip some of them about my blog, where some of the images would be posted.

Another interesting thing with this camera is that it gives med 40 images on a 36-roll of film. This is because you stick the leader properly in place, and can close the back before you start advancing it. The lens is relatively sharp, sharper than I would expect from a camera this age, and way sharper than my Argus camera. On the down side, I am limited by having to «guess-focus» and I can’t really see its potential before I have some kind of rangefinder to help me. It also seems like the lens has a little hazing on it. Not that it is a dealbreaker for me, but it is something to consider then using it, as it gives very hazy results when there is some backlighting in the image.
Even so, the camera is fun to shoot, and I will probably use it for a few outings in the future. After all, it cost me close to nothing, and It is fun being so bound to your own skills.

Messing up a test

Testing old, cheap cameras is always exciting. Sometimes they work, and sometimes they don’t, but in mist cases, you get something. In this test, I got something, but I managed to damage the film when winding it out. More of that to come.

Some weeks ago, I found an interesting camera on eBay, that I had never heard of before. The camera is called «Condor I» and was produced in Italy from 1947 by the Italian manufacturer of optics Officine Gallileo. After a while, Ferrania entered and most of the cameras were sold with the Ferrania logo on it. Mine, however did not. Whether this means that mine is among the earlier cameras, I don’t know, but – in mild terms – the camera does have some patina.

My dirty and somewhat tatty copy of the Condor I.

The first thing that really struck me when I played around with this camera, was the unusual selection of aperture stops. 3,5 and 4,5 are not that strange, but 6, 18 and 25 are stops I have never seen before on any manual camera. However, the aperture selector is the only part of this camera that is easy and smooth to operate. It seems to me that this camera has not been used for a long while, and that it will take some «jiggling» and maybe some sewing machine oil to get the focusing mechanism and the shutter speed dial to move with ease.

Reklamer

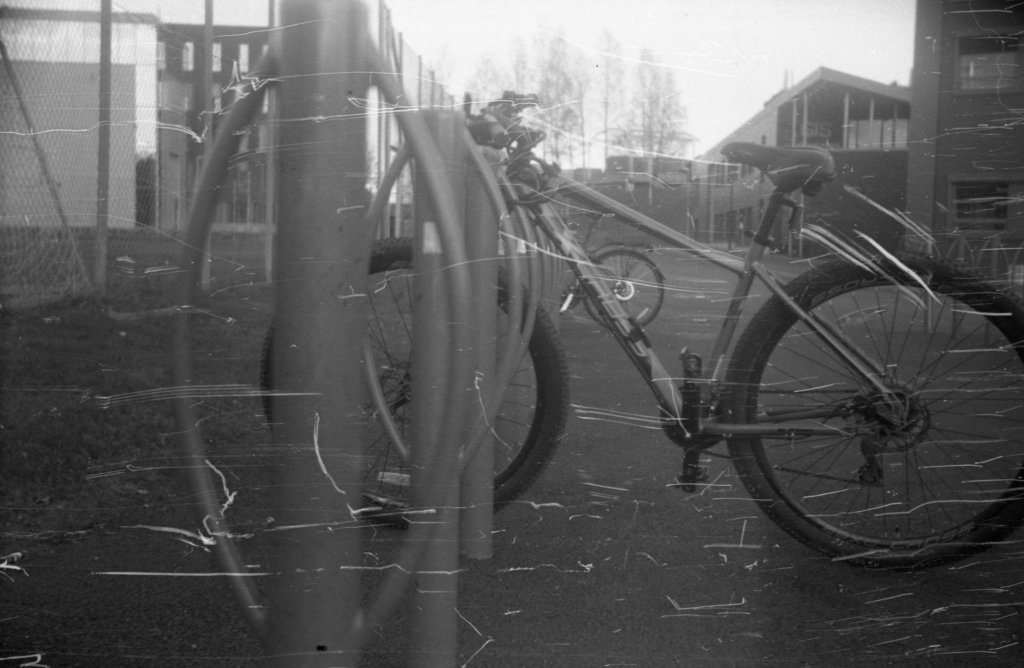
After cleaning both the rangefinder windows (there are two of them on this camera) and the viewfinder window as well as a light wash with some glass cleaner over the whole camera, I loaded it with a roll of Rollei Retro 400s. Previously this day, I had spotted two lines of bicycle stands that I thought had an interesting look to them. I decided to shoot some frames, cut the film out of the camera and develop the film to check whether it does work.

So far so good, I shot some frames and went home ready for developing the film. I loaded everything I needed into the changing bag and cut the film out of the camera as intended. But for some weird reason, the take-up spool would not accept the «rewind setting» and roll backwards. I fiddled a bit with it, and after a little while, the film spun up into my hand, and I was able to carefully wind it off manually. It does seem, however, that I was not able to do this carefully enough. I got nasty scratches and marks on my negatives, and I can only blame myself.

Condor I – Rollei Retro 400s – Xtol 1+0 9.30 at 20 degrees

The nasty scratches aside, the lens seems very sharp and the exposures fairly accurate from what I would expect with the settings. All shots are f4,5 at 1/100th and the Rollei film is shot at box speed. Also, the I love the smoothness of the grain I see in these scans.

I do definitely have to take this camera on a new test. The images seem to be decently sharp and pleasant for a messed up shoot like this. I’ll make a video about this little quirky camera and my next time shooting it.

Printing lonely leaf

In my previous entry, I went out in the grey, misty Norwegian November to take some calm and pleasant pictures with my Bronica ETR and a roll of Ilford Delta 100. I also tested a new developer, Ilford DD-X, and I was very pleased with one of the images. So pleased in fact, that I decided to take a trip into the darkroom to make myself a print for my own wall at home.

The picture I chose to work with.

I brought along my GoPro and made a very basic and amateur video coverage of the darkroom session. My video skills are not good, and this is actually the first time I have tried to mount together a video in this way. I might do more of these.

Reklamer
My very amateur video. Please enjoy.

Working with Delta 100

Some days ago, I was contacted by another Norwegian photographer who has a collaboration with Ilford Photo. He kindly sent med some rolls of Ilford Delta100, some DD-X developer, Fixer and Wetting agent to try out. Today I went out with my Bronica ETR to try it out. Before I go any further, visit his amazing gallery on Flickr and read his posts here.

WordPress: https://bjorn-joachimsen.com

Gran Canaria
Bjørn Joachimsen Flickr

When I heard that I would be sent Delta100, I was thrilled. When I took up analog photography again some years ago, Delta 100 was one of the films that really rekindled my interest in film-photography and I find it to be one of the best films I know about. The smooth and soft T-grain structure gives pleasant results. even when developed in Rodinal. In most cases I shoot Delta 100 at 50, but today I chose to go at box speed, because of the lighting conditions.

Reklamer

My location for this outing was Tallodden. A beautiful little place not too far from where I live, and I brought my Bronica ETR, some square filters and a tripod. I always mount the Bronica on a tripod. It is too heavy to shoot steadily by hand, especially at shallow apertures or longer shutter speeds.

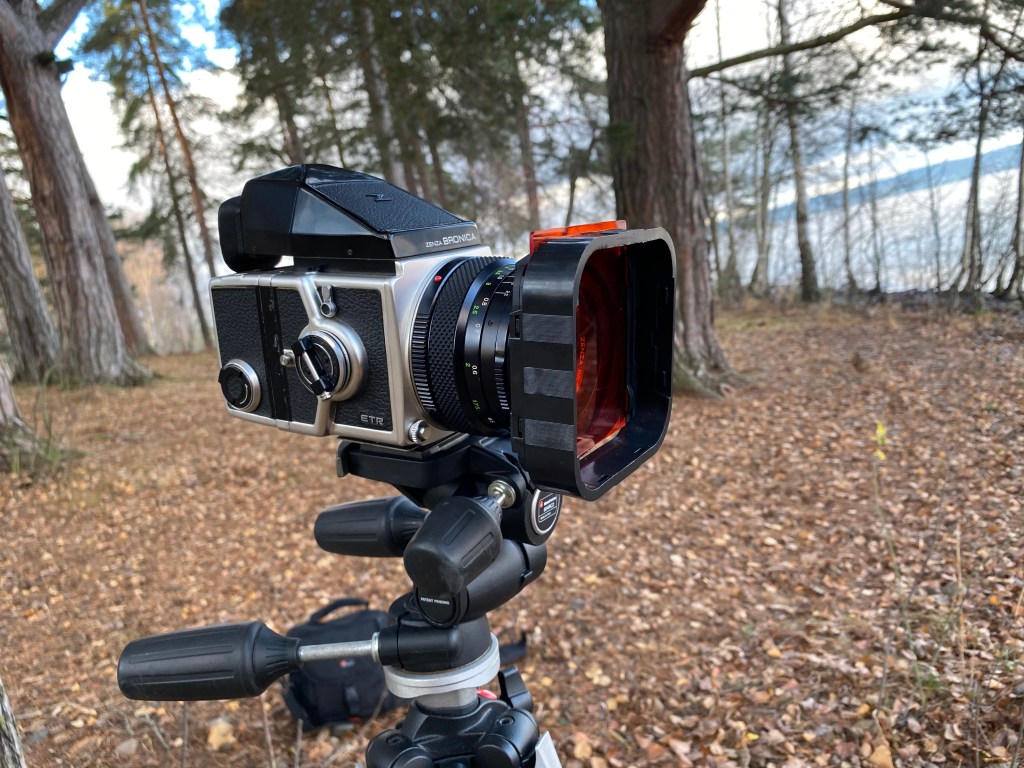
My setup at the location.

There is something about walking around with a proper MF SLR like this. It makes people interested, and I had a shot chat with a nice elderly man who was out for a little stroll along the lake. He told me that he had not seen anyone with such equipment around that area for years, and asked me all sorts of questions about the camera, my lens, film, plans and where I would post my images for him to see.

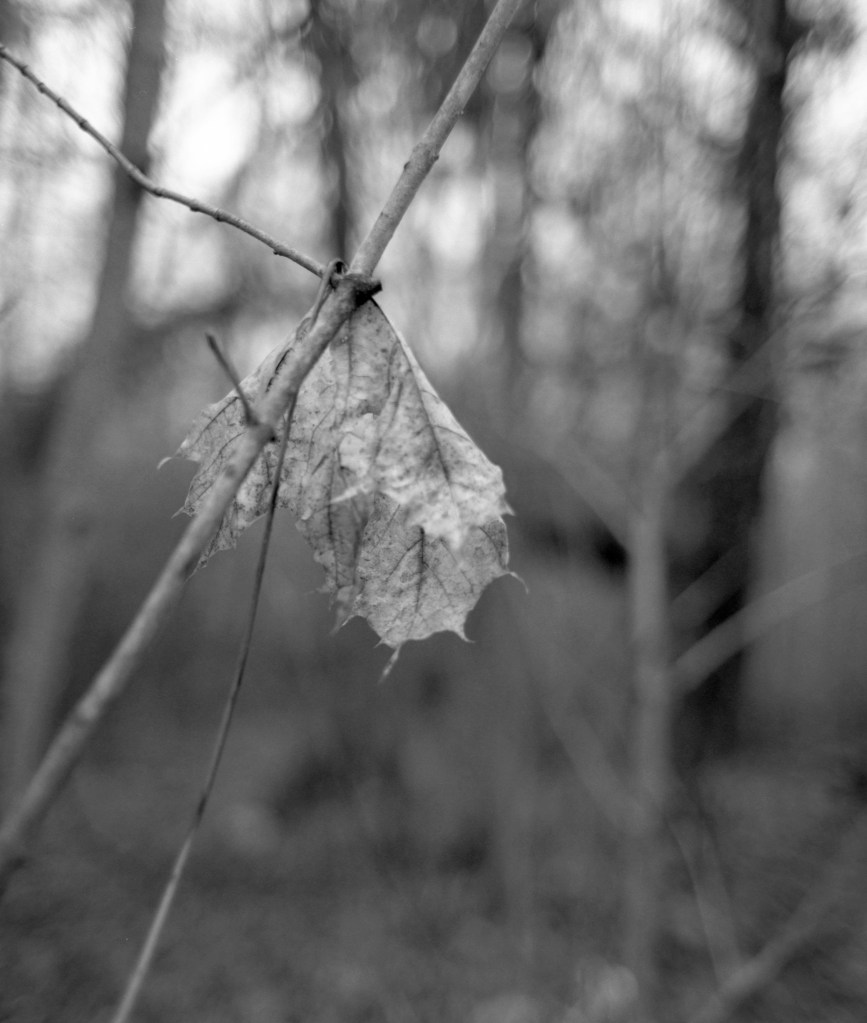
A lonely autumn leaf. Bronica ETR w 50mm Zenzanon f2,8. Shot at f2,8 1/30th with yellow filter. Developed in Ilford Ilfotec DD-X 1+4

I spent some time scouting around for interesting subjects that would give me a smooth and calm mood to my images. I wanted the fine grain the Delta100 gives to be one of the main focus on my shots. I chose to use a yellow filter for most of the images to boost some contrast, and get the most out of the range. But I swapped for an orange filter for shots where I wanted the «silky water» effect, and more depth in the range.

I then went home and developed.

Reklamer

This is the first time I have ever used DD-X. Actually I have never used Ilford Developers before, so I was very excited to see what the grain structure and the range would be like. This is a shoot where I would normally have gone for Kodak Xtol, and I am comparing a bit to what I would have expected from Xtol.

I am very happy with my results, and I am happy to see the smooth and lovely grain in this shoot, and I think the DD-X brought it out beautifully. I still have more rolls to shoot and develop in this developer, so I will not come with any analysis of any kind based on my limited knowledge, but so far I am very happy.

Once again, thank you for sending me films and chemistry to try out. More entries with this film and developer will come. Also a video of me making darkroom prints of some of these images.

Stay tuned