Frames of Norway 1

With this entry, I am opening a new series of entries and also Youtube-videos. In these entries, I don’t care too much about the camera or film, but rather focus on composition and my thoughts behind the choice of location or film in regards to what I wanted to achieve. Everything is allowed in these entries, regardless of price of camera. And yes, obviously I will still have some entries in the old manner too.

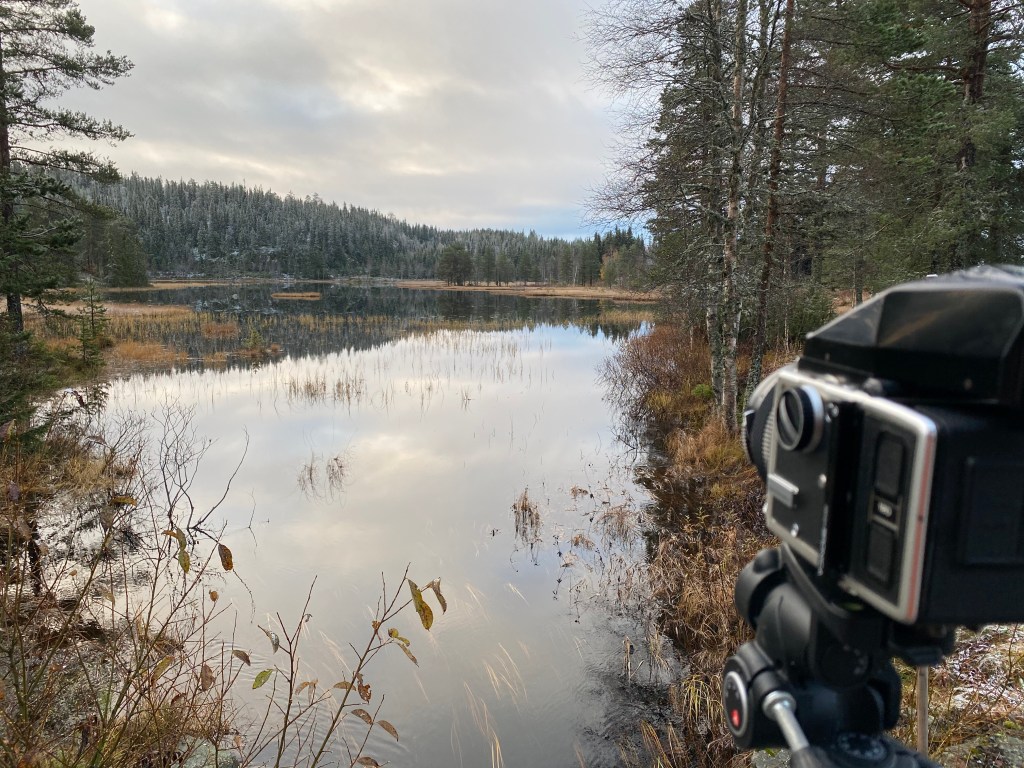
For the kick-off of my new series, I chose one of my favorite cameras. My Hasselblad 500c, which not by any means is a cheap camera. I love shooting square format, and the Hasselblad along with my Ikoflex are to me the most inspiring cameras I own. There could be something with the waist-level finder that just makes everything look very lively and nice and makes composition very easy.

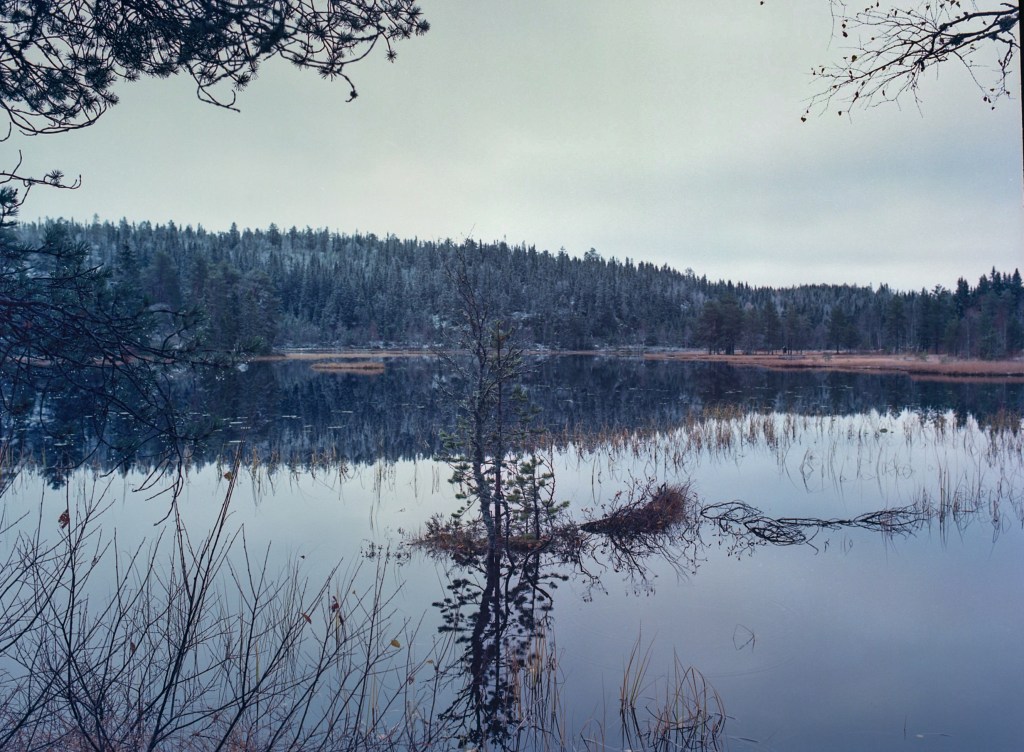
My location for this outing is the site of an old derelict saw-mill just north of Gjøvik. Back in the day, this was a very active saw-mill with close proximity to the lake and easy access for boat-cargo on the lake. There are still a lot of poles and marks in the shallow water after extensive log-driving on Mjøsa.

Remains from the Log-driving on Mjøsa – Hasselblad 500C w 80mm Planar f2,8 -Bergger Pancro 400 – Adox Atomal 49 1+1

Log-driving was a dangerous job and many log drivers would drown while working on floating timber. Sometimes, workers had to do the dangerous maneuver of loosening up jammed logs using a pike-pole. To utilize this tool, they had to walk on the floating logs, and sometimes, they either were hurt when the jam broke up, i.e. being crushed, or they could stamp on a loose log and fall unto the water and get stuck in the water under the massive amount of logs.

In honor of the history of these brave workers, I decided to go with a somewhat gloomy look to these images. To me, gloom means additional grain and a rather «grey» palette. A film I have often had issues with being too grainy or gloomy for my taste is the Bergger Pancro 400. I have used this film just a few times, and I still have some lying around in the freezer. I thawed up one of them and went for this choice.

Remains from the Log-driving on Mjøsa – Hasselblad 500C w 80mm Planar f2,8 -Bergger Pancro 400 – Adox Atomal 49 1+1

It turned out better than I expected, and this film might just be perfect for this kind of shooting. A few pieces of reflection though are the following:

  1. Be very precise when exposing Pancro 400 as it handles underexposure extremely poorly and easily loses the highlights. I tries my best to nail my exposures dead on, and did reasonably well until my lightmeter decided to produce a flat battery. After that I had to rely on a simple app on my phone, which surprisingly worked rather well.
  2. Take your time with this film. I have tried different development cycles for this film, but this is by far my best results with it. I often shy away from very long development times of more than 12 minutes if possible, but to me, it seems like the results with Pancro400 gets better the longer you develop. This process in Adox Atomal 49 1+1 took 23 minutes.
  3. Fix for more than the double time of what you would normally do. As in the previous point. Time is gold with this film. I fixed this one in fresh fixer for 12 minutes, double the time recommended by Bergger, and that seems to give clean negatives. Anything gives harsher grain due to remaining emulsion I guess?
  4. Use it for its potential of making moody and gloomy shots. This is not an «everyday happy snappy film». You have to work with its strengths.
The remains of Biri Bruk – Hasselblad 500C w 80mm Planar f2,8 -Bergger Pancro 400 – Adox Atomal 49 1+1

From my research online, I find that the sawmill was active until the early eighties. I cannot guarantee my accuracy here, but it was defunct before the nineties. In 1994, Lillehammer hosted the Winter Olympics, and the old sawmill was being restored, the goal being it becoming a restaurant. Situated along the road between two venue-towns, Lillehammer and Gjøvik, the location was ideal.

During its restoration, something happened and the old sawmill house caught fire and burned to the ground on Friday the fourth of June 1993. The fire started in the old chip-silo and quickly spread resulting in devastating damage with fire-fighters unable to over-win the fire. Today, only the foundation walls are left, and is what you can see photographed in some of these images.
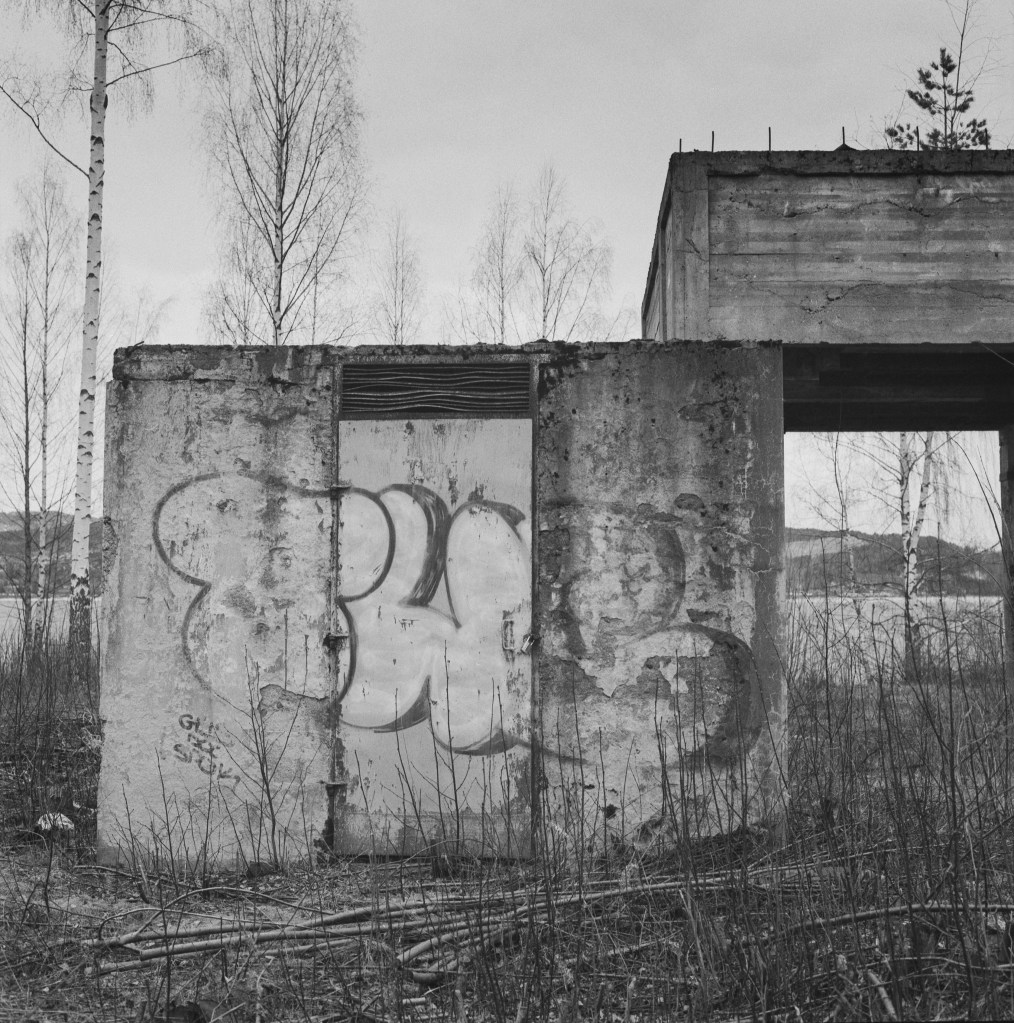
Ruins of Biri Bruk – Hasselblad 500C w 80mm Planar f2,8 -Bergger Pancro 400 – Adox Atomal 49 1+1

For me, this location has some personal value. My grandfather used to work in this place as a lorry-driver for many years, and when walking around, I can still hear his voice takling about all the interesting and struggle some days they had at work in this old sawmill. What was important for me in this outing, was to capture the mood of the place in regards to its history and how it is a symbol of a very decentralized way of structuring agriculture. And maybe most important, how we still have some remains of a very active workplace in a very smack little settlement.

Remains from the Log-driving on Mjøsa by Biri Bruk – Hasselblad 500C w 80mm Planar f2,8 -Bergger Pancro 400 – Adox Atomal 49 1+1

I hope you enjoyed reading this entry, and that you can catch the mood I am trying to convey through them. I would also love hearing your thoughts about Bergger Pancro400 and if you have different or supporting experiences.
Shooting Boots film?

A short while ago, I shot a roll of expired medium format film and got «interesting» results with a lot of mottling and so on. I am not a very frequent user of expired films, but once in a while, I get hold of some expired film, and I do not mind trying it out either. Normally, the expired films you get hold of are your big manufacturers such as; Kodak, Ilford, Fuji and their friends. However, in the late 1990s and early 2000s, there were a huge number of rebranded films and budget options that are not present today.

In this entry, I am writing about my tryout of one of these films. A film sold in the pharmacies back in the day. The Boots Universal 400. Which film this actually is, is not easy to read out of the packaging or negatives. The negatives are fairly anonymous without much writing on them, and on the box, it only says that it is made in the EU for Boots Pharmacies in England. The EU-part leads my suspicion to either Agfa or Ferrania as the real producer of this film, but I will not make any claims. Please let me know in the comments if you know.
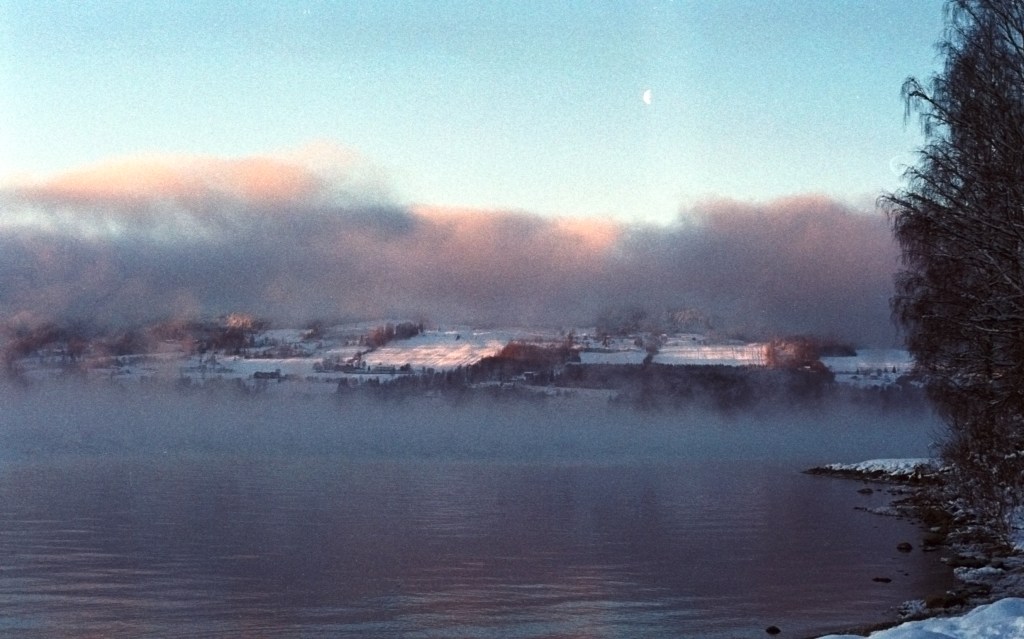
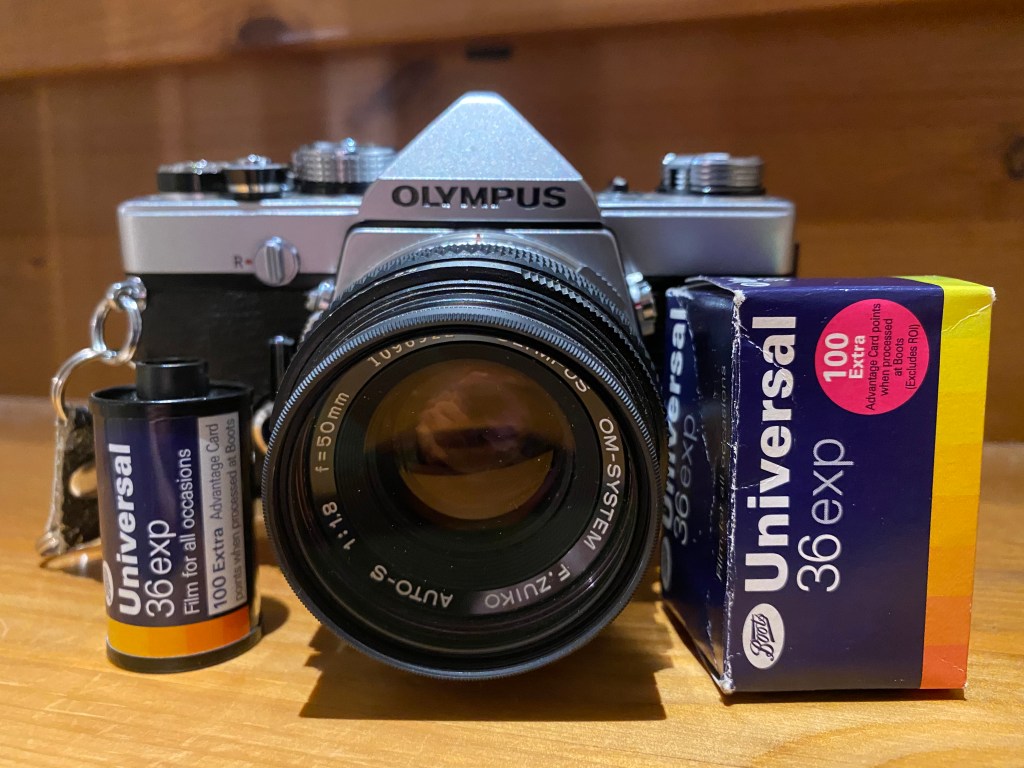
My equipment and film for this entry. Olympus OM-1 and the Boots Universal 400. Sadly, I did not get the extra 100 advantage card points from Boots, because I developed the film myself at home.

I chose to go with the Olympus OM-1 as it was a very cold morning. The temperature was -20 degrees when I arrived at the location, and the Olympus has an impeccable record of always functioning in cold weather conditions like the ones today.

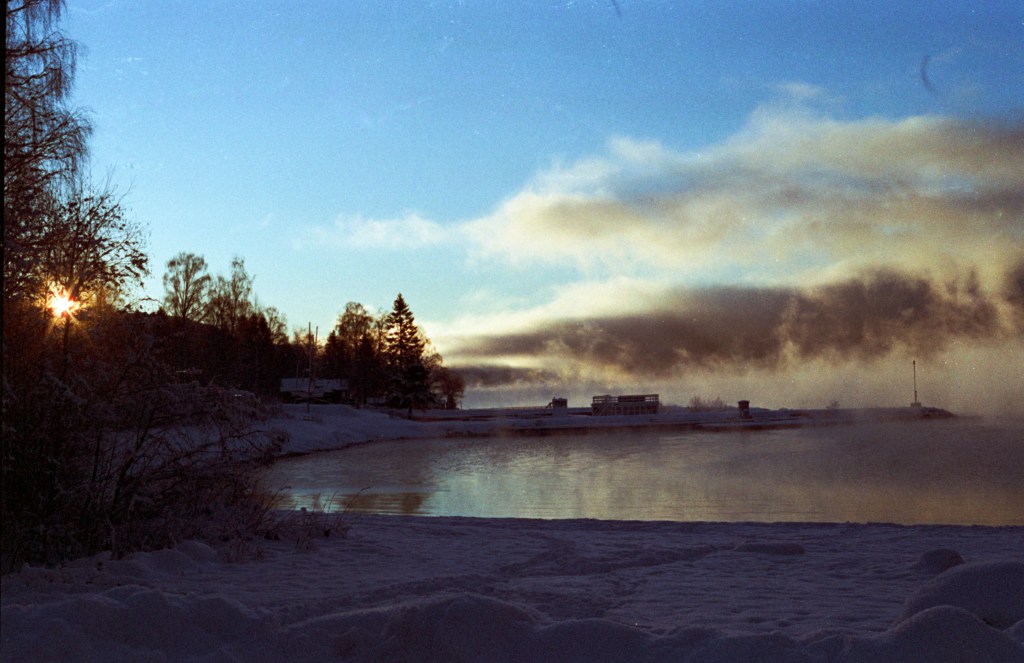
Because the film expired in 2006, I chose to abide with the rule of thumbs, one stop pr decade, and I metered my shots at ISO 160, and did some slight bracketing just in case. My expectation from this film was slight colour casts and an increase in grain, which I indeed got. The colours were severely off in many of the shots, rendering the misty lake in everything from strong oranges to fiery reds. Instead of making heavy colour corrections in post-processing, I chose to go with the colours the film gave me, and I did not do any grain reduction either.

Boots photographic aquarelle – Olympus OM-1 w Zuiko 50mm f1,8 lens. Boots Universal 400@160

Some of the images got a nearly «Aquarelle like» mood to them, and I find them quite interesting and beautiful in their own way, even though they are clearly not the most spotless, nor grain free images I have taken by any means.

Reklamer

Another interesting thing from this morning, was the the lighting conditions changed so much over the 45-60 minutes I was out shooting. The previous image was taken at the beginning of the session, and the following was image nr 36 on the roll.

Boots photographic aquarelle – Olympus OM-1 w Zuiko 50mm f1,8 lens. Boots Universal 400@160

Shooting films with huge amounts of grain is not normally my thing, but sometimes grain gives you images a little extra punch in the mood and makes them more interesting. In this case, I think that is what the grain did. It gave the images a level of abstraction that I find very pleasing. But I appreciate that this might not be everybody’s cup of tea.

Trying out Delta 400

When I first tried out Ilford HP5 plus, I completely fell in love with the film. I just loved the amazing latitude and the rich feel it gave my photos, and since then, I have mainly used HP5 plus whenever I needed a 400 or even a 200 speed film, which the occasional use of Tri-X-X when I want to push the film slightly, or just want to have a yellow cassette in my camera instead of a green one. At box-speed the two films are interchangeable in my humble opinion and I challenge you to spot which photo was shot with which of these two if I put up a selection.

A While back, before Covid and quarantines were an issue, I was in Aarhus in Denmark visiting a friend and enjoying the lovely Danish landscape and all the lovely pastries and coffee shops they have. I also visited Mimosa Photo shop in Aarhus city center, and picked up some rolls of film. Since I only had one roll of HP5 plus left, I needed a 400 speed film, and the only one they had in at that moment was Delta 400. I bought three rolls, and since then they have just been sitting around in the fridge, and not been tested. The other day, I went out for a little outing in the misty Norwegian winter-weather, and I decided to shoot with Ilford Delta 400.

Reklamer

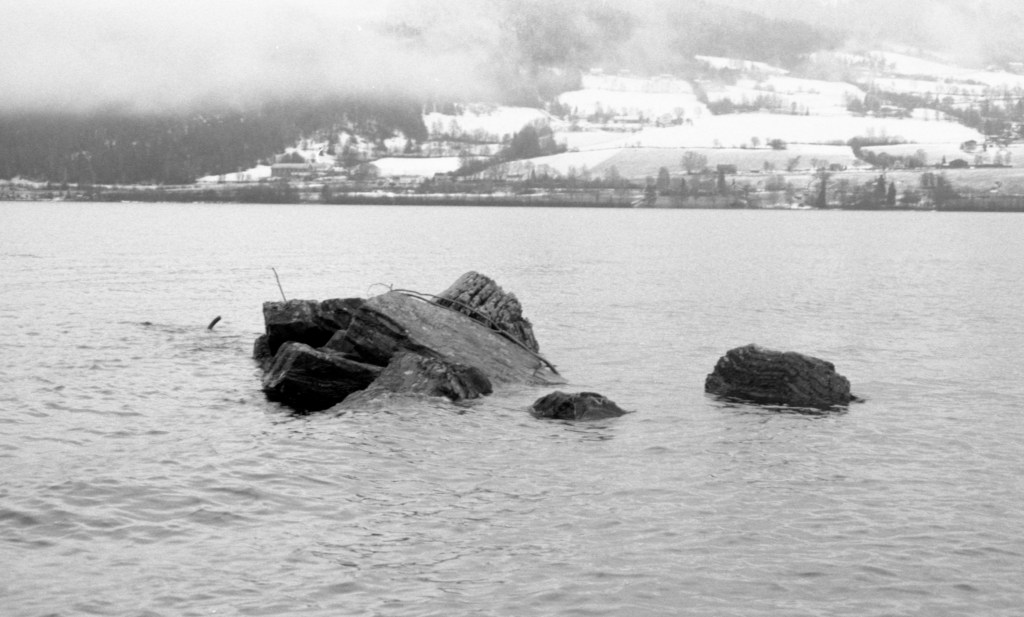
I put one of the rolls in my Minolta Dynax SPxi, and screwed on the yellow filter and went for a spin, trying to find black and dark grey contrasts against the misty, white skies. I have often found the yellow filter to help me get the results I want in winter time, lifting the darks, while helping me retain detail in the very bright whites. I was curious how this film would be different from the HP5 plus, but after only one tryout, I can obviously not say that I have the knowledge to make a comparison nor a good enough photographic bank of results to base any personal judgement on. But I do know what I would expect from HP5 plus in these situations. An my prediction was more or less the same, but with finer grain.

Minolta Dynax SPxi w Minolta AF Zoom 35-70mm f4,5 Yellow filter – Ilford Delta 400 professional Ilford Ilfotec DD-X

The grain on this test-roll was actually finer than I expected, but I did not get the same contrast boost that I would have expected comparing FP4 plus and Delta 100 which I know both of very well. But all in all, I do rather like my results. The Minolta Zoom lens is not by any means the sharpest of lenses, but I tried out different aperture settings and even at some points used «Aperture priority» mode to get the most out the lens that I had on. The camera has a few functions that I find to be very helpful.

First of all, I like the two sensors on the right hand handle that will automatically focus when you touch them. In rainy weather; however, it turned out that these sensors were actually reacting to the rain touching it as well as my fingers, to the AF went berserk a few times. Also the AF tends to select different spots and, as visible in the images, it back focuses somewhat. It would be interesting to try this camera out with a different lens, to see whether this is a camera or lens-issue.

Reklamer

Second, I like the way you set the different parameters on different places on the camera. However, I do find it a bit fiddly and that you very easily forget which knob does what, and hence, shooting this in fully manual mode, is sometimes really exasperating. But the idea of having the controls on knobs and not on wheels, is something I really like. If Minolta only would have been friendly enough to mark these knobs with what they do.

Minolta Dynax SPxi w Minolta AF Zoom 35-70mm f4,5 Yellow filter – Ilford Delta 400 professional Ilford Ilfotec DD-X

Even with the AF on, as you can see, the focus gets very soft, and I suspect that there might be an issue with the AF system on this camera. But at the same time, I think that some of these photos gets some additional mood with that soft focus.

I chose to develop with Infotec DD-X which I know is made for the Delta series. I got the developer from Bjørn Joachimsen in November, and I would recommend you to look through his amazing catalogue of photos both here on WordPress and on Flickr.

Emptying the roll of RPX25

In my last entry, and video, I tried out the very slow Rollei RPX25 film. I shot it with my Olympus OM-1 and I used a yellow filter because of the lightning conditions that I found to be ideal for yellow filter. Also, I must say that I got images that I am very pleased with. I only shot half a roll of the film, and cut it out of the camera, much because I was not sure what to expect in terms of contrast and metering.

Today, I rolled up the rest of the RPX25 in the OM-1, and went for a little outing to shoot the rest of the roll. The weather was absolutely horrendously nasty, with snow/rain blend and temperatures around 0. A typical nasty early winter day in Norway, and I went to a location I know very well. A little lake close to where I live, Skumsjøen, and looked for something that would allow me to shoot wide-open, at f1,8 with the 50mm Zuiko lens.

Tree root abstraction – Olympus OM-1 w Olympus Zuiko 50mm f1,8. Shot wide open f1,8 with Rollei RPX25. Semi-stand development Rodinal 1+100 70 minutes, agitated beginning and midle of cycle.

I went for some very abstract close-ups of tree roots near the frozen water. I even took the risk of walking on the newly formed ice, as it felt safe, to get the best angles. Luckily I did not fall through.

From my last outing with this film, I remembered that I got very hard contrasts in the negatives, and I gave it a whole stop of over exposure to retain more grey-tones in the details. Another measure I chose to reduce some of the contrast while retaining the sharpness, was a cycle of stand-development with Rodnial 1+100. This is not a type of process I often use, but for slower films, I have found it to work well with my style. It also gives a certain «character» to the shots, that I find to suit my eye.

Reklamer

I am not in anyway competent to comment on the performance of this film, nor its abilities. I have not used it enough to know how to handle it properly yet, and I am no film expert. However, I find it rather enjoyable to play with this filming trying to rethink my exposures to get the results I want. Also, I have only shot the film in dull, overcast weather, but I find that the Rollei RPX25 gives me a fun challenge to work with. In short, this film is fun to work with.

A video will be available on Youtube soon. Search for Ccadventures.

Working with a slow film

I have shot some slow films before, especially PanF 50 and I love the way a slow film looks. Smooth, calm, invisible grain and deep contrast. I also love how they allow me to shoot with very open apertures and longer shutter-speeds without having to compensate using ND-filters.

A film I have tried some times before without success is the «Rollei RPX25». I bought some rolls of this film for my medium format cameras, and my experience was not that great. One of the films turned out to be incorrectly cut and was more or less impossible to reel for development, and when I finally got it reeled and developed, it had the nastiest mottling I have ever seen. From some research online, I understood that this problem could be down to lack of prewash. Wiser and happier, I went on to try another roll, but on this one, I got nasty camera-shake even though the camera was mounted on a tripod and triggered using a release cable.

Some weeks ago, I bought a few rolls of RPX25 for my 35mm cameras, and today I set out to try it.

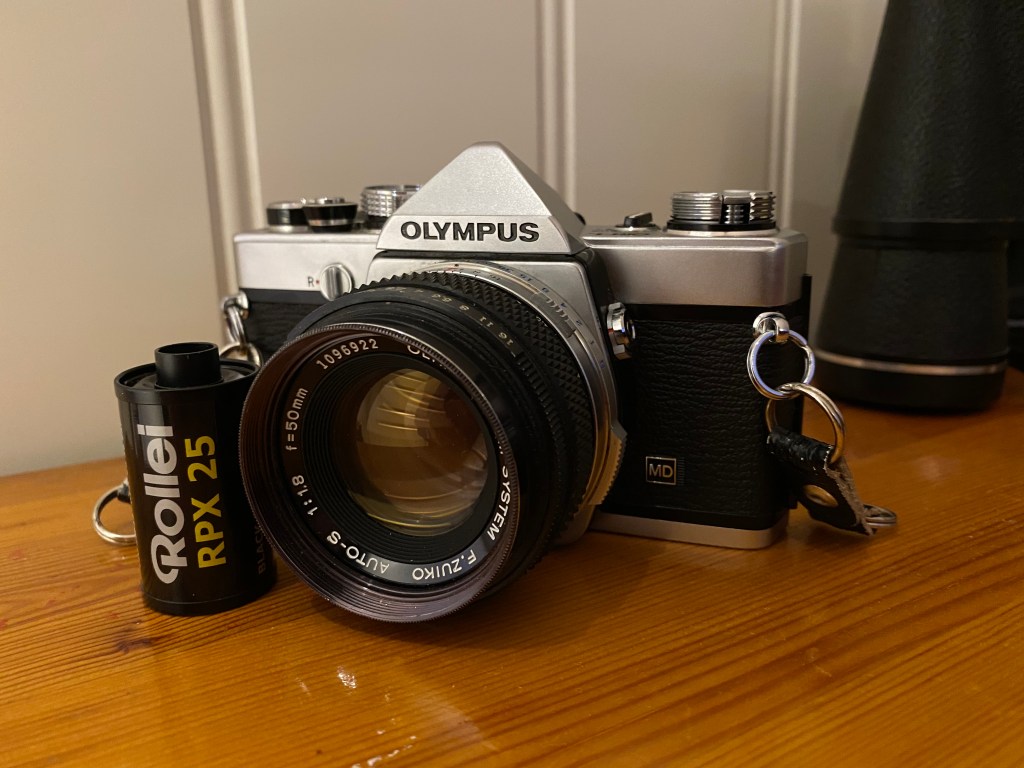
My equipment for the day. Olympus OM-1 w 50mm Zuiko f1,8 and the Rollei RPX25 canister.

I wanted to try this film out in a snowy winter environment, to see if I could tame the contrasts the film gives and end up with a contrasty, but nice winter shot. I chose to shoot at f8 with a yellow filter, to have some aperture to go on, as well as not shooting very long shutter speeds. The yellow filter is also very helpful to shape the contrasts. To be on the safe side, I bracketed the shots to be sure I get something.

Reklamer

So why did I chose the OM-1? I chose this camera because I wanted a reliable camera that I know is fairly accurate both at aperture-settings and shutter speeds. I don’t worry too much about this when I have films I know and that has some latitude, but I was very unsure how this film would handle potential under-exposure, and chose to play it safe. I exposed the film at 20 ISO, which is the lowest my light-meter would go, and developed as shot at 25. My negatives were contrasty but actually rather good looking.

Here are some shots.

I am very happy that my shots didn’t completely blow out the white snow, and the yellow filter helped me keep the detail in the overcast sky, without adding too much extra contrast to the already dark buildings. I am happy with this try-out, and I will finish the roll at another time.

If you want to join the shooting and hear some Camera-babble, a video will be available on YouTube shortly.

Derelict train station

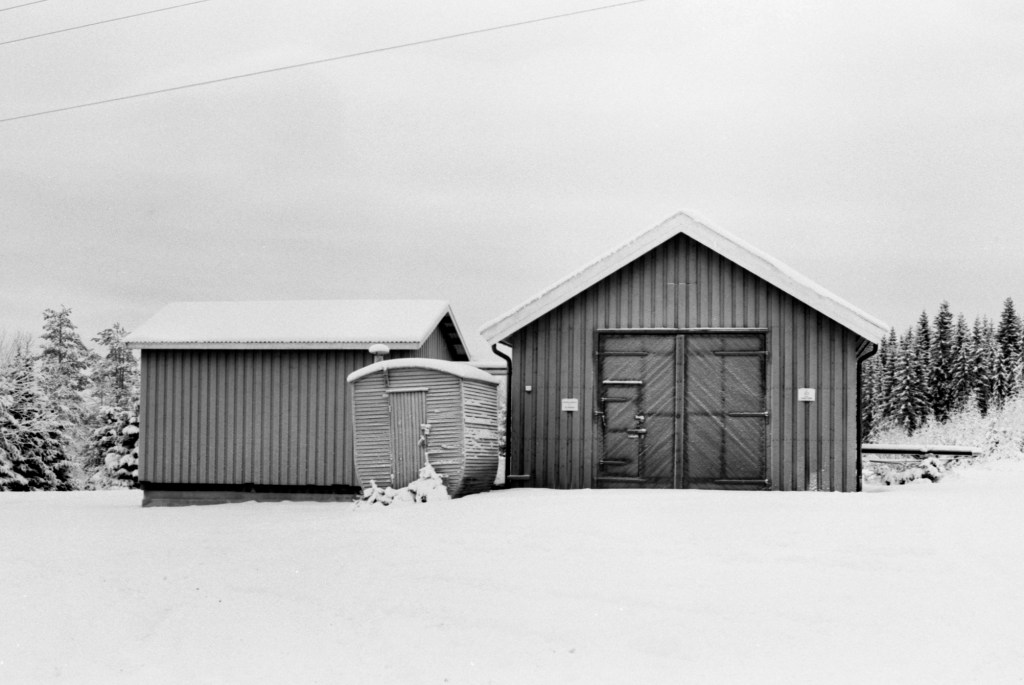
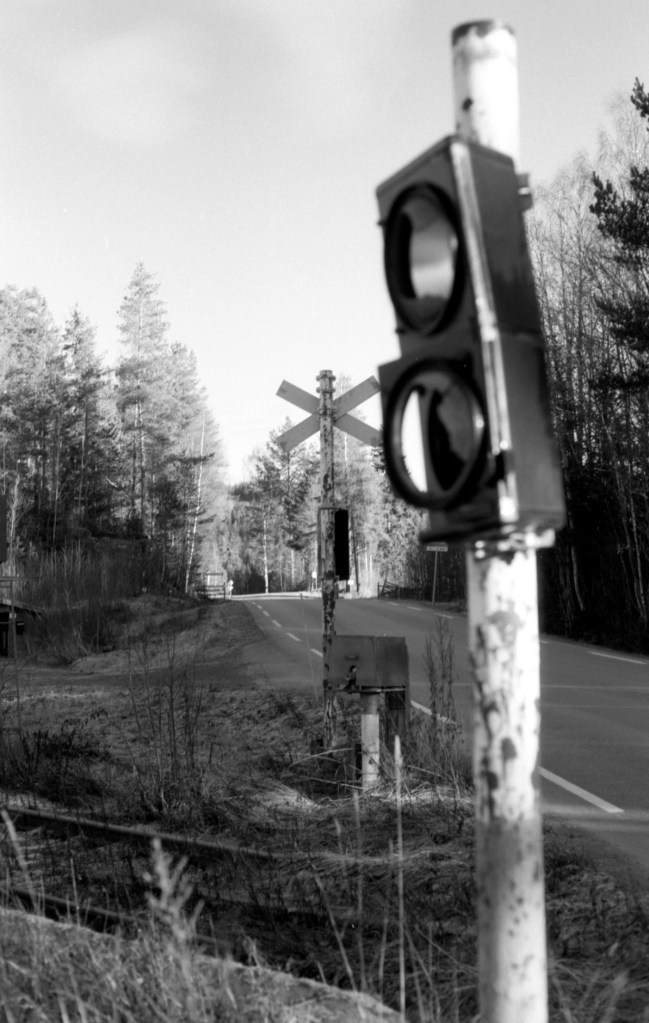
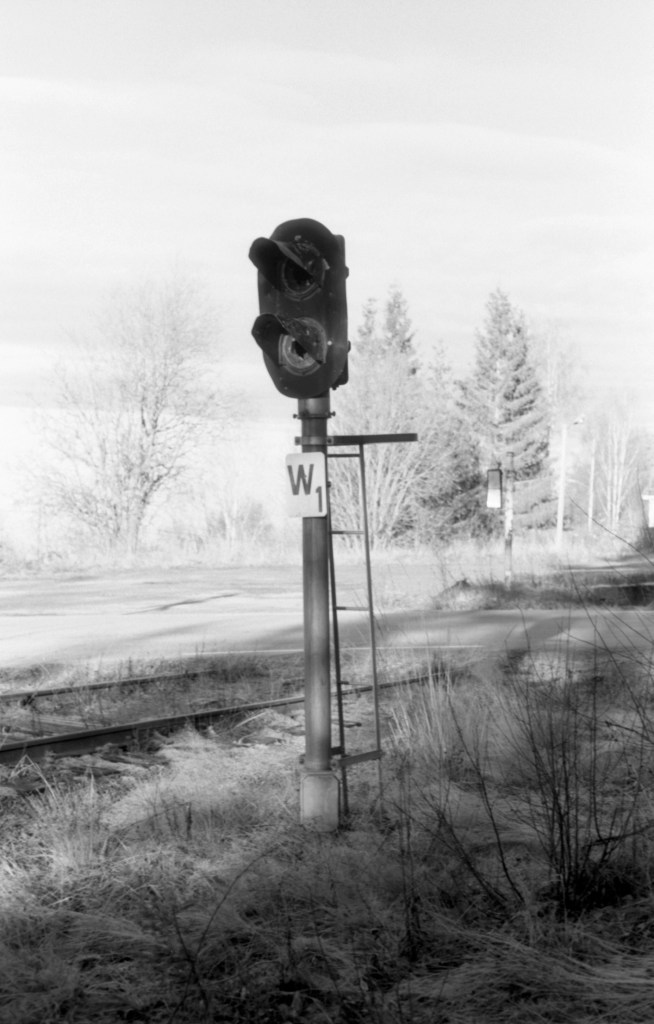
I’ve always had a fascination for derelict buildings and other traces of human civilization that is let aside and forgotten. Today, I brought out one of my good friends, the Olympus OM-1, to an old, derelict train station a short drive from where I live. I equipped the Olympus with a roll of Fomapan 100 and the razor sharp 50mm Zukio 1,8 lens. I brought with me a selection of colored filters to boost contrast and play with the light in the lifting sun and shifting blue skies.

Valdresbanen, the railway I worked by, was closed for passenger traffic in 1988. Some freight trains were ran there later, but the old station buildings have been untouched since this time. Quite sad to think about the number of shut down railways in Norway really. Nevertheless, the old buildings are still characteristic and beautiful in their own way.

Today, I went to Fall station which is very close to Hov in Søndre Land municipality. This was never a big and populous station, and the only building there is a little shed where people would wait for their train to arrive. The main station building was burned down in 1982 by the Norwegian railway company and the shed was built after that. I have shot portraits at and around this location multiple times, but I have never before gone there to explore the location as a subject of its own.

Reklamer

I have never tested out the filters I used today, so I did a lot of bracketing to understand how they work and see how to best compensate for their function. I only got to use the yellow and the orange filters, as they were what I found to match the lighting and location the best.

I did some playing around with different items left aside by the old railway, and did heavy bracketing. I figured that the Orange filter needs two stops of compensation, while the yellow needs a bit more than one from how I interpret my negatives.

Working with dark colored filters can be a bit challenging due to the light loss, and hence difficulties to focus. With the Olympus, however, I found that working with colored filters were a dream. The viewfinder is wide and bright, and there was never any difficulties getting the focus where I wanted it with either the yellow or the orange filter.

The foggy train station lies up a steep hill, and at the bottom of this hill it was a hazy and relatively thick fog, removing pretty much all background scenery from many of my images. The station itself, however, was above the fog, and was shining for itself in the misty and cold morning light.

Reklamer

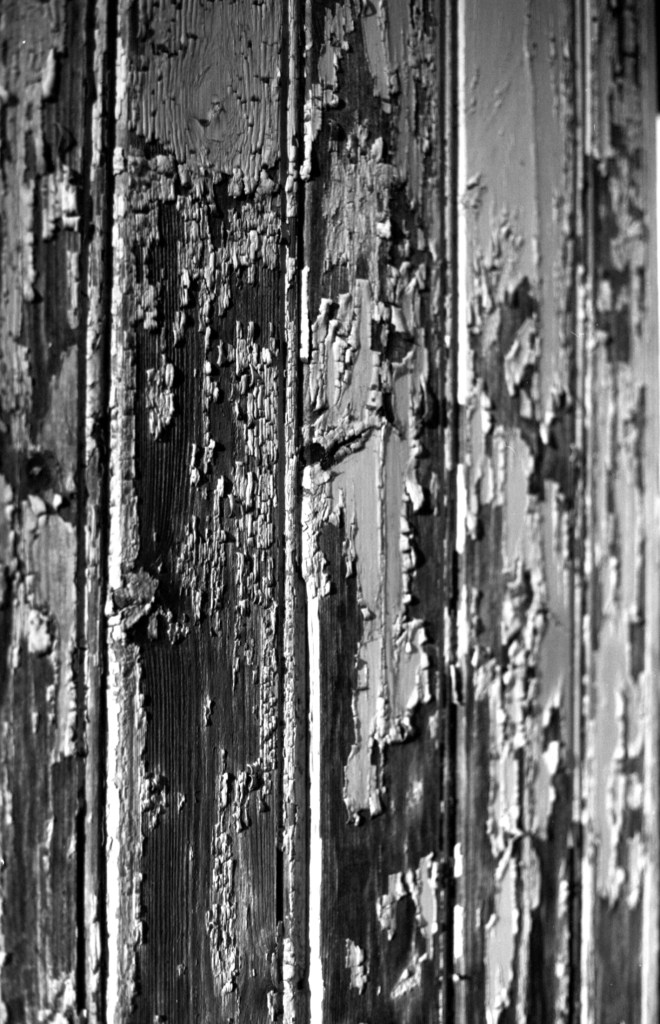
I also shot an image of some crackled paint on the station building. I chose to shoot this with the yellow filter and I went all the way down to f2,8 to get a very shallow depth of field, but retain some sharpness. I haven’t tried this lens at f1,8, and even though I guess it would work very well, I did not want to risk a too shallow depth on this one. I forgot to note down my shutter speed for this image, so that information is not provided.

Crackled paint – Olympus OM-1, Zukio 50mm f1,8 – f2.8. Fomapan 100, Xtol 1+0. yellow filter

All in all, I enjoyed this little shoot, and I once again remembered why I love to shoot the Olympus. This is such a pleasant camera to use and its handy size and bright viewfinder makes it a great choice for all kinds of shoots.

All images are unedited scans from my Epson V600.

Winter is coming

Late autumn in Norway is always beautiful. Thin layers of snow and frost on the ground makes it nearly look like someone has decorated the landscape with some icing sugar. However, today I was not really thinking I would get any of this magic in my shots. When I woke up this morning, it was a foggy and grey morning, and I decided to go for some contrasty shots with fog and artificial lighting from street-lights and and shop windows. I brought with me a selection of films, but planning on using Japan Camera Hunter, Street-pan 400, to get the deep blacks and some find Rodinal grain.

When I got to my chosen location, I had to rethink my whole idea and plan. just next to where I parked my car, and five minutes away from a cup of coffee, appeared this wonderful little lake, and the weather cleared beautifully.

Instead of using JCH Streetpan 400, I went for a roll of Kodak Ektar100. Ideally I would have shot this location with Provia, but since I am nearly never using slide-films anymore, I did not bring any. I rolled the Ektar into the Bronica and quickly came back with some compositions.

The beautiful view I found. Shooting a location like this with a fresh cup of coffee in my hand has to be considered luxury. (Phone-photo)
Reklamer

I have never shot colour film with this camera before, since it is a fairly new addition to my collection. So a new experience for me there. Kodak Ektar 100 with its vibrant range has been my go-to film for colour landscape photography the last years. It gives me nearly the tones of a Slide-film, and the convenience of a negative film when working.

What I would have wanted for this shoot; however, would be a short telephoto lens or maybe just a 75mm. Currently I only own one lens for my Bronica ETR, a 50mm (35mm equivalent in 35mm). This lens becomes too wide for many of my shots, and does not give me the bokeh I want for closer shots.

Bronica ETR w 50mm Zenzanon f4 1/4sec. Kodak Ektar 100, developed in Tetenal C41. Slightly edited in photoshop

For the shot above I would have wanted a longer lens. I lived the way the snow made the colors soft around the tree stump, however, I got too much clarity in the background for my liking.

Reklamer

For the shots over the view of the lake. The 50mm was perfect. And for the last shot on the roll, I saw some beautiful grass that moved in the running water. I took a shot of those as well.

The late autumn in Norway is beautiful and can give you anything. Today it gave me these lovely shots (among others) next to a place where I could get a coffee. Tomorrow it might give me the foggy conditions I expected today.

More with Frida and the Ford

In my last entry I wrote about my vintage-style shoot with Frida and her 1950 Ford Shoebox and I added some black and white shots shot on Ilford FP4 plus. As I mentioned, I also ran a roll of Kodak Portra 160 through the Ikoflex to really get the Vintage colour feel on some of the images.

The Kodak Portra is a low-saturated colour-negative film specifically made for obtaining the absolute most beautiful skin tones, but I also adore the effect it gives on scenery and backgrounds. With its soft greenish pastel tones it gives the true feeling of a vintage colour shot. The current emulsion was launched in 1998 following the professional Vericolor-series, and it was intended to be used in the professional market by wedding photographers and portrait photographers.

Running a colour film through an old camera with an old lens is always interesting. You never know how the old lens will cope with the colour reflections. It can seem as my Ikoflex enhances green somewhat, and gives a nearly «marine» colour palette.

Reklamer

Again I am very thankful and happy to have a friend like Frida, who is as passionate about vintage and keeping the old alive as I am. Her outfit and car matches this shoot in the most exquisite way, and helps the Ikoflex make the Kodak Portra shine.

Based on the limited shutter speed on the Ikoflex, I had to set my apertures wisely. Because of age, My Ikoflex has only three properly working shutter speeds, 1/300, 1/100 and 1/50. I would also guess that the B-mode works, but I have not yet tried it. Because of this I had to shoot with smart apertures to get the pictures I wanted. The Through the window portrait is shot at maximum aperture F3,5 at 1/100, while the picture next to the car was taken at somewhere between f4 and f5,6 at 1/300 to keep some detail in the background.

No colour corrections are done after scanning. The shots are in colour as the Ikoflex shot them. My only corrections are some contrast correction, and obviously some dust removal.

Thank you for reading. Stay tuned for more fun stuff coming up soon.

Zeiss Nettar and color film?

One of my absolute favorite cameras is my Zeiss Ikon Nettar. A little German bellow-camera from very long ago. I am not sure about the real age of this camera, but I know that it is from the late 40’s early 50’s. Being a bellow-camera, the shutter is mounted in the lens, and you have no range-finder or any focus help other than your eyes or some clip-on range finder system if you want to use that. Personally, I don’t use this camera for any work that would require the most precise focus, and I usually go without measuring or using «safe» aperture settings.

My Zeiss Ikon Nettar, and a box of KODAK Ektar

Because of its age, the Novar Astigmat lens was probably never meant to deal with colour films, and especially not high saturation films like the Ektar. I was therefore curious to try it out and see how an old lens and an old camera would perform with a film like this.

To help the camera a bit, I used an UV-filter. The Nettar does not have a filter ring that can support any of my filters, so I used a cheap 52mm UV-filter and held it in place with my fingers while shooting.

The images are taken while waiting for a ferry at Forvik in Vevelstad, Northern Norway in the region Helgeland. It surprises me how well the Nettar deals with colour films, and I find the images to be really high quality.

Images are developed at home with the Tetenal C41-home system using a Paterson tank and a cheap eBay reel. Since I do not own a medium format scanner, I used my Epson Perfection V370 and scanned them in sections and glued them together in Photoshop.

I have not done any colour corrections here, what you dee is what I got, but I have removed some dust and scratches.

Thanks for reading.

Playing with KODAK Ektar

This has been a special year for all of us. Covid 19 has turned everything upside down, and we are more home bound than we usually are. Because of this, I decided to go on holiday in Norway this year, and appreciate the Norwegian nature with some old, cheap equipment and some rolls of KODAK Ektar.

First up, was my Olympus OM-1 and the amazing Zukio 50mm lens. Not a very cheap camera you might say, but I managed to get my OM-1 shipped shipped to Norway for just around 70 euros. That is a real bargain considering the quality and value in use.

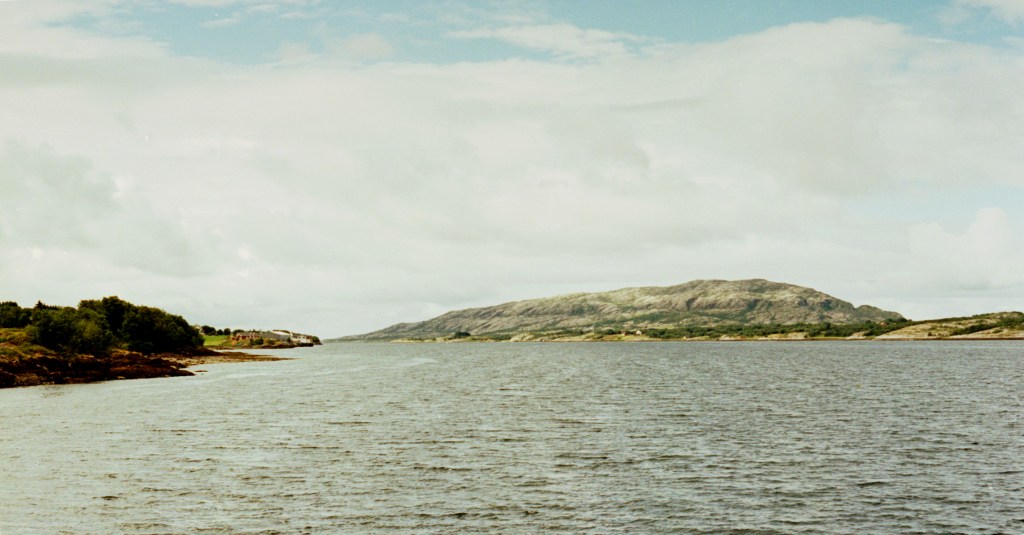
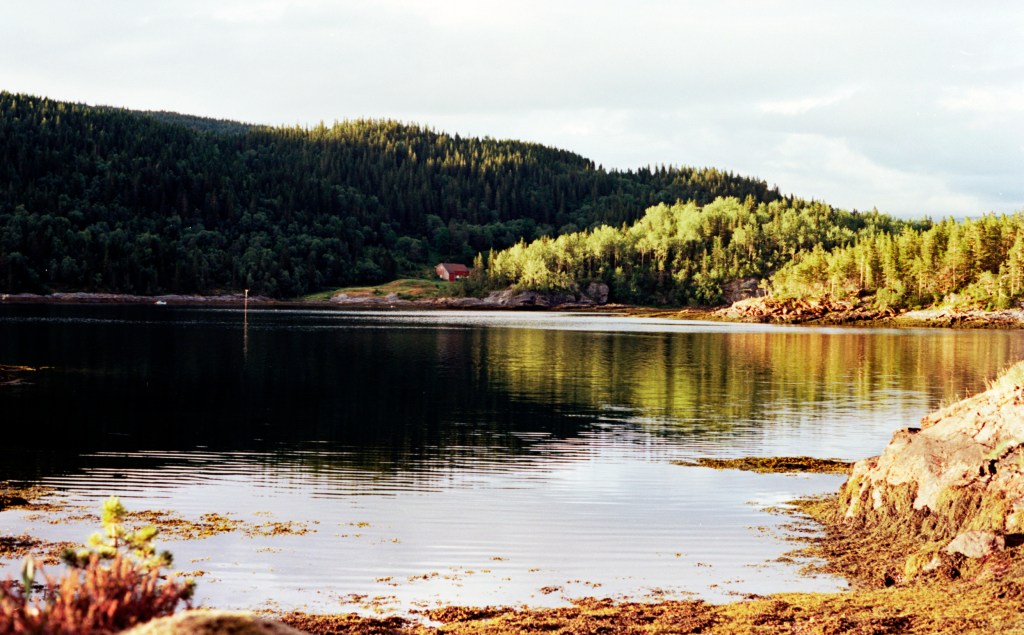
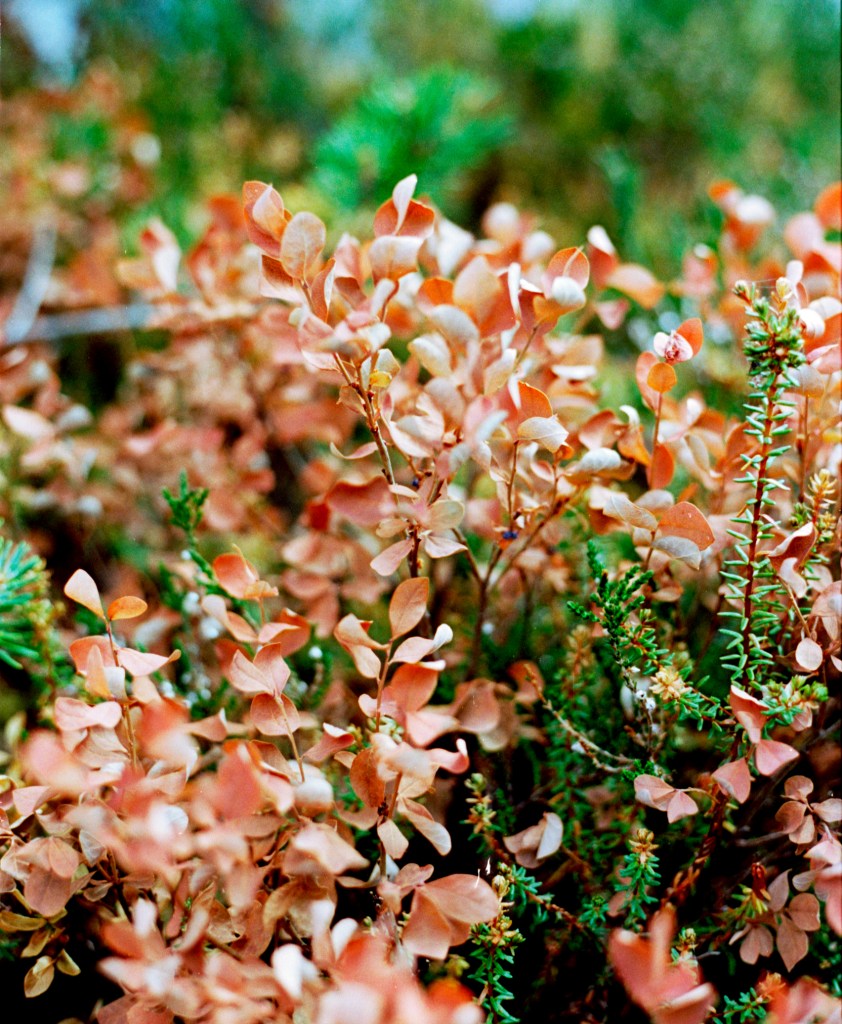
These shots are from the area around Brønnøysund in Northern Norway. Closer description as image text.

All images are developed with the Tetenal C41 home development Kit, and scanned with my PlusTek Opticfilm 8100.