Working with Delta 100

Some days ago, I was contacted by another Norwegian photographer who has a collaboration with Ilford Photo. He kindly sent med some rolls of Ilford Delta100, some DD-X developer, Fixer and Wetting agent to try out. Today I went out with my Bronica ETR to try it out. Before I go any further, visit his amazing gallery on Flickr and read his posts here.

WordPress: https://bjorn-joachimsen.com

Gran Canaria
Bjørn Joachimsen Flickr

When I heard that I would be sent Delta100, I was thrilled. When I took up analog photography again some years ago, Delta 100 was one of the films that really rekindled my interest in film-photography and I find it to be one of the best films I know about. The smooth and soft T-grain structure gives pleasant results. even when developed in Rodinal. In most cases I shoot Delta 100 at 50, but today I chose to go at box speed, because of the lighting conditions.

Reklamer

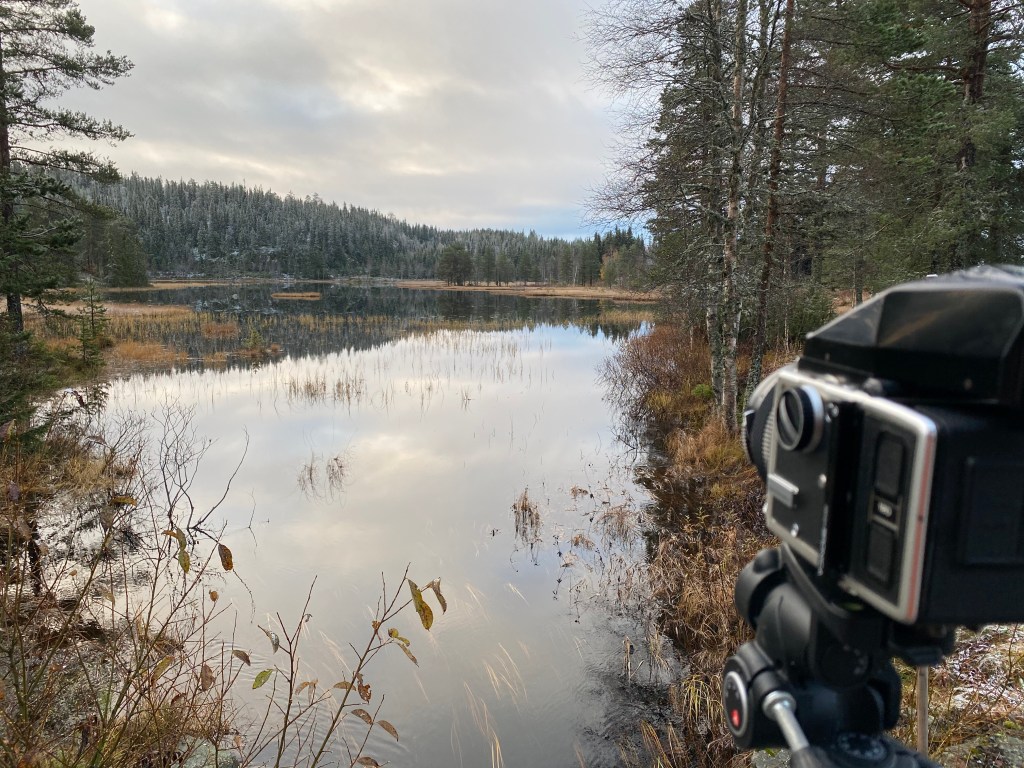
My location for this outing was Tallodden. A beautiful little place not too far from where I live, and I brought my Bronica ETR, some square filters and a tripod. I always mount the Bronica on a tripod. It is too heavy to shoot steadily by hand, especially at shallow apertures or longer shutter speeds.
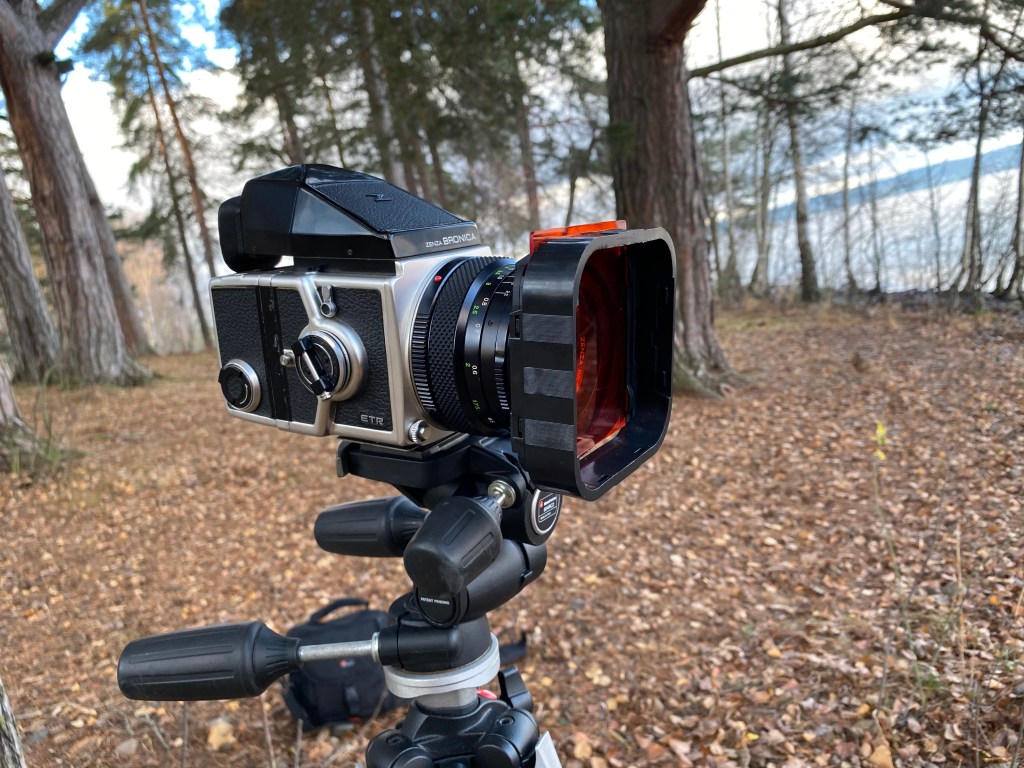
My setup at the location.

There is something about walking around with a proper MF SLR like this. It makes people interested, and I had a shot chat with a nice elderly man who was out for a little stroll along the lake. He told me that he had not seen anyone with such equipment around that area for years, and asked me all sorts of questions about the camera, my lens, film, plans and where I would post my images for him to see.

A lonely autumn leaf. Bronica ETR w 50mm Zenzanon f2,8. Shot at f2,8 1/30th with yellow filter. Developed in Ilford Ilfotec DD-X 1+4

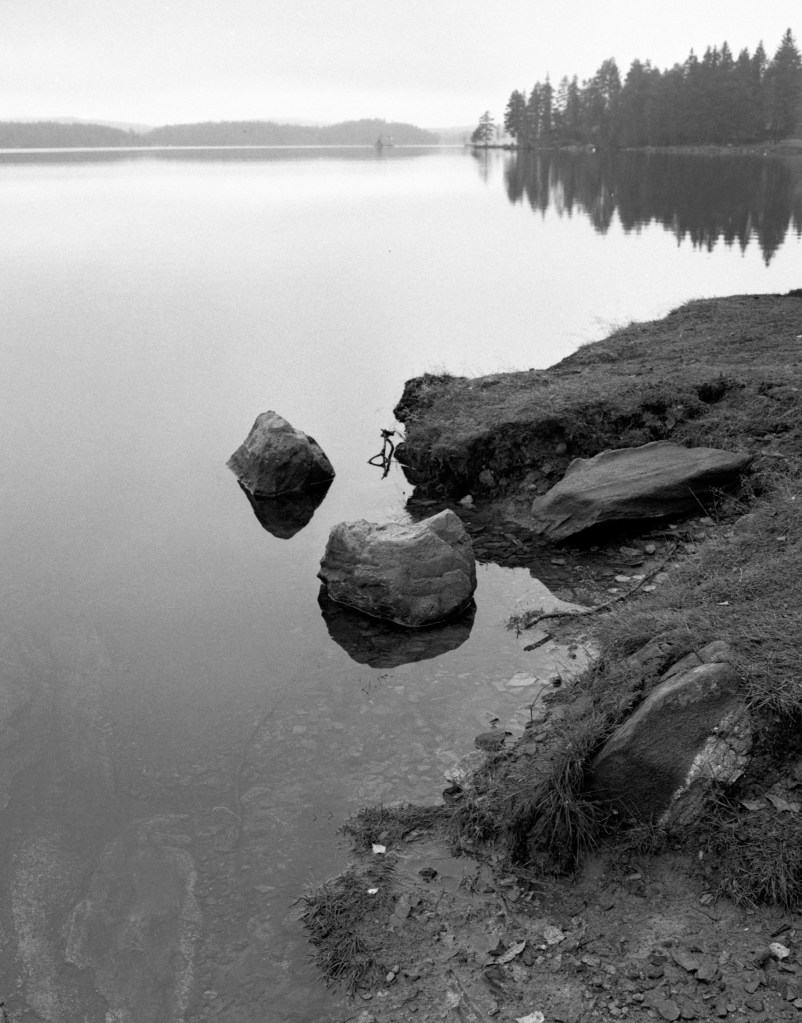
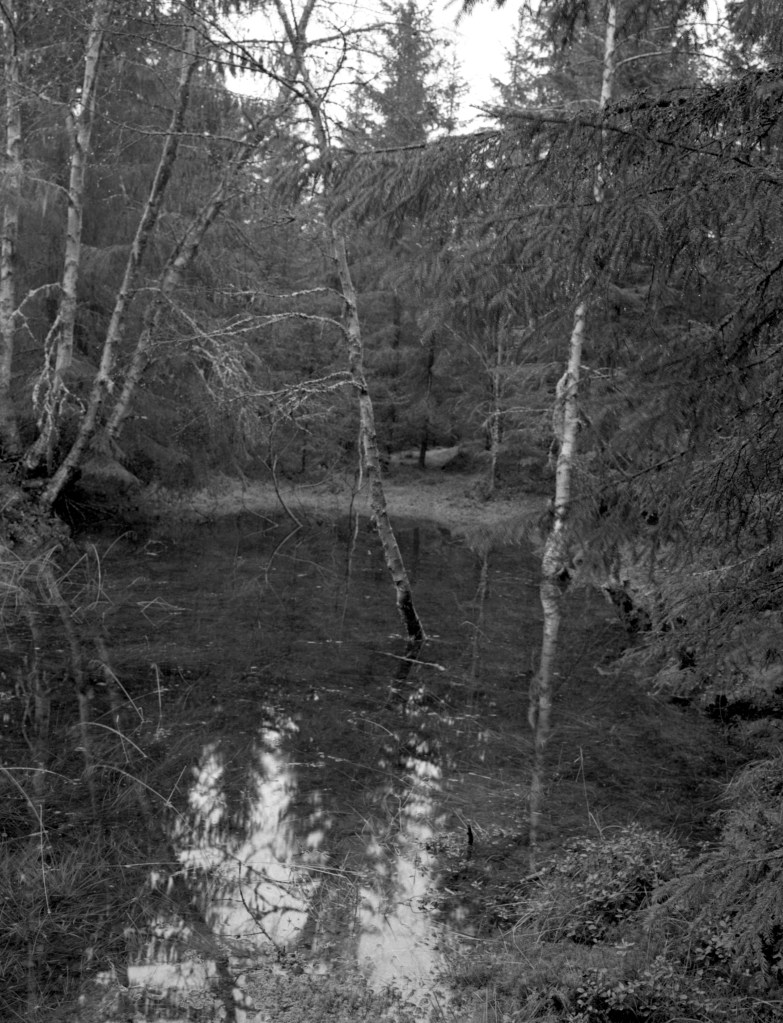
I spent some time scouting around for interesting subjects that would give me a smooth and calm mood to my images. I wanted the fine grain the Delta100 gives to be one of the main focus on my shots. I chose to use a yellow filter for most of the images to boost some contrast, and get the most out of the range. But I swapped for an orange filter for shots where I wanted the «silky water» effect, and more depth in the range.

I then went home and developed.

Reklamer

This is the first time I have ever used DD-X. Actually I have never used Ilford Developers before, so I was very excited to see what the grain structure and the range would be like. This is a shoot where I would normally have gone for Kodak Xtol, and I am comparing a bit to what I would have expected from Xtol.

I am very happy with my results, and I am happy to see the smooth and lovely grain in this shoot, and I think the DD-X brought it out beautifully. I still have more rolls to shoot and develop in this developer, so I will not come with any analysis of any kind based on my limited knowledge, but so far I am very happy.
Once again, thank you for sending me films and chemistry to try out. More entries with this film and developer will come. Also a video of me making darkroom prints of some of these images.

Stay tuned

Derelict train station

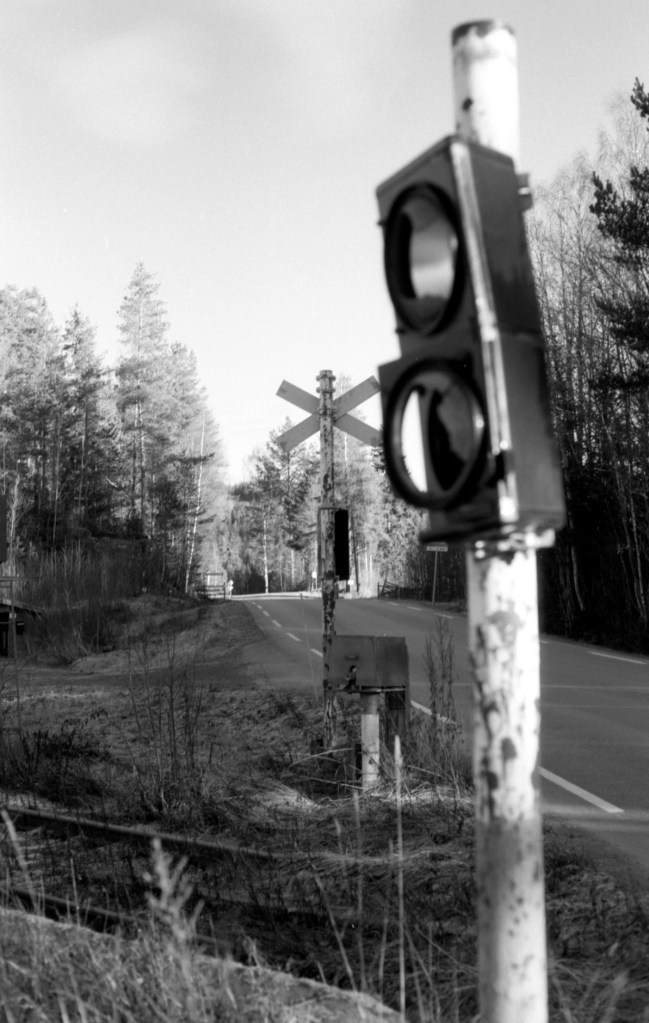
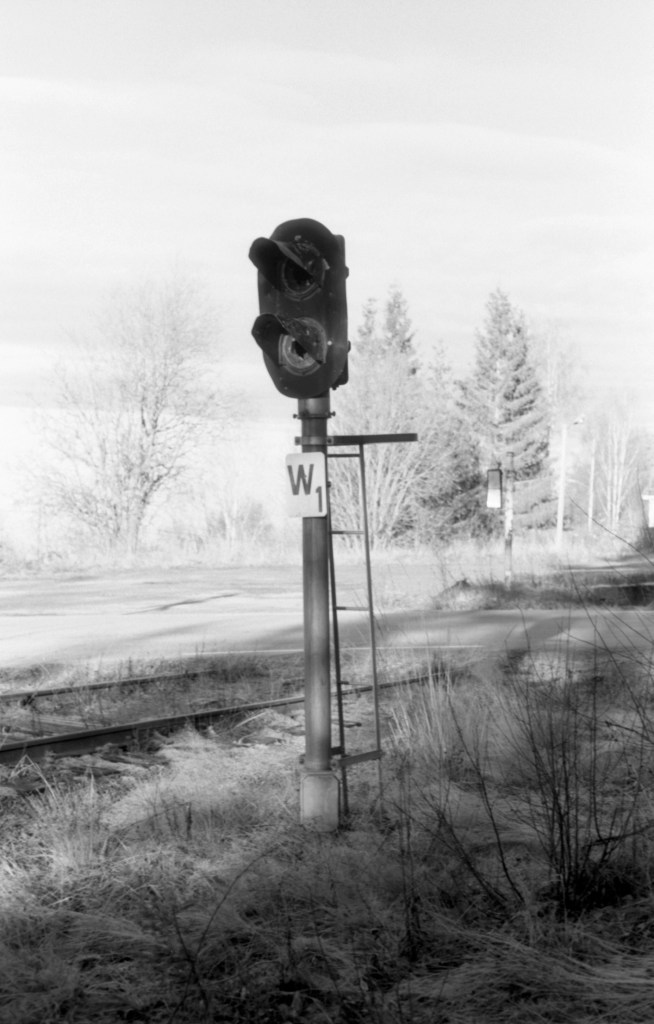
I’ve always had a fascination for derelict buildings and other traces of human civilization that is let aside and forgotten. Today, I brought out one of my good friends, the Olympus OM-1, to an old, derelict train station a short drive from where I live. I equipped the Olympus with a roll of Fomapan 100 and the razor sharp 50mm Zukio 1,8 lens. I brought with me a selection of colored filters to boost contrast and play with the light in the lifting sun and shifting blue skies.

Valdresbanen, the railway I worked by, was closed for passenger traffic in 1988. Some freight trains were ran there later, but the old station buildings have been untouched since this time. Quite sad to think about the number of shut down railways in Norway really. Nevertheless, the old buildings are still characteristic and beautiful in their own way.

Today, I went to Fall station which is very close to Hov in Søndre Land municipality. This was never a big and populous station, and the only building there is a little shed where people would wait for their train to arrive. The main station building was burned down in 1982 by the Norwegian railway company and the shed was built after that. I have shot portraits at and around this location multiple times, but I have never before gone there to explore the location as a subject of its own.

Reklamer

I have never tested out the filters I used today, so I did a lot of bracketing to understand how they work and see how to best compensate for their function. I only got to use the yellow and the orange filters, as they were what I found to match the lighting and location the best.

I did some playing around with different items left aside by the old railway, and did heavy bracketing. I figured that the Orange filter needs two stops of compensation, while the yellow needs a bit more than one from how I interpret my negatives.

Working with dark colored filters can be a bit challenging due to the light loss, and hence difficulties to focus. With the Olympus, however, I found that working with colored filters were a dream. The viewfinder is wide and bright, and there was never any difficulties getting the focus where I wanted it with either the yellow or the orange filter.

The foggy train station lies up a steep hill, and at the bottom of this hill it was a hazy and relatively thick fog, removing pretty much all background scenery from many of my images. The station itself, however, was above the fog, and was shining for itself in the misty and cold morning light.

Reklamer

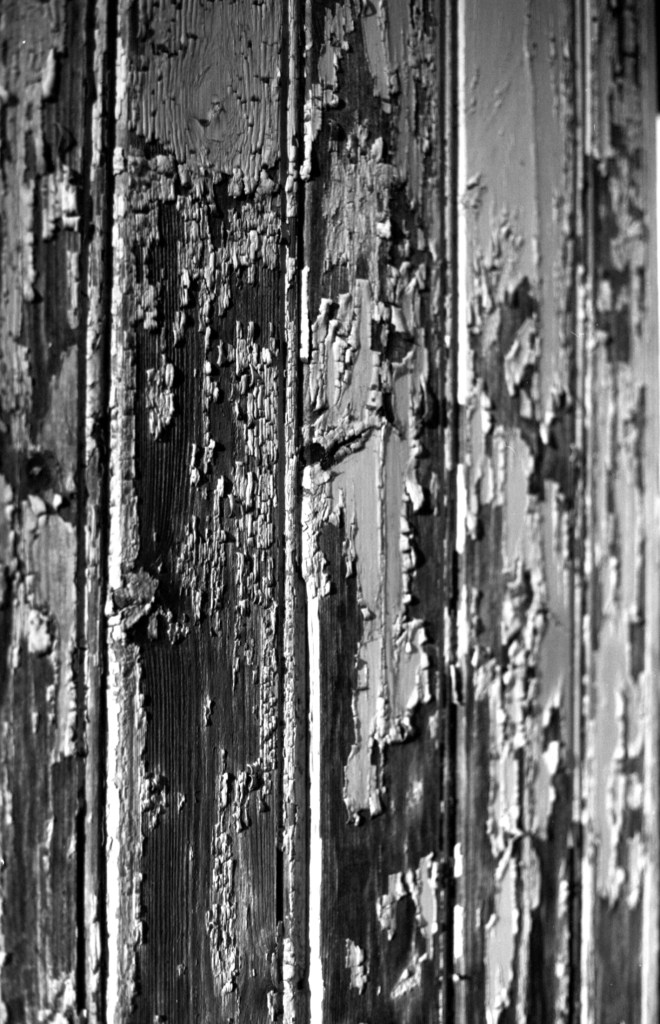
I also shot an image of some crackled paint on the station building. I chose to shoot this with the yellow filter and I went all the way down to f2,8 to get a very shallow depth of field, but retain some sharpness. I haven’t tried this lens at f1,8, and even though I guess it would work very well, I did not want to risk a too shallow depth on this one. I forgot to note down my shutter speed for this image, so that information is not provided.

Crackled paint – Olympus OM-1, Zukio 50mm f1,8 – f2.8. Fomapan 100, Xtol 1+0. yellow filter

All in all, I enjoyed this little shoot, and I once again remembered why I love to shoot the Olympus. This is such a pleasant camera to use and its handy size and bright viewfinder makes it a great choice for all kinds of shoots.

All images are unedited scans from my Epson V600.

Silky water with Fomapan 100

I have written a lot about Fomapan 100 on this blog. This is a film I absolutely love shooting, and that I have found to have some really nice qualities such as insanely fine grain when developed in Xtol stock, a rich and wide exposure latitude, that makes it very pushable and pullable. An obviously, the fact that this film is an absolute bargain with its low price.

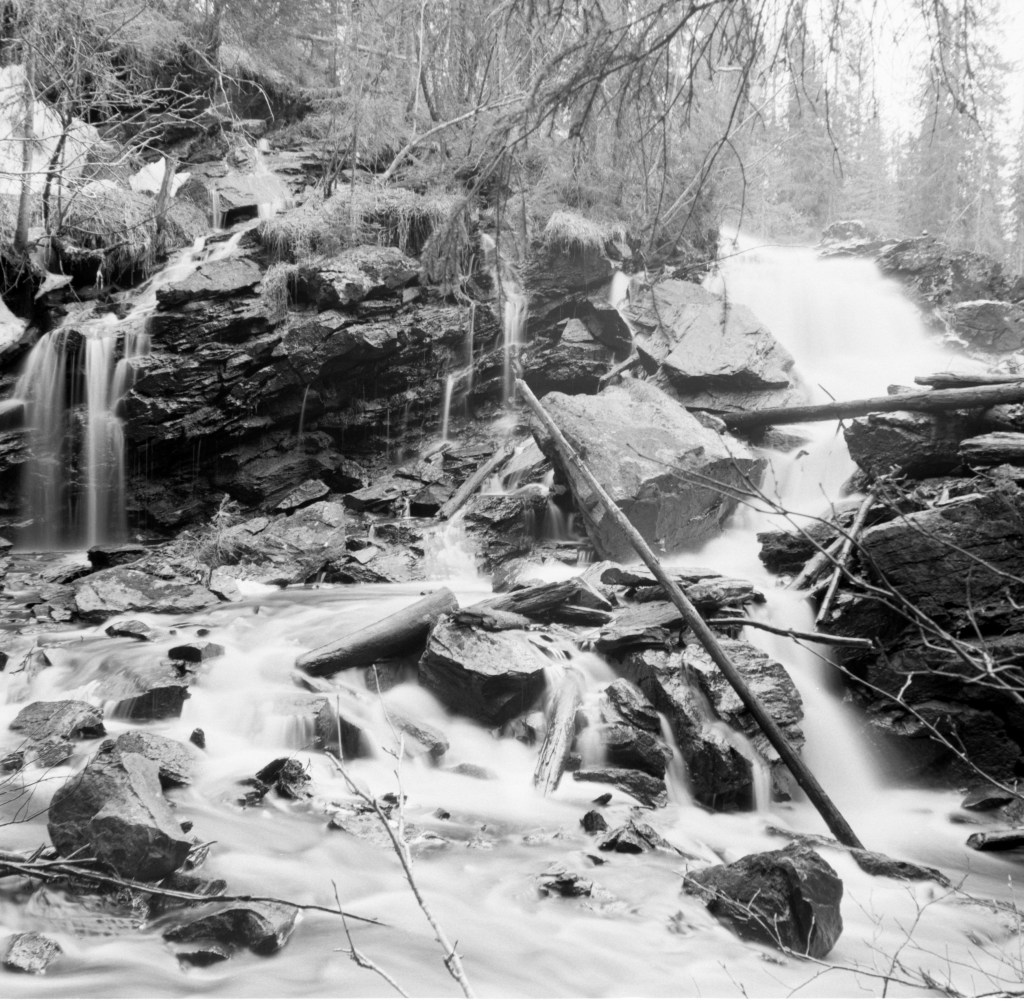
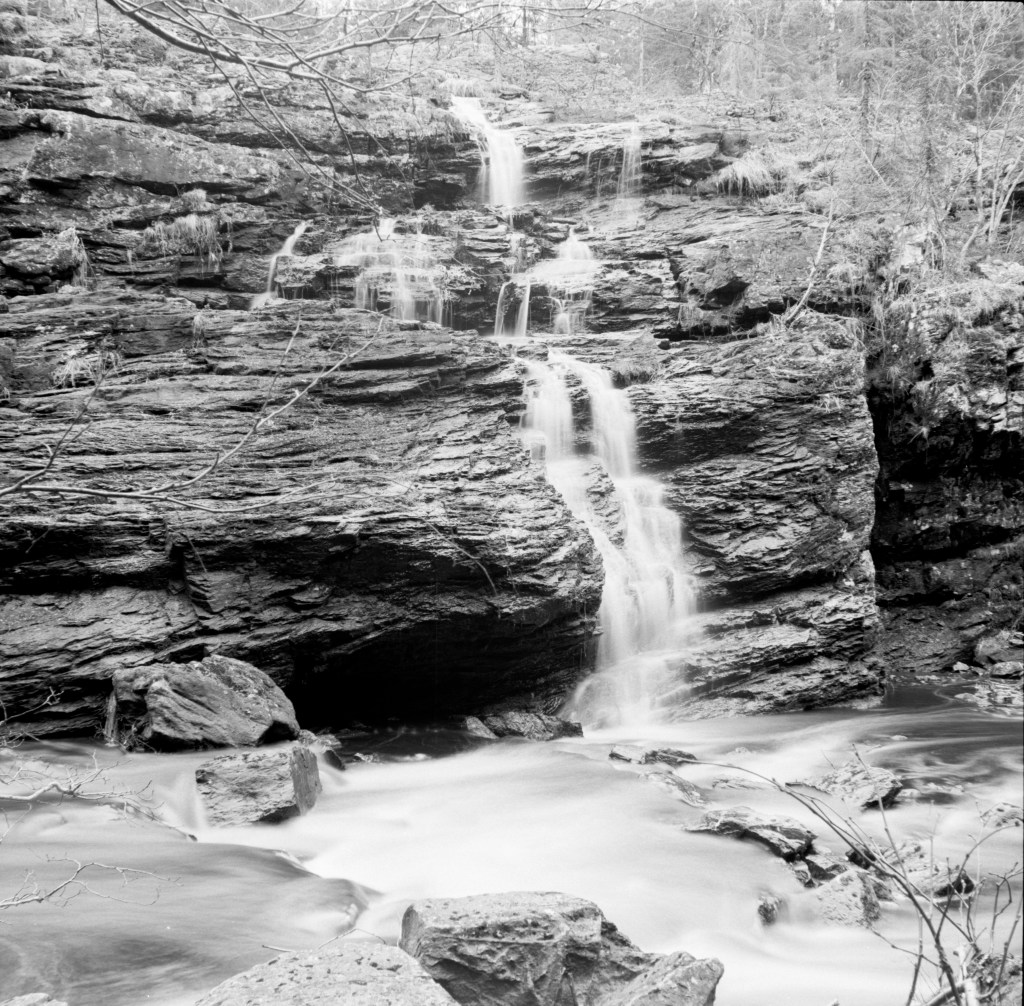
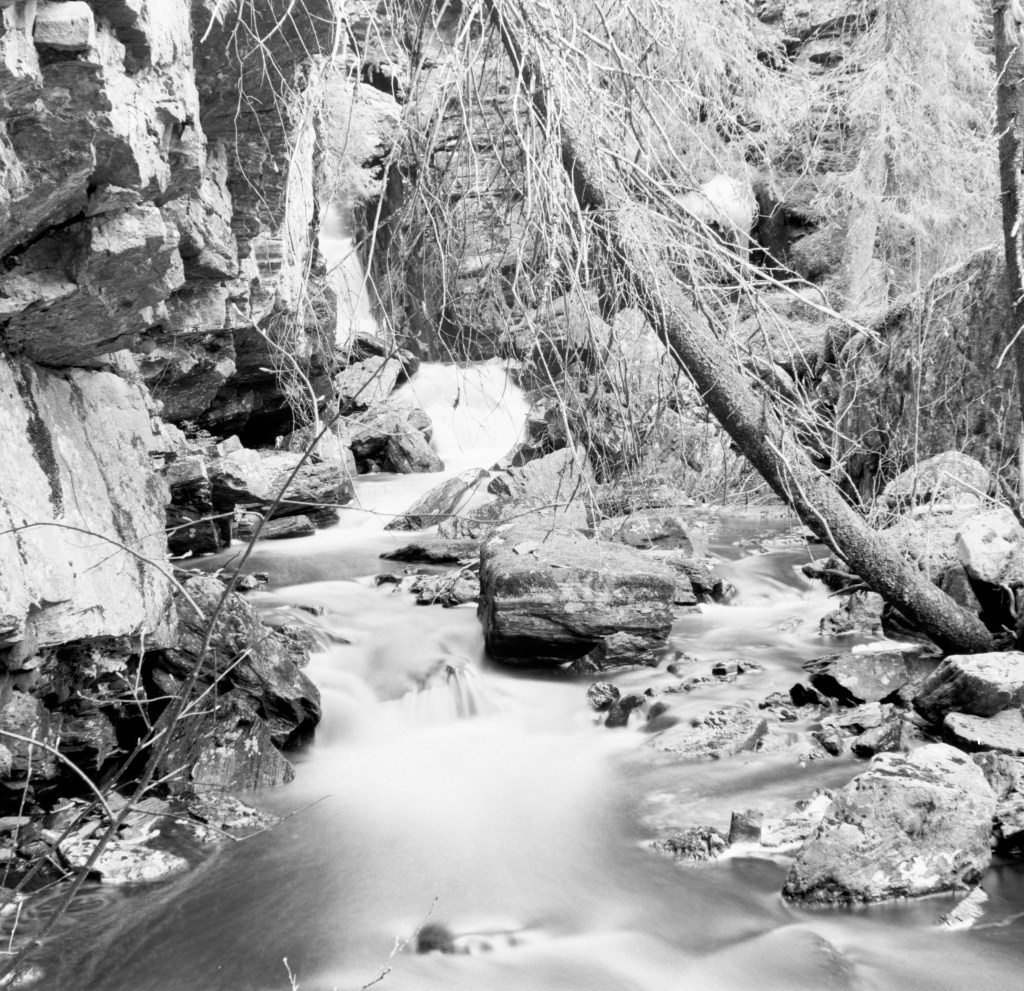
Back in the beginning of May 2020, when Norway woke up from lockdown, I brought my Zeiss Ikon Nettar 6×6 camera out to a location, to test longer exposures with Fomapan 100. To really get the longer exposure times, I brought with me what I thought to be a four stop ND-filter, but what turned out to be a three stop red filter.

My Zeiss Ikon Nettar Medium format 6×6 bellow camera.

Having already made the effort, and trotted myself a path towards the three waterfalls I wanted to shoot, I decided to go with the red filter, and see what results I would get in the darker forests in the early morning in May. The Nettar was placed on a tripod, and I had a cable release to avoid camera shake on longer exposures. I did some metering, and used an app to calculate the correct exposure times. For Fomapan 100, the Schwarzschild effect becomes important from shutter speeds at 1 second. Since I shot most of mine at longer times, I used the cable release all the time.

Reklamer

I had some happy time shooting this roll, and I struggled my way through tree roots and forestland with threes that had fell down over the winter. But when I went for the last three pictures, on a little view-point above the biggest of the water falls. I noticed a «marked» path around the whole area. At least I got some unusual angles in my shots. I cannot imagine that anyone else have been where I went that morning.

Zeiss Ikon Nettar w three stop red filter, f22, 4 seconds exposure time. Fomapan 100 Xtol Stock 5 minutes

When I pulled the developed negatives out of the tank, I was surprised to see how «normal» they looked. I had pictured a more contrasty result from a red filter than what I got in this shoot, and I did not really think a lot about these images before I started working with them in the darkroom a few days ago.

I realized that they were actually quite interesting, and that the three stop red nearly gave me an «infrared» look in my shots. I have no huge experience with infrared photography, but I do like the effect it gives, and I will most likely do more of that in the future.

Reklamer

I also love the way the greys and whites create a dramatic scene and that it puts its emphasis on the silky water effect, creating a more dramatic look than I expected. Maybe the misplaced «red filter» was actually a good idea for this shoot. I do at least see this as a happy mistake. And I got to see a side of Fomapan 100 that I did not expect. The Infrared-ish side.

Contrast and foggy landscape

Today was a wet, unpleasant and foggy day in Norway. No real need and point in going out, but there was some interesting fog, and a very white sky that lured me out anyway. The conditions were almost black and white anyway, so I chose to go with a Black and White film. Because of the verylow level of natural contrast, I went with a slow film. Ilford FP4 Plus. I also chose to stand-develop the film in Rodinal 1+100 for an hour, to get some extra contrast and find some beautiful grays.

I chose to use the Bronica ETR, because I wanted to do medium format and that it would give me 15 frames to a roll.

I also got to test out my new scanner. Thank you for the friendly photographer who pointed out to me that my old scanner was probably shot. My new one is far better and gives me lovely scans.

Winter is coming

Late autumn in Norway is always beautiful. Thin layers of snow and frost on the ground makes it nearly look like someone has decorated the landscape with some icing sugar. However, today I was not really thinking I would get any of this magic in my shots. When I woke up this morning, it was a foggy and grey morning, and I decided to go for some contrasty shots with fog and artificial lighting from street-lights and and shop windows. I brought with me a selection of films, but planning on using Japan Camera Hunter, Street-pan 400, to get the deep blacks and some find Rodinal grain.

When I got to my chosen location, I had to rethink my whole idea and plan. just next to where I parked my car, and five minutes away from a cup of coffee, appeared this wonderful little lake, and the weather cleared beautifully.

Instead of using JCH Streetpan 400, I went for a roll of Kodak Ektar100. Ideally I would have shot this location with Provia, but since I am nearly never using slide-films anymore, I did not bring any. I rolled the Ektar into the Bronica and quickly came back with some compositions.

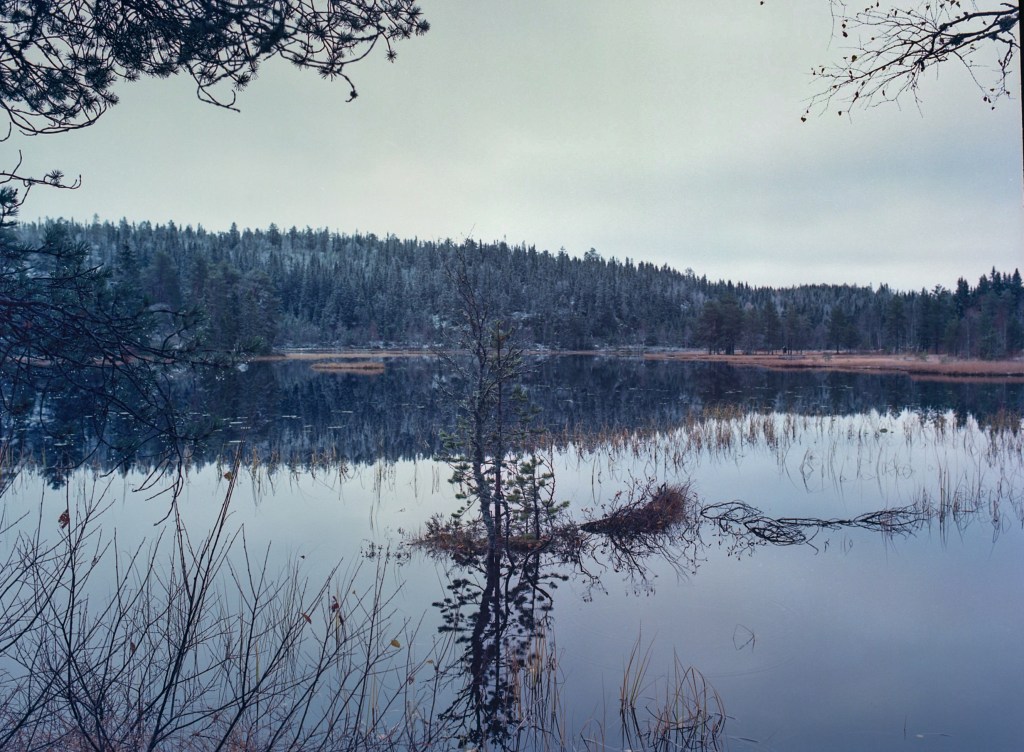
The beautiful view I found. Shooting a location like this with a fresh cup of coffee in my hand has to be considered luxury. (Phone-photo)
Reklamer

I have never shot colour film with this camera before, since it is a fairly new addition to my collection. So a new experience for me there. Kodak Ektar 100 with its vibrant range has been my go-to film for colour landscape photography the last years. It gives me nearly the tones of a Slide-film, and the convenience of a negative film when working.

What I would have wanted for this shoot; however, would be a short telephoto lens or maybe just a 75mm. Currently I only own one lens for my Bronica ETR, a 50mm (35mm equivalent in 35mm). This lens becomes too wide for many of my shots, and does not give me the bokeh I want for closer shots.

Bronica ETR w 50mm Zenzanon f4 1/4sec. Kodak Ektar 100, developed in Tetenal C41. Slightly edited in photoshop

For the shot above I would have wanted a longer lens. I lived the way the snow made the colors soft around the tree stump, however, I got too much clarity in the background for my liking.

Reklamer

For the shots over the view of the lake. The 50mm was perfect. And for the last shot on the roll, I saw some beautiful grass that moved in the running water. I took a shot of those as well.

The late autumn in Norway is beautiful and can give you anything. Today it gave me these lovely shots (among others) next to a place where I could get a coffee. Tomorrow it might give me the foggy conditions I expected today.

Aiming at contrast and grain

I haven’t really done any contrasty BNW-stuff for a while, and the other day I loaded a roll of StreetCandy ATM400 into my little Petri Racer and brought it with me for some days, aiming at whatever caught my eye wherever I was at the time. I haven’t used the Petri Racer for a while, and I found this was an option to use it and its little, interesting lens.

The Petri Racer is a little rangefinder camera that I have used a lot on this blog. It was the camera that made this blog happen and the camera I used for my first two entries. I am very happy with the way the Petri makes the world look. It has a special tone to it that I cannot really put my finger on.

My first pictures for this entry were taken a few minutes after it stopped raining at a car-park when I filled my coffee-cup in the nearby petrol station. I experimented somewhat with the DOF on these images, and they are shot around f4 on the little 40mm lens. My favorite one is here:

Petri Racer, StreetCandy ATM400@400 – Rodinal 1+25, 6 minutes

As I aimed for the contrasty and somewhat grainy look on this roll, I went for a pretty concentrated dilution of Rodinal; 1+25. I guessed this dilution to give me the maximum accutance and give me deep and sharp contrast as well as the lovely Rodinal grain. I don’t really mind the grainy structure of Rodinal, and I find it to suit these kinds of images as it gives them a raw impression.

Reklamer

A bit later that day, I went to an old, derelict school building to set up for the shoot mentioned in a previous entry. The first thing I noticed was the interesting lights in the old hallway. Filled with old chairs, a ladder, dirt and the smell of old building, it really gave an incredible shot. I shot this one on a tripod using f5.6 for 1/2 of a second, and I find that this shot shows the mood of the hallway well.

Petri Racer – Streetcandy ATM400@400 – Rodinal 1+25 6 minutes

Then I went to an old museum where someone had backed their Tractor-trailer into a ditch. There were some interesting contrast to be captured there and I went for it.

Petri Racer – Streetcandy ATM400@400 – Rodinal 1+25 6 minutes

All in all I am very happy with this roll of film. I got the grain and the contrast that I wanted, and the little Petri got another run. Shame it hasn’t been used for a while. It will not sleep as long this time.

Really pushing it with portraits

Sometimes you come across settings and situations where there just isn’t sufficient lighting to go smooth and grain free photography with reasonable shutter speeds and settings. Especially with living subjects, like people, you need to allow for some «life» in your model and hence use 4 seconds shutter speed. In these situations, an option is to push the film. However, when pushing film, you will lose some of the detail get increased contrast added to your images.

For this entry, I created a situation where I had very limited light, and I went for two 400 speed films which I pushed. My initial Idea was to push both of the two stops to 1600 and see what differences I could spot, but due to a change in lighting conditions, I had to do one of them at 3200, a three stop push.

Ilford HP5+@1600

My first film for this photoshoot was a roll of Ilford HP5+ Medium format film. This is a film I regularly shoot, and I am very familiar with the characteristics of this film at both 400 and 800, but I have never pushed it further than that before. Therefore, I was curious how it would deal with the extra stop of push, both in terms of grain and contrast.

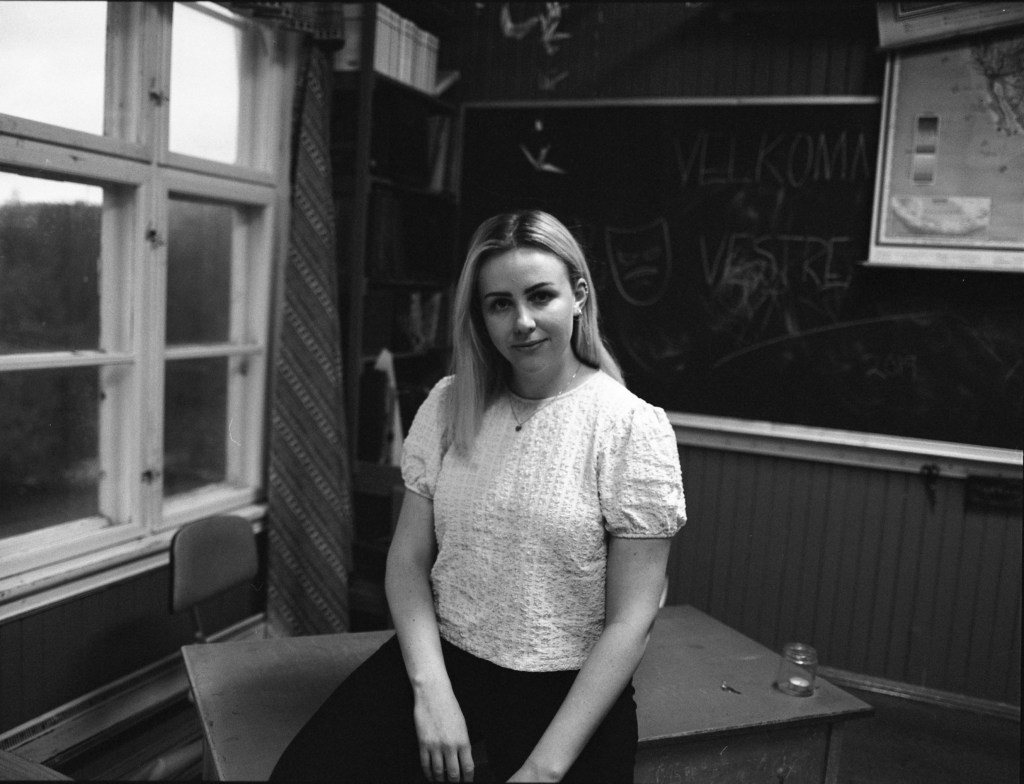
The only lighting used for this shoot was the available light in the old derelict class-room and what I could reflect back using the «sunfire»side of my reflector. I shot as close to F4 as I could and got shutter speeds around 1/60th of a second.

Reklamer

I was surprised to see the negatives when I pulled them out of the tank. I expected a very punchy-looking negative with a substantial lot of contrast and severe loss of detail, but the negatives looked reasonably good. The push was obviously visible, but not as prominent as I would have guessed. My quick scans also turned out some nice images. Although grainy, I like the look of these pictures.

I see that I got a bend mark on one of the images, I clearly was a bit unlucky when reeling the film for development.

Kodak Tri-X400@3200

If I expected grain and heavy contrast on the HP5+, I did not expect much of the images from the three stop pushed one. On my way home, I actually doubted my move and was already drafting my apology letter to the model, who friendly joined me for this experiment. I was, however surprised in two different ways.

Even though I followed the guidelines for a three stop push found in the massive dev-chart and had fresh and well tempered chemistry (20 degrees) some of these negatives came out very thin. I metered in the same way all the way through the shoot, and I obviously developed the whole roll at the same time so the big difference surprised me. I must have made a mistake with my metering at some of these images.

However, some of the negatives looked really nice. Although they were obviously very contrasty and punchy they looked to have kept at least some of the detail I looked for. As you can see in the pictures the push is very visible, and I would not go for a three stop push if it could be avoided.

This shoot was a real gamble, and I am thankful for the model who helped me on this. Although I couldn’t really compare the two films because I had to do different pushes, I must say that I am surprised how well both films coped. However, I would say that the grain and latitude of the HP5+ appeals more to me than the TRI-X. But this is a personal observation.

I have decided to try out these negatives in the darkroom at some point, and I will post my results and workflow from that at a later point.

Trying out 645

For a while I have been looking to buy a 645 camera. Preferably a SLR of some kind and many different options have been considered. Both Mamiya 645, Pentax 645 and even some Hasselblads. However, some days ago, I came across a very reasonably priced Zenza Bronica ETR. I have had my experiences with Bronica. I once owned an Zenza Bronica S2 fitted with a beautiful Nikkor 80mm lens. I only sold this because it had the habit of giving me half frames a few times on each roll and I cannot afford wasting expensive film and possibly losing a strong shot due to a camera issue.

I contacted the seller on the ETR and we came to an agreement and got a deal together. Very reasonable and rather quick.

Zenza Bronicas are beautifully designed Japanese cameras, with incredibly sharp lenses and a rugged feel to it. The camera is heavy, about two kilos, and you can get them in different configurations. Later ones are more plasticky and lighter, but I don’t really mind the weight, as I often shoot on a tripod. My ETR came with a prism, eye-level viewfinder and a razor sharp 50mm f2,8 Zenzanon lens.

I went out the other day to test the camera, and I made some really beginner mistakes.

Fist of all, I used the wrong film. I loaded the camera with a Fomapan 100, because I had one lying around about to expire, and I found I could «waste that one» if the camera did not work properly. The biggest problem was that I went out on a very dull and overcast day where there was not really sufficient light to shoot 100 ISO. Because of this I had to shoot around 1/30th of a second, and I forgot to bring a tripod. A lot of motion blur later, I decided to discard the test and go out for another go with a different film.

Reklamer

This second time, I went out in the morning as the fog was lifting from the lake (Mjøsa) and went for a short session Trying to capture some magic. Wiser than last time, I loaded the camera with a roll of Kodak Tri-X 400, a film I don’t use that often but had lying around and went down to the docks in Gjøvik.

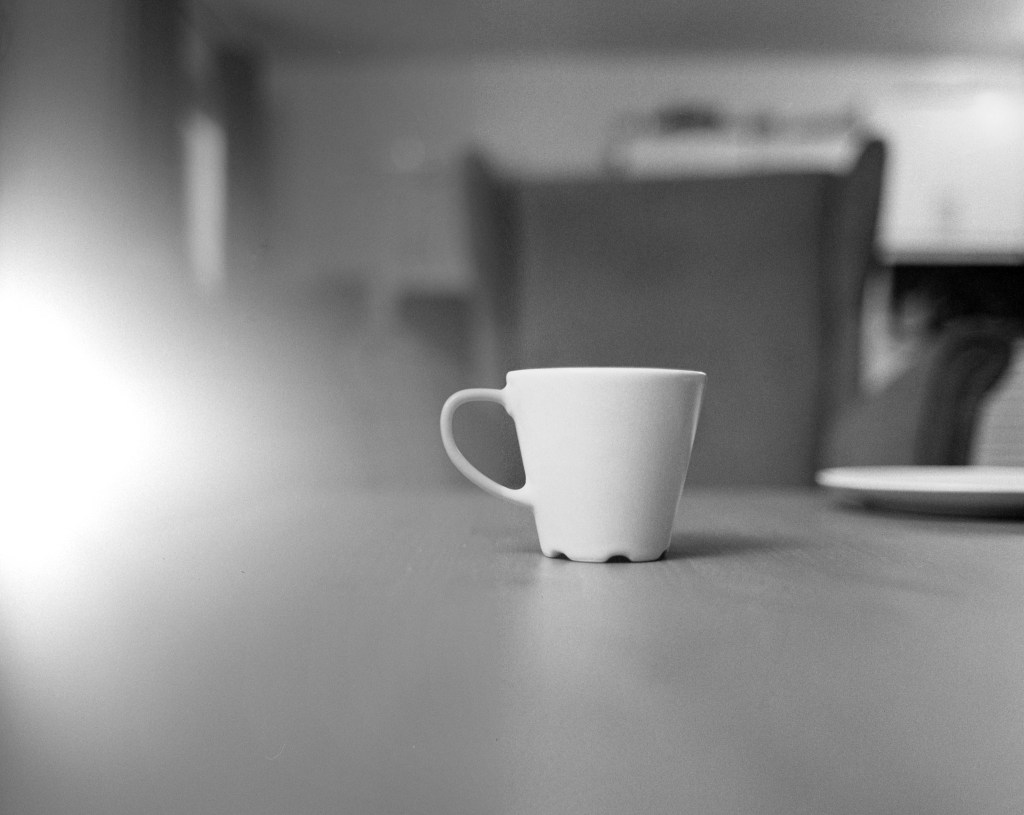
Before I went out, I had a coffee. I documented my coffee with an image taken at f2,8, maximum aperture at 1/15th of a second.

Zenza Bronica ETR w 50mm Zenzanon 2,8. Kodak Tri-X400@400 Fomadon Excel 1+1 9 minutes

I am really surprised with the smooth bokeh the Zenzanon lens gives me, and I find that the Tri-X grain and contrast gives the image a really nice tone. A tone I don’t often find with Tri-X as I find it a bit to punchy in the contrasts for my taste. Similarly I like the way it handled my location by the lake.

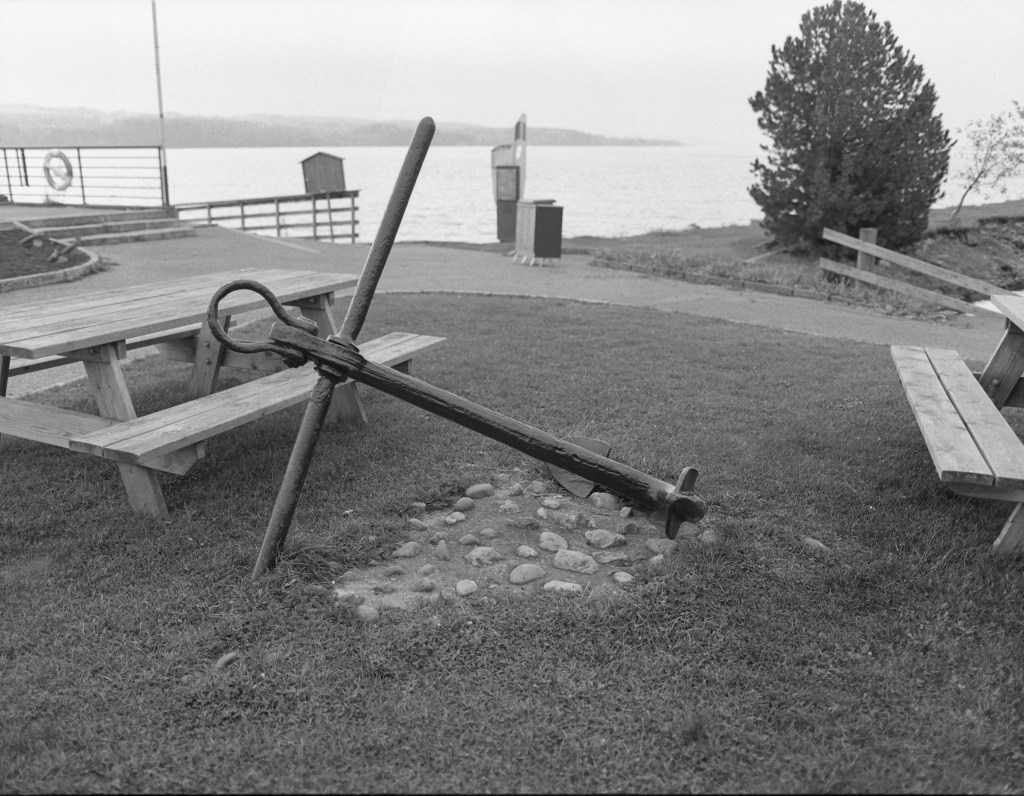
I appreciate the tones I got in the picture of the anchor. Shot at f4, it gave me a perfect depth of field for this image and the Tri-X tones gives the smooth tones. I also love the way the background disappears into the fog behind.

In a slightly under exposed image of some birds fleeing away from the Norwegian winter which is approaching in a months time. I find this image to be a bit «gritty» but I will attempt to make a beautiful print of this image in the darkroom.

All in all, I am very happy with my new Zenza Bronica ETR, as well as my expedition into 645 format, and will shoot it regularly in the future.

Stay tuned

Reklamer

More with Frida and the Ford

In my last entry I wrote about my vintage-style shoot with Frida and her 1950 Ford Shoebox and I added some black and white shots shot on Ilford FP4 plus. As I mentioned, I also ran a roll of Kodak Portra 160 through the Ikoflex to really get the Vintage colour feel on some of the images.

The Kodak Portra is a low-saturated colour-negative film specifically made for obtaining the absolute most beautiful skin tones, but I also adore the effect it gives on scenery and backgrounds. With its soft greenish pastel tones it gives the true feeling of a vintage colour shot. The current emulsion was launched in 1998 following the professional Vericolor-series, and it was intended to be used in the professional market by wedding photographers and portrait photographers.

Running a colour film through an old camera with an old lens is always interesting. You never know how the old lens will cope with the colour reflections. It can seem as my Ikoflex enhances green somewhat, and gives a nearly «marine» colour palette.

Reklamer

Again I am very thankful and happy to have a friend like Frida, who is as passionate about vintage and keeping the old alive as I am. Her outfit and car matches this shoot in the most exquisite way, and helps the Ikoflex make the Kodak Portra shine.

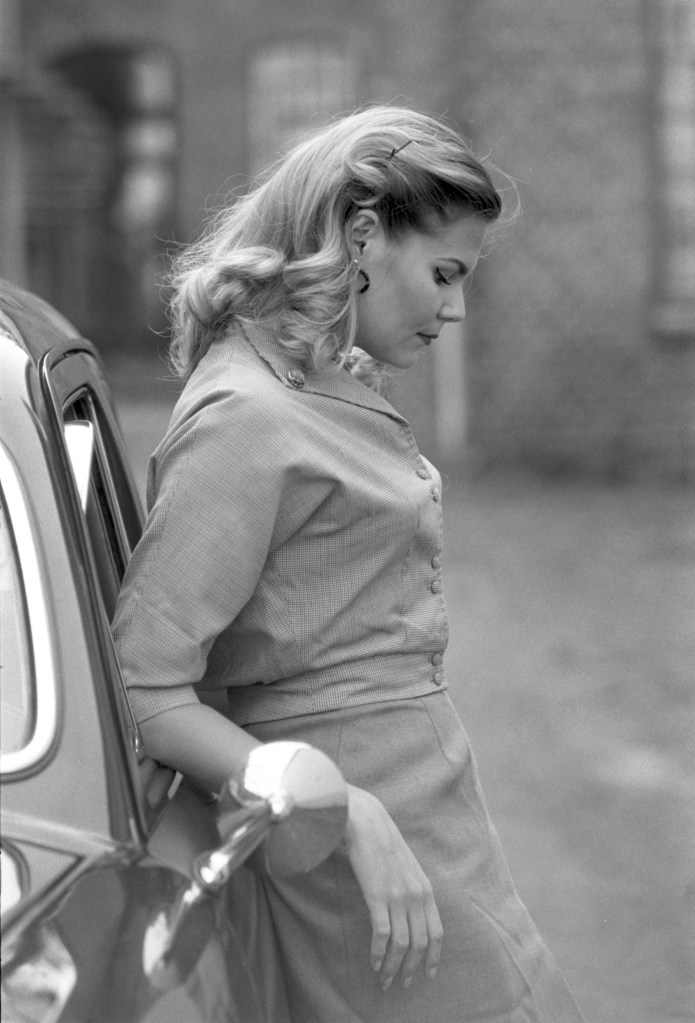
Based on the limited shutter speed on the Ikoflex, I had to set my apertures wisely. Because of age, My Ikoflex has only three properly working shutter speeds, 1/300, 1/100 and 1/50. I would also guess that the B-mode works, but I have not yet tried it. Because of this I had to shoot with smart apertures to get the pictures I wanted. The Through the window portrait is shot at maximum aperture F3,5 at 1/100, while the picture next to the car was taken at somewhere between f4 and f5,6 at 1/300 to keep some detail in the background.

No colour corrections are done after scanning. The shots are in colour as the Ikoflex shot them. My only corrections are some contrast correction, and obviously some dust removal.

Thank you for reading. Stay tuned for more fun stuff coming up soon.

Vintage shoot with Frida and her old Ford

Analog photography is has the loveliest tones imaginable for vintage style photography. The special look an old lens gives is an exquisite vibe to your photo that no digital preset can really copy, and the feeling of doing this with vintage equipment adds an extra element. Photography is not just about the picture, but the way to get there and the feeling of the process.

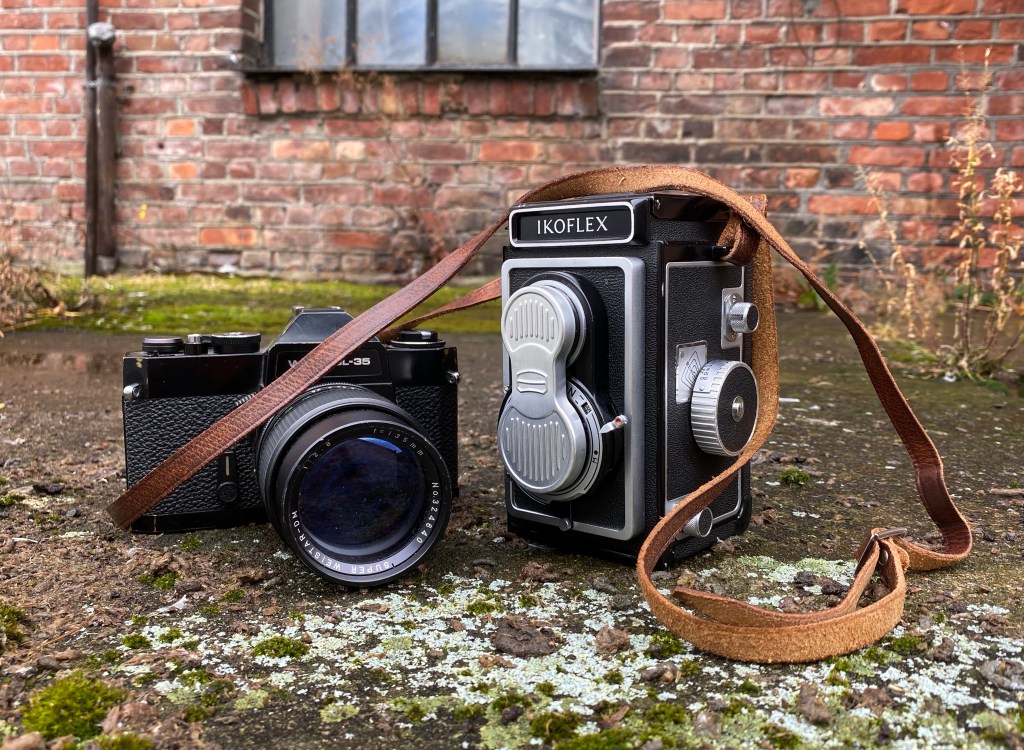
Yesterday I went out to photograph my friend Frida and her lovely 1950 Ford Shoebox. To go with me for this shoot, I chose two cameras. The Weist SL-35 and my lovely TLR, the Zeiss Ikon Ikoflex. Both these cameras are reasonably accurate and has sharp lenses that does really bring out that «vintage feel». I rolled up both cameras with Ilford FP4 Plus, A film that for me is my first choice when I want that «Vintage feel». This film has a really fine cubical grain structure, and has a more visible grain than other films around its speed, and I love how this grain structure affects the images.

My equipment for this shoot. Zeiss Ikon Ikoflex medium format TLR and the Weist SL-35, 35mm M42 SLR.

We met at a lovely location in Kapp just south of Gjøvik. This location used to be a condensed milk factory back in the days, but today it is used for cultural purposes among other things.

Reklamer

We first set off with the Ikoflex. I shot as close to f4 as I could get, and did some bracketing with f5,6 to be sure not to overexpose too wildly. I shot the Ikoflex at its highest shutter speed around 1/300th of a second, but my guess is that this shutter speed is a bit slower. Probably around 1/250th which is still very good for a 70 year old camera like this.

I refer to the Ikoflex as «the bird box» and this is one of my absolute favorite camera in use. When I bought it, it came from a Swedish Zeiss collectors house, and the seller did not believe that it worked. Probably because he didn’t really understand how it works. These cameras have their specific way of use, and you will not be able to shoot this camera if you don’t know how to load film in it and how to set it up.

When we were done with the film in the IKOFLEX, I changed it for some Kodak Portra 160, but these images are not included in this entry.

Reklamer

We then set off with the Weist and its exquisite Weistar 135mm lens. I also shot this one as close to F4 as I could to get that lovely bokeh you get from this lens. This is the first time I tried this camera and lens for a shoot with a model, and I am very happy with how it performed.

These are just quick scans of the negatives. This shoot will be finished as Darkroom prints. Whether the prints and the process of making them will be entered in this blog is yet to be decided.

All in all, I am very happy with how both cameras performed during this shoot and I feel humble and lucky for being allowed to with with people like Frida, who is on board with the analog nerdity.

Photographs open doors into the past, but they also alloq a look into the future

Sally Mann