As you may remember from a previous post, I came across a strange, unknown camera and bought it cheaply at a thrift shop. The Camera is an M42 mount SLR, and I tried it out with a roll of StreetCandy ATM400 a few weeks back. The other day, I took this camera out once again with a roll of Ilford FP4 Plus in it, and my aim was to test the depth of field and the sharpness of the Weistar Lens.
I went for a shot walk this day, just a few kilometers, and I chose to look for opportunities for shooting at apertures bigger than f4. I did some nice shots around Elgsjøen, where I both tested the DOF on a little branch with leaves close to the water, and on some stumps that were spread around for people to sit on.
Reklamer
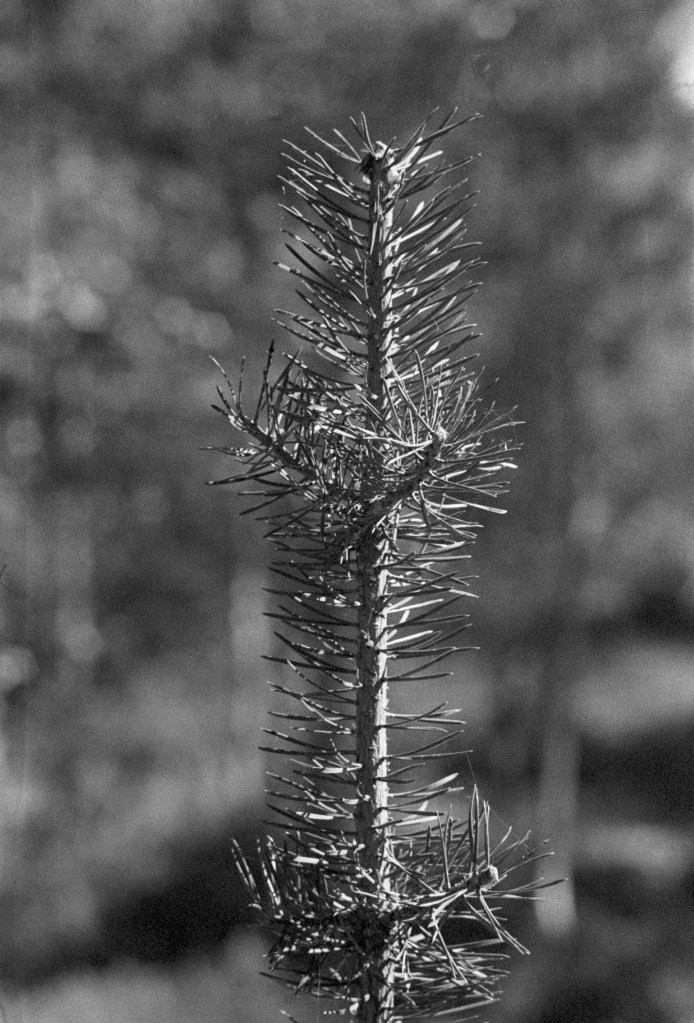
I was taken somewhat aback of the incredibly pleasant bokeh this lens produces. In addition to this, the subject is pin sharp and has a crisp tone to it. I must say that this lens surprises me, and I am looking forward to playing with this as a portrait lens at some point. (Stay tuned)
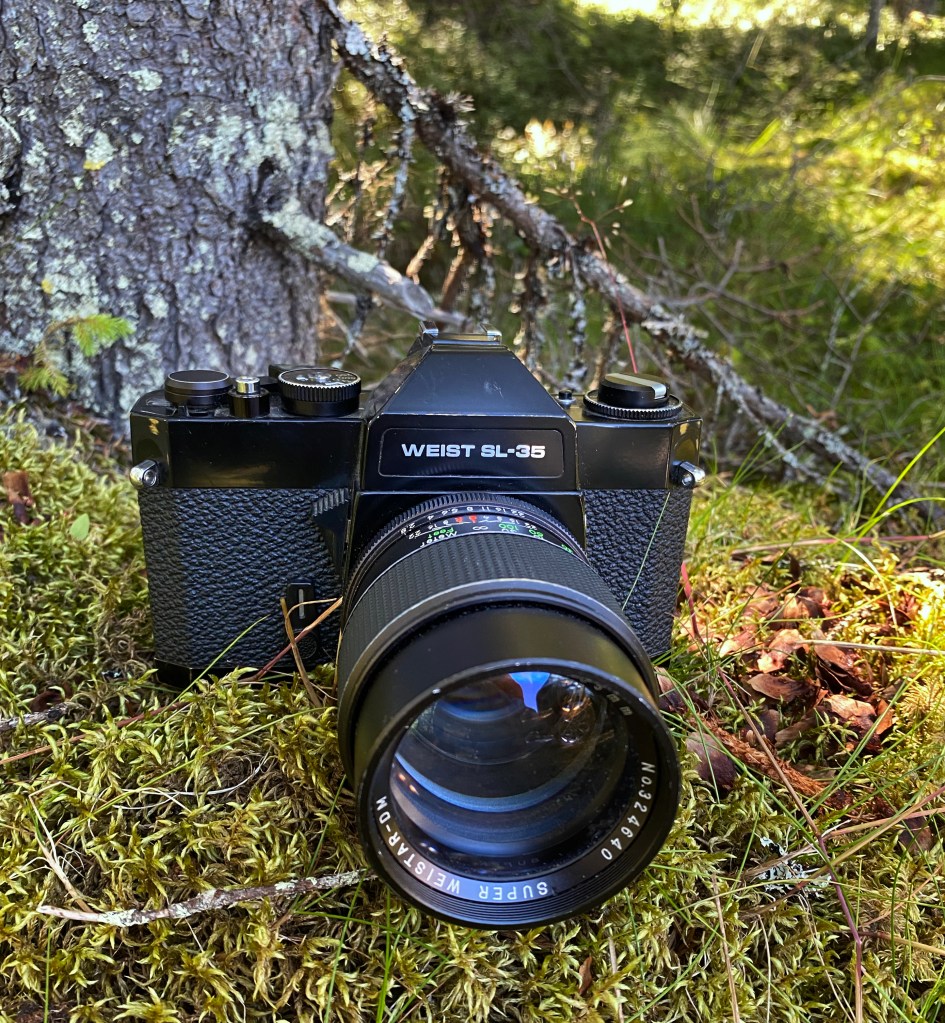
Weist SL35 and Super Weistar 135mm f2,8. Here with he beautiful grain provided by Ilford FP4 Plus at box speed in Xtol stock.
If you ever come across a package like this. Don’t hesitate. Don’t doubt. Don’t walk away. Buy this camera and lens and shoot happily ever after.
A few months ago, I ordered a few rolls of StreetCandy ATM 400 off their own website. From previous experience I know that street film is very contrasty and that they are great to pull. I put one of the rolls in a new camera that I bought and planned to take it for a little spin around the area, looking for architectural shapes, trying to find shadows and deep contrasts. The trip did not happen because of Norwegian summer and some weeks of rain and dull weather.
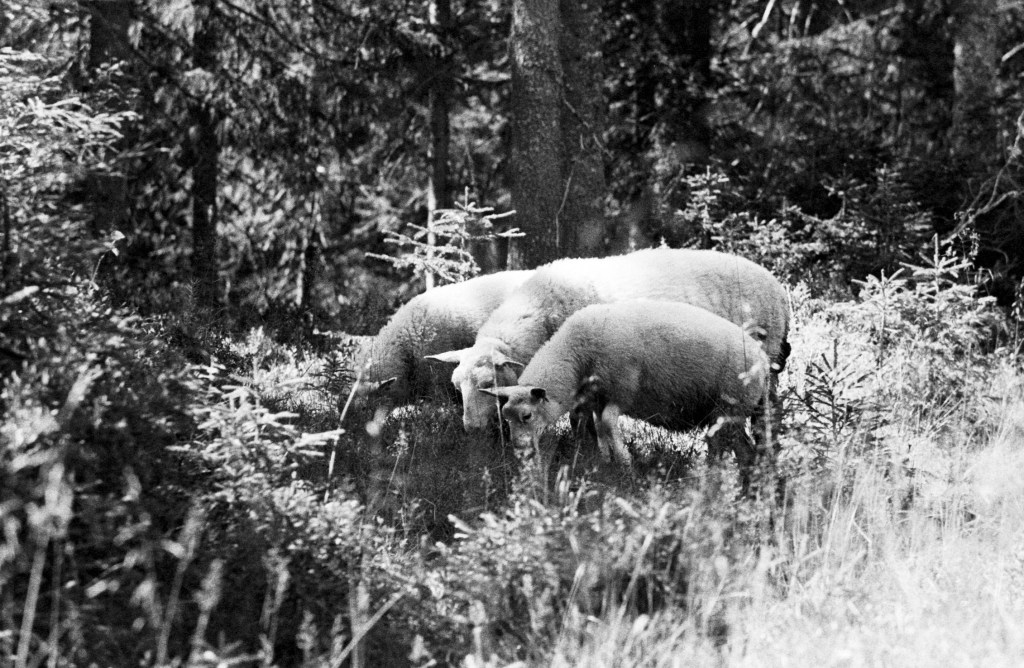
The other day though, I went out for a hike in the forest looking for some sheep and forest details to photograph. I decided to try out the Street Candy at box speed for this trip, and I shot the whole roll of film that was in my camera.
The Camera
I love old, interesting and manual cameras. I often frequent thrift-shops and charity shops to see what kinds of old, forgotten and dusty stuff they have on their shelfs. On a recent trip to a local charity shop, I picked up a Weist SL35 with a «Super Weistar 135mm» lens. I have tried to google the camera, but not much came up. The best lead is that it could be a rebadged Chinon CX. Nonetheless, it is heavy as a brick and feels sturdy and solid in your hand.
I am happy for any details on this camera, as I do not know much about it other than that it seems to work perfectly and accurately. Even the lightmeter is working and fairly accurate based on this shoot.
Reklamer
This was my first time trying out this camera, and I must say that this camera will become a frequent companion for me. the M42 screw mount makes me able to use some of my favorite lenses, and it is surely more accurate than my Zenith Olympic Edition.
The film
As I stated earlier, the film I used on this trip was a Street Candy ATM400 street film. You can buy it from the manufacturer’s own website and at a fairly decent price. Be aware that they use the slowest shipment partner you can imagine. From their address in France to mine in Norway, it used more than two months. I have tried to imagine how that can even be possible. In the current Covid-age I could have traveled to France, stayed two weeks in quarantine, picked up the film, traveled back to Norway, stayed two weeks in quarantine. This whole process would have been a quicker way of getting the film, than using their shipment partner.
My guess is that their films are delivered by just one man, picking the film up at their address, walking to a port somewhere in southern France. Who then jumps in a rowing boat, rowing around Gibraltar and over the Nordic Sea to deliver it. Probably.
Reklamer
From their own website, you can learn something about this film. It is a medium speed, 400 ISO, film originally made for surveillance cameras to keep people safe. In the modern days, these systems have turned digital, and the films are unnecessary. Street-Candy has made this film available for film photographers to use, and I am truly grateful. This film is great, even when I took it out of its comfort zone and into the first.
Not what it was originally made to photograph.
The grain-structure is beautiful and very fine for a 400 ISO film, but as most other street films, it is very contrasty. In my negatives I saw the contrast immediately, and some were to contrasty to turn out anything in this setting, and a normal Tri-X or HP5 would maybe be a more suitable choice for this kind of shoot, but some of the results were really unique.
On Street-Candy’s website, it advised to refer to the same development cycle as for Ilford HP5 plus, which I did on this cycle. Eight and a half minutes in Xtol 1+0 and then normal stop and fix, rinse and Photoflo.
Reklamer
I am looking forward to trying out my other rolls of this film both for proper street photography and pulled one stop for portraits. I can imagine brilliant results from this film. I am also surprised to see how well it coped in the forest with the sheep and structures I found out there
All in all I am very happy with both the camera and the film, and if I would order this film again. If you come over a Weist SL35 at a decent price, it is worth buying. My cost 35 Norwegian kroner, approx 3,5 Euros.
There are always two people in every picture: the photographer and the viewer.
As mentioned in previous posts, I made 2020 my year of getting familiar with the amazing and affordable Fomapan 100.
Back in July, I was traveling around in Northern Norway with the mission of taking photographs and testing out some old equipment. In this edition, an Olympus OM-1 and a roll of Fomapan 100. Along I also brought a set of colored and graded filters that I found cheaply online at Kent Faith Project. I have been curious to try out some square filters in my photography and also to try out color filters with gradient effects.
Reklamer
My Olympus has a Zukio 50mm lens, which is extremely sharp and well focused. But the filter-ring was slightly dented, so the space-ring for 49mm did not quite fit. I had to use some heat and some pliers to round it back out again, and I managed to fix this without damaging anything.
Photo taken without any filters on the lens. For reference use only.
The second day of my trip, I had to catch a ferry in Bindal. I thought I would have good time, but miscalculated and suddenly had a two hour wait in the middle of nowhere without anything to do. I decided to do some test-shooting with the Olympus, a Fomapan 100 and an orange and an orange gradient filter.
I shot sunny 16, and with the available light, I chose f8 and 1/125 for my shots. The image above shows the results without a filter. Shows a wide variety of grays and the lovely fine grain of the Fomapan 100.
Shot with the gradient filter from orange to UV
In the shot above, I used the gradient filter organge/clear. I did bracket the shots here, since I was not 100% sure how the gradient would turn out, but I actually fell for this, slightly under-exposed image, because of the lively grays in the distant mountains. I love the way the gradient filter made the skies pop without underexposing and losing detail in the other parts of the image.
Taken with the orange filter. Compensation used was two stops.
For the orange filter shots, I also bracketed. I chose to use this image, where I compensated two stops with the shutter and shot at 1/30 with f8. To the right you can see the savior arrive. The ferry I had been waiting for, and hence this was one of the last shots before I returned to the car and continued my journey.
Reklamer
All in all, I am falling in love with the Fomapan 100. When developed in Xtol 1+0 it produces a smooth, but characteristic grain that gives the images a natural and somewhat «raw» look that I truly adore.
Also the Square filters from Kent Faith are great stuff to play with, and I will upload another entry at a later time focusing on these.
One of my absolute favorite cameras is my Zeiss Ikon Nettar. A little German bellow-camera from very long ago. I am not sure about the real age of this camera, but I know that it is from the late 40’s early 50’s. Being a bellow-camera, the shutter is mounted in the lens, and you have no range-finder or any focus help other than your eyes or some clip-on range finder system if you want to use that. Personally, I don’t use this camera for any work that would require the most precise focus, and I usually go without measuring or using «safe» aperture settings.
My Zeiss Ikon Nettar, and a box of KODAK Ektar
Because of its age, the Novar Astigmat lens was probably never meant to deal with colour films, and especially not high saturation films like the Ektar. I was therefore curious to try it out and see how an old lens and an old camera would perform with a film like this.
To help the camera a bit, I used an UV-filter. The Nettar does not have a filter ring that can support any of my filters, so I used a cheap 52mm UV-filter and held it in place with my fingers while shooting.
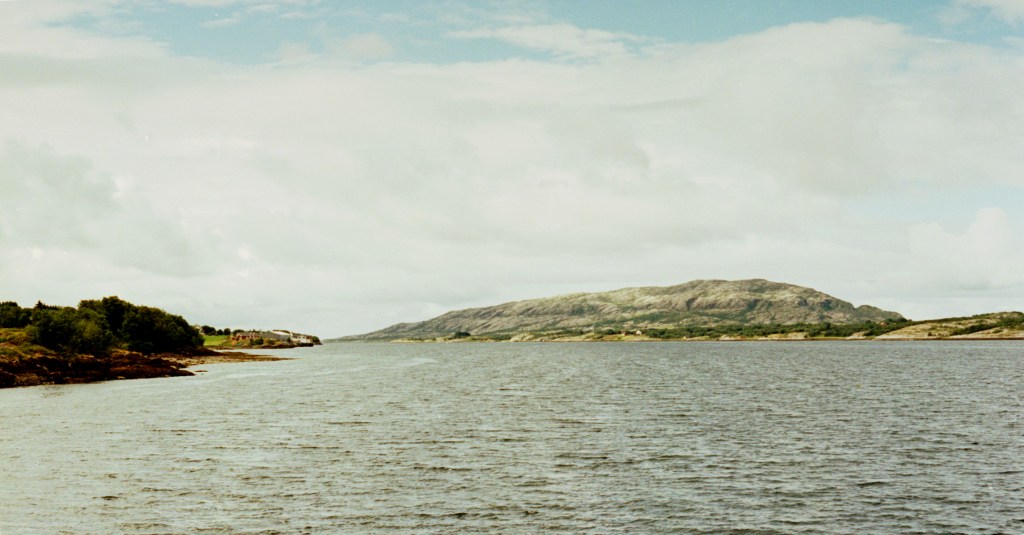
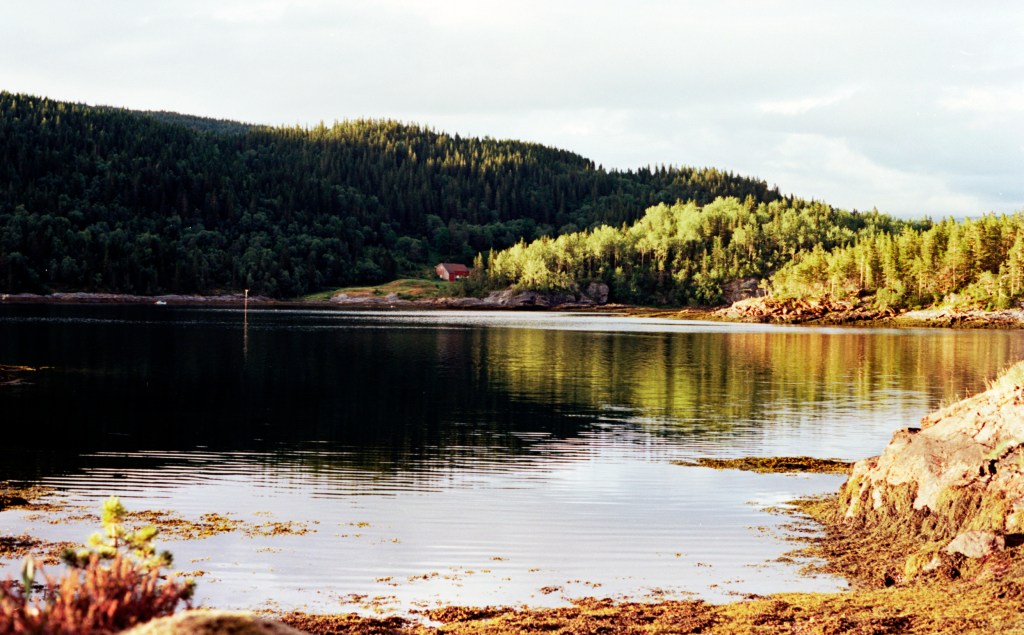
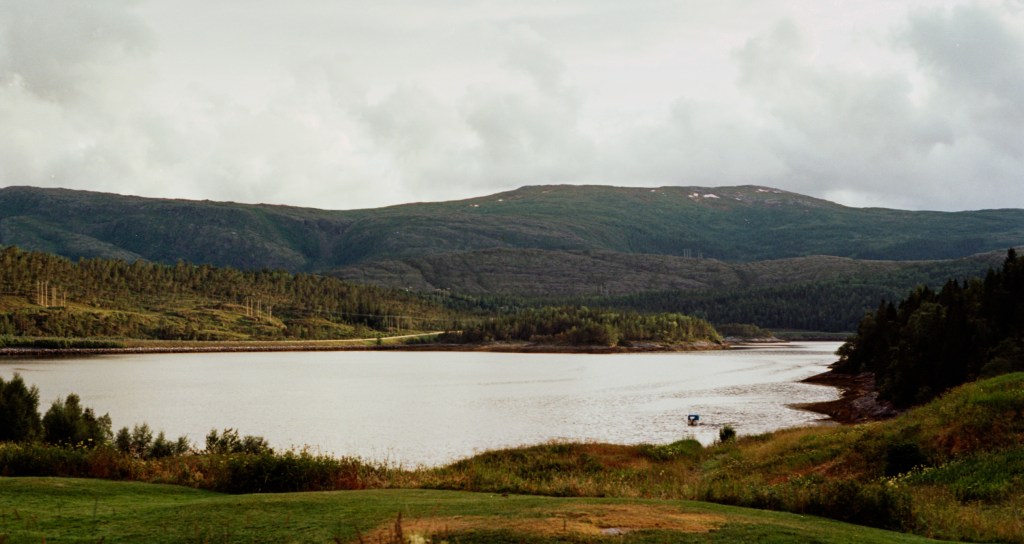
The images are taken while waiting for a ferry at Forvik in Vevelstad, Northern Norway in the region Helgeland. It surprises me how well the Nettar deals with colour films, and I find the images to be really high quality.
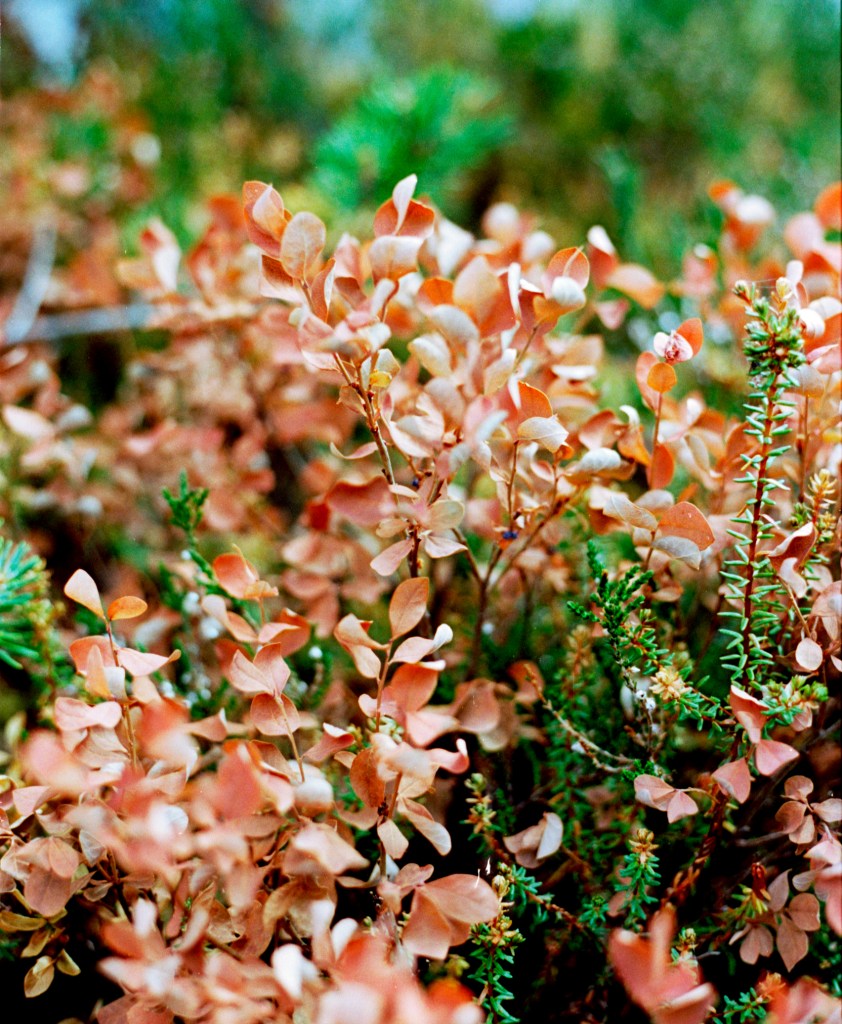
Results from the roll. KODAK Ektar and Zeiss Ikon Nettar.
Images are developed at home with the Tetenal C41-home system using a Paterson tank and a cheap eBay reel. Since I do not own a medium format scanner, I used my Epson Perfection V370 and scanned them in sections and glued them together in Photoshop.
I have not done any colour corrections here, what you dee is what I got, but I have removed some dust and scratches.
This has been a special year for all of us. Covid 19 has turned everything upside down, and we are more home bound than we usually are. Because of this, I decided to go on holiday in Norway this year, and appreciate the Norwegian nature with some old, cheap equipment and some rolls of KODAK Ektar.
First up, was my Olympus OM-1 and the amazing Zukio 50mm lens. Not a very cheap camera you might say, but I managed to get my OM-1 shipped shipped to Norway for just around 70 euros. That is a real bargain considering the quality and value in use.
These shots are from the area around Brønnøysund in Northern Norway. Closer description as image text.
All images are developed with the Tetenal C41 home development Kit, and scanned with my PlusTek Opticfilm 8100.
Picture 1 – Vevelstad Kommune, Forvik ferry port, Nr 2 and 4, Velfjord in Brønnøy, nr 3 from Klompen in Namsos
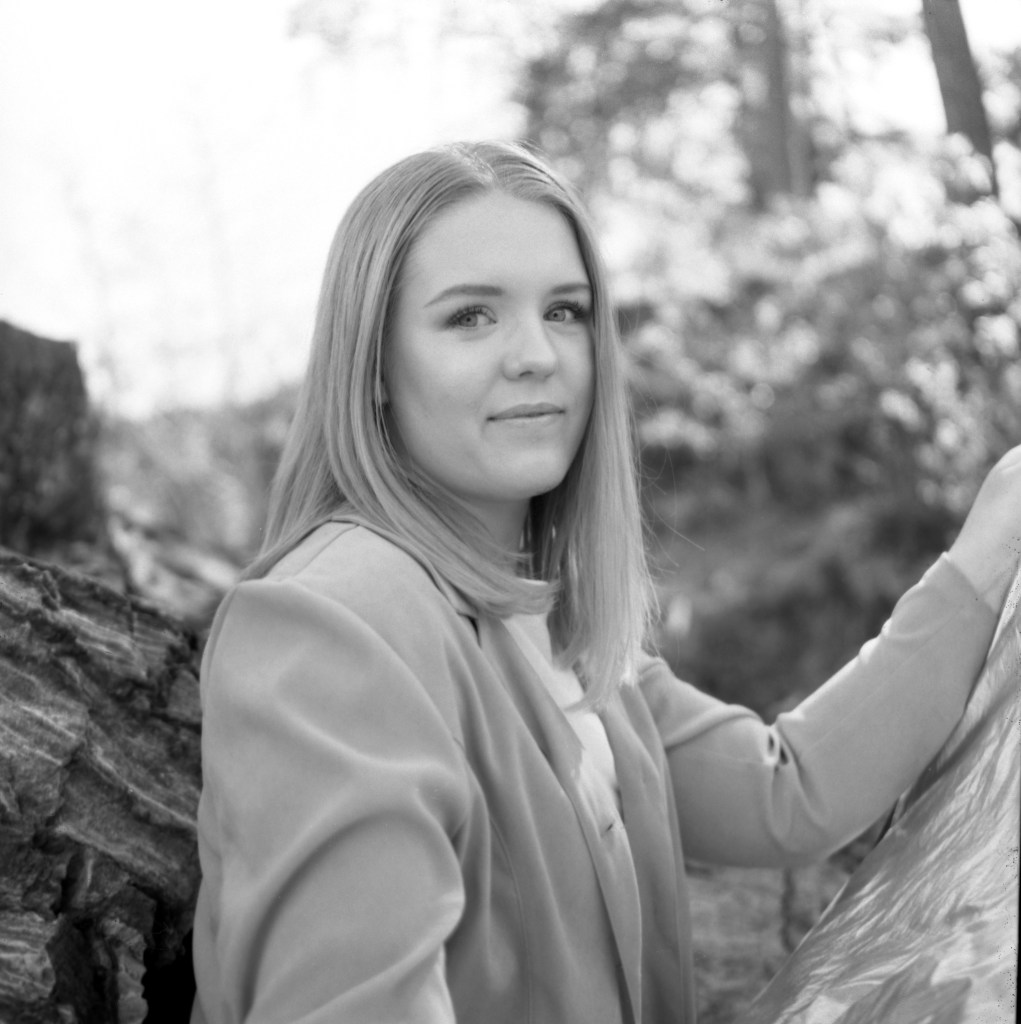
A little while ago, I was given a roll of 120mm film from Japan Camera Hunter named the «Streetpan 400». I tried it out and got beautiful results with high contrasts and exquisitely fine grain for a 400 iso film. The deep contrasts got me thinking. How would this film work for portraiture?
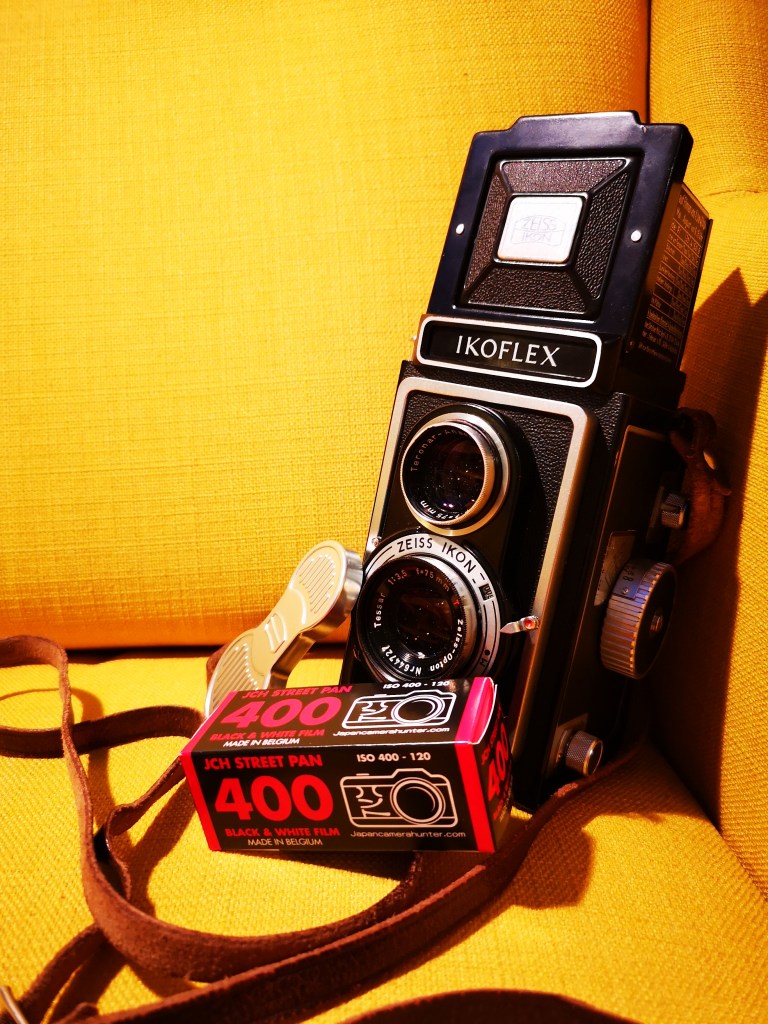
I bought a few rolls directly from JCH in Japan, and due to the Covid 19 situation it took a while for them to arrive. When it finally came I put a roll in my Zeiss Ikon Ikoflex, cheap TLR, and decided to bring it to take some portraits with Ada. We met at Kremmerodden, a lovely location in Norway and took some pictures.
The Zeiss Ikon Ikoflex, with a roll of JCH Street Pan 400
I decided to shoot the film at 200 and develop a bit shorter (pull processing) in order to retain some shadow detail. This film is widely discussed online for its ink-black shadows and high contrast, and for portraits in direct sunlight, this was not my biggest wish.
I will not go deep into anything technical about this film, I am no expert on emulsions and films, and there are millions of reviews and opinions about it available online.
I was very uncertain about how this film would handle being pulled a stop, but I am happy to report that it deals well with one stop over exposure.
My process was:
One minute presoak in water to remove the anti-halation layer. This water comes out nearly black.
Development in Kodak Xtol 1+1. Development time for this film at 400 is 17 minutes. Since I pulled it one stop, I reduced the development time by 20% and a total development time at 13 minutes 40 seconds with agitation every minute.
Water-stop and fix as usual
15 minutes under running water for wash.
Final wash with Photoflo
I am happy with the results. What you see here are scanned negatives that have been merged and somewhat cleaned in Photoshop. I will take some of these negatives to the darkroom for printing there later.
Zeiss Ikon Ikoflex – Japan Camera Hunter (JCH) Street Pan 400@200, Xtol.
Do I like this film for portraits? Yes. I would use this film again for portraits and pull it to 200 for certain portraits. Especially portraits where I want to retain some contrast and get a nice palette of grey. However, for portraits at this location, I’ll probably stick with Ilford FP4 box speed or Kodak Tri-X at 200.
Thanks for reading
“The camera is an instrument that teaches people how to see without a camera.”
For the past years, I have mostly shot digital when doing portrait shoots and other important shoots that involve use of colour. On my recent holiday trip to Denmark, I came across an old fashioned photography shop where they had a sale on «soon to expire» films. On this sale I found a five-pack of Kodak Portra 160, and I decided to give it a go.
I am one of those people who loves to develop films and I decided that colour or B&W, I’ll master the process myself. I did Colour development a few times some years ago, and knew more or less what I was going into, with water baths and temperature control. For chemistry I bought the Tetenal Home kit, which I have to say was really easy to use and fairly idiot proof if you do monitor the temperature.
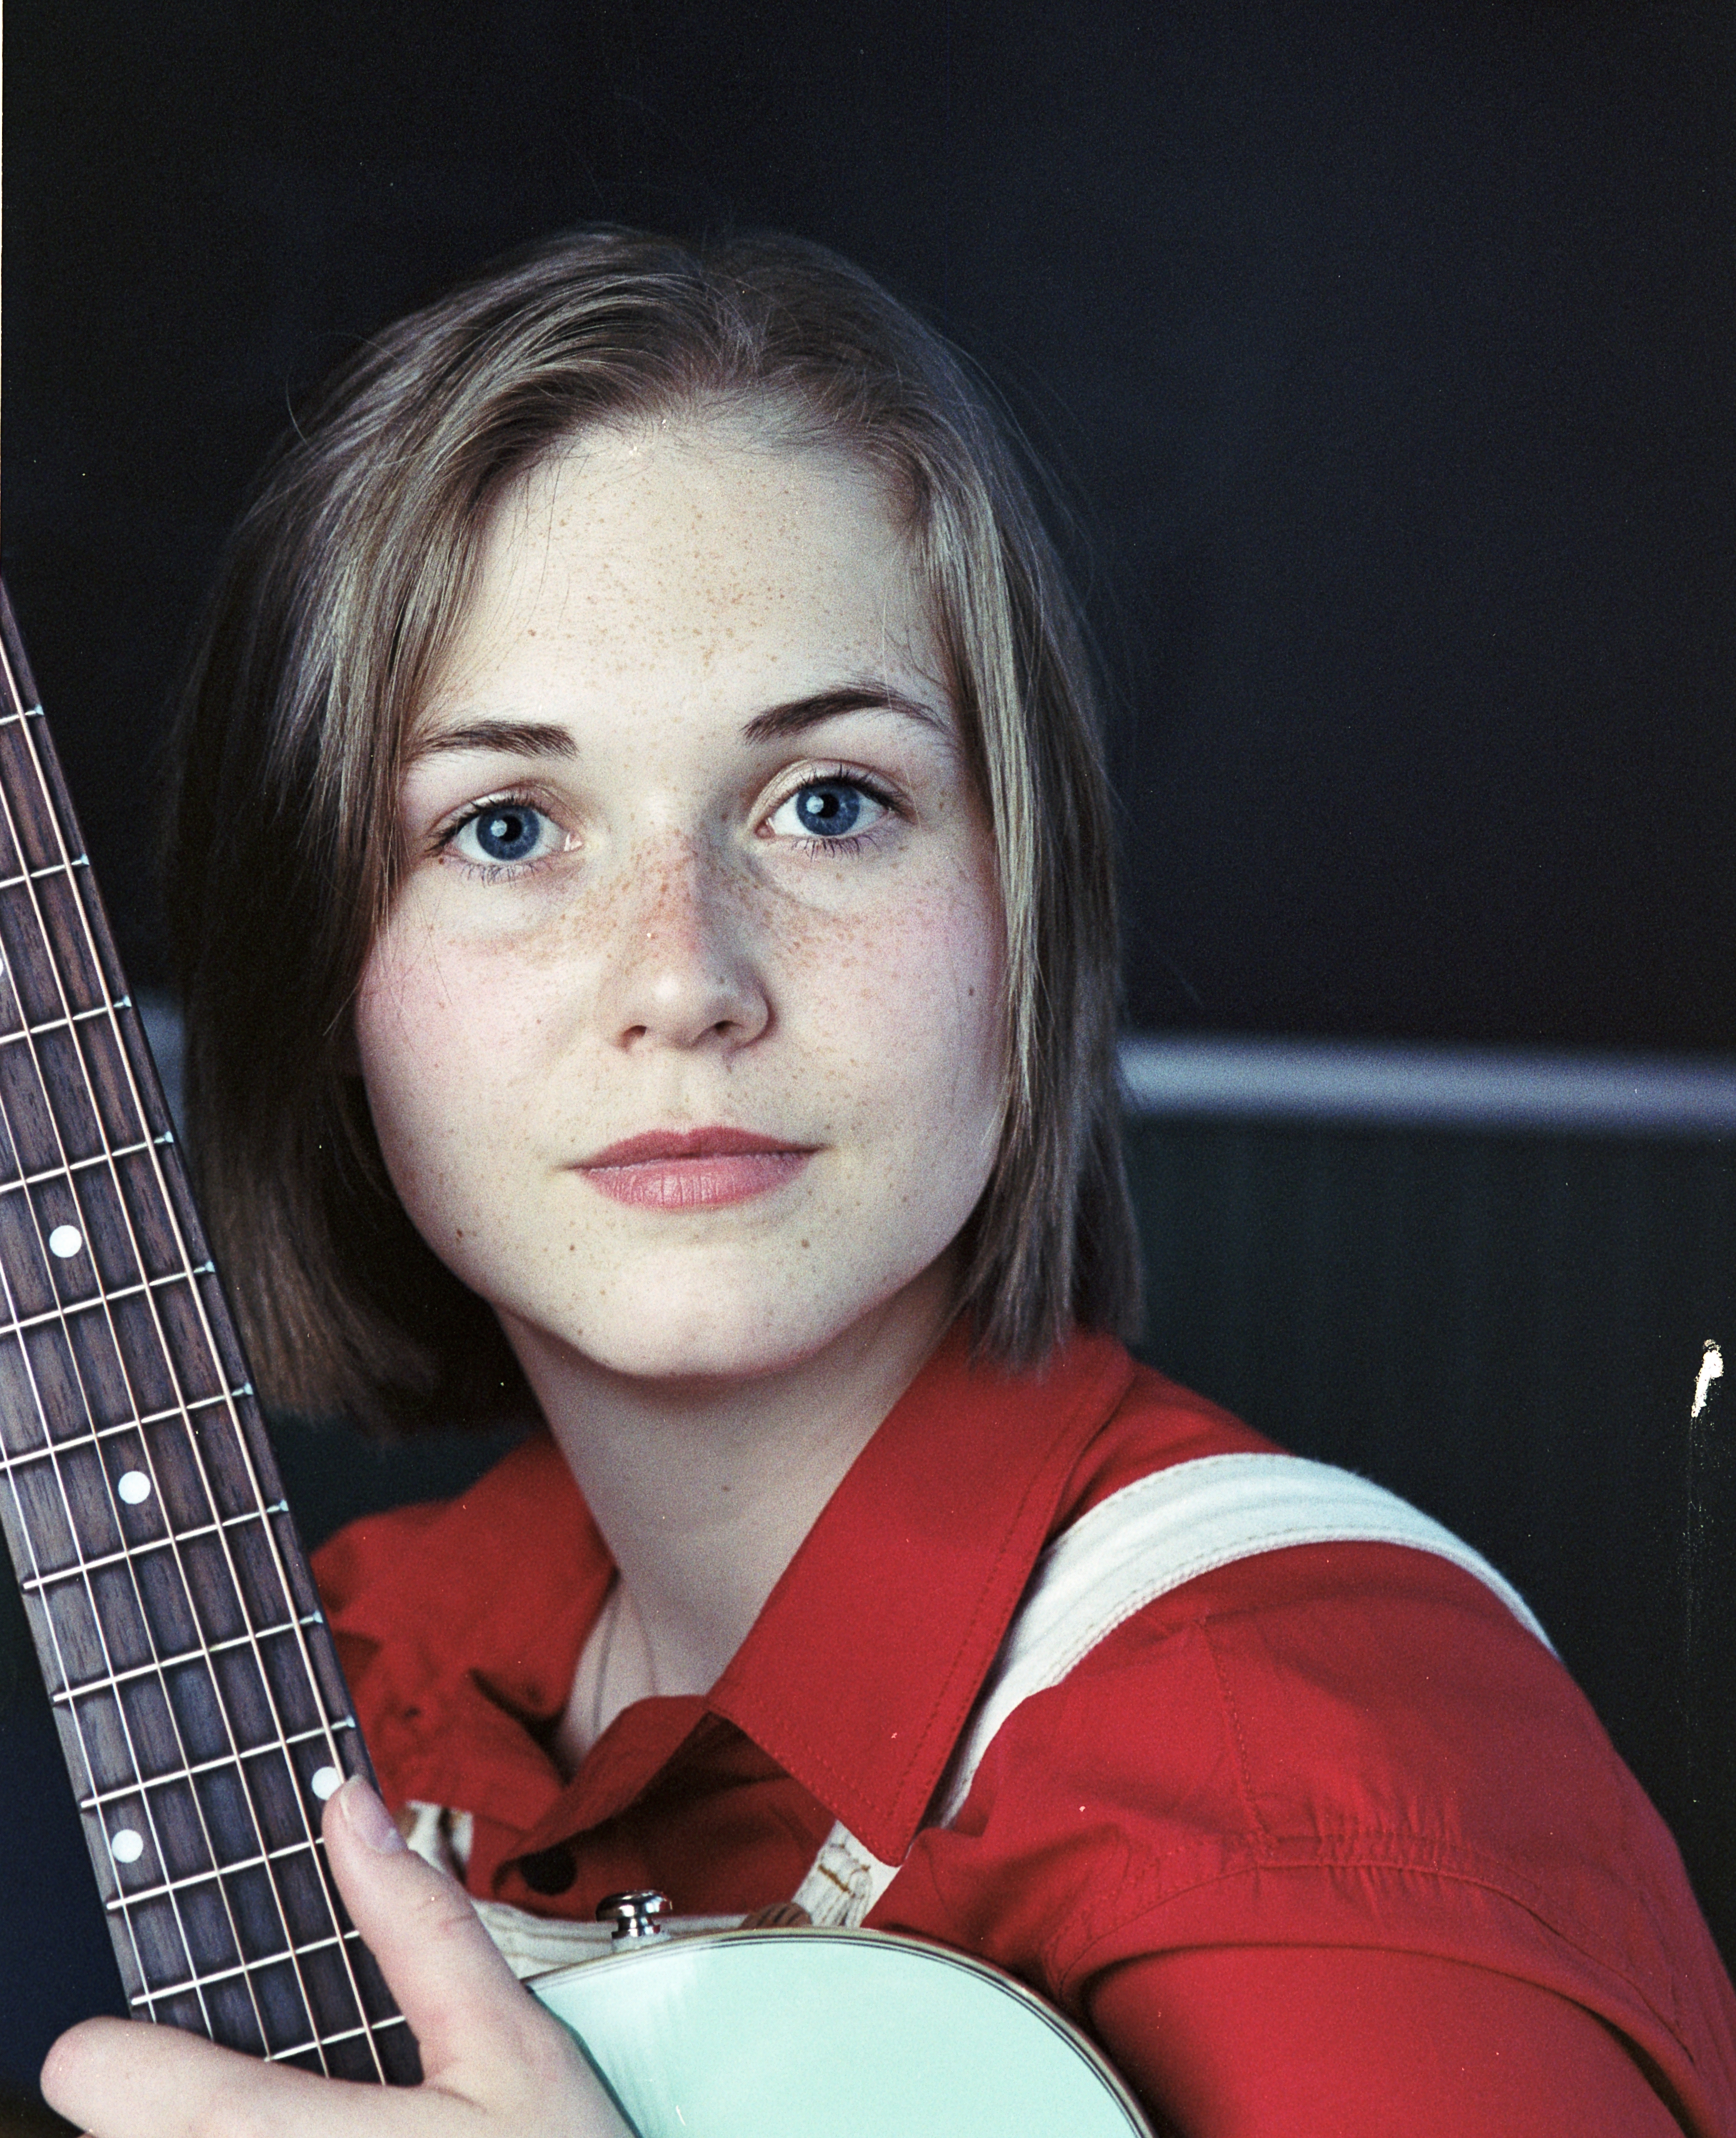
I stuck the Kodak roll into my Nikon F80, and brought it to a TFP-shoot with the lovely Hedda and her guitar. The Portra is well known for giving the nicest skin tones and I was curious about this as well.
Hedda and her Fender caught on Portra 160
I shot the film at box speed and kept it as I normally keep exposed film for a few days until I had the time to develop it.
I was amazed how simple and straight forward the Tetenal process really is. Remembering earlier experience with C41 as rather difficult I had no problems at all mastering this process. I used a Paterson tank and used the «stirring tap» to rotate the reel in the tank, as the process is made for rotation.
I am very happy with how the images turned out. The images you see here are untouched and straight from the Plustek Scanner I use for all my entries.
You can master any process.
“A portrait is not made in the camera but on either side of it.”
A few weeks ago, I came across an ENNA Tele-Ennalyt 1:4,5/240 mm lens on eBay. I have never tried ENNA lenses before, and was curious about this brand and lens. Since the lens was rather cheap, less than 20$, I decided to give it a go, and ordered it.
A little history first. The ENNA Werk was a relatively small producer of lenses based in Munich (München) in Germany, and operated between 1920 and 1992. They were renown in Germany for making decent lenses for German cameras, but were never as famous as Zeiss, and based on this test alone, not that precise.
Since my lens has an M42 mount, I decided to attach it to my Praktica MTL5 B, and I went for a walk in an apple garden outside a local museum. For Norwegian readers, I was in Hamar at Domkirkeodden.
The Praktica with the ENNA attached, placed in a tree and secured with a little twig while shot with a cellphone.
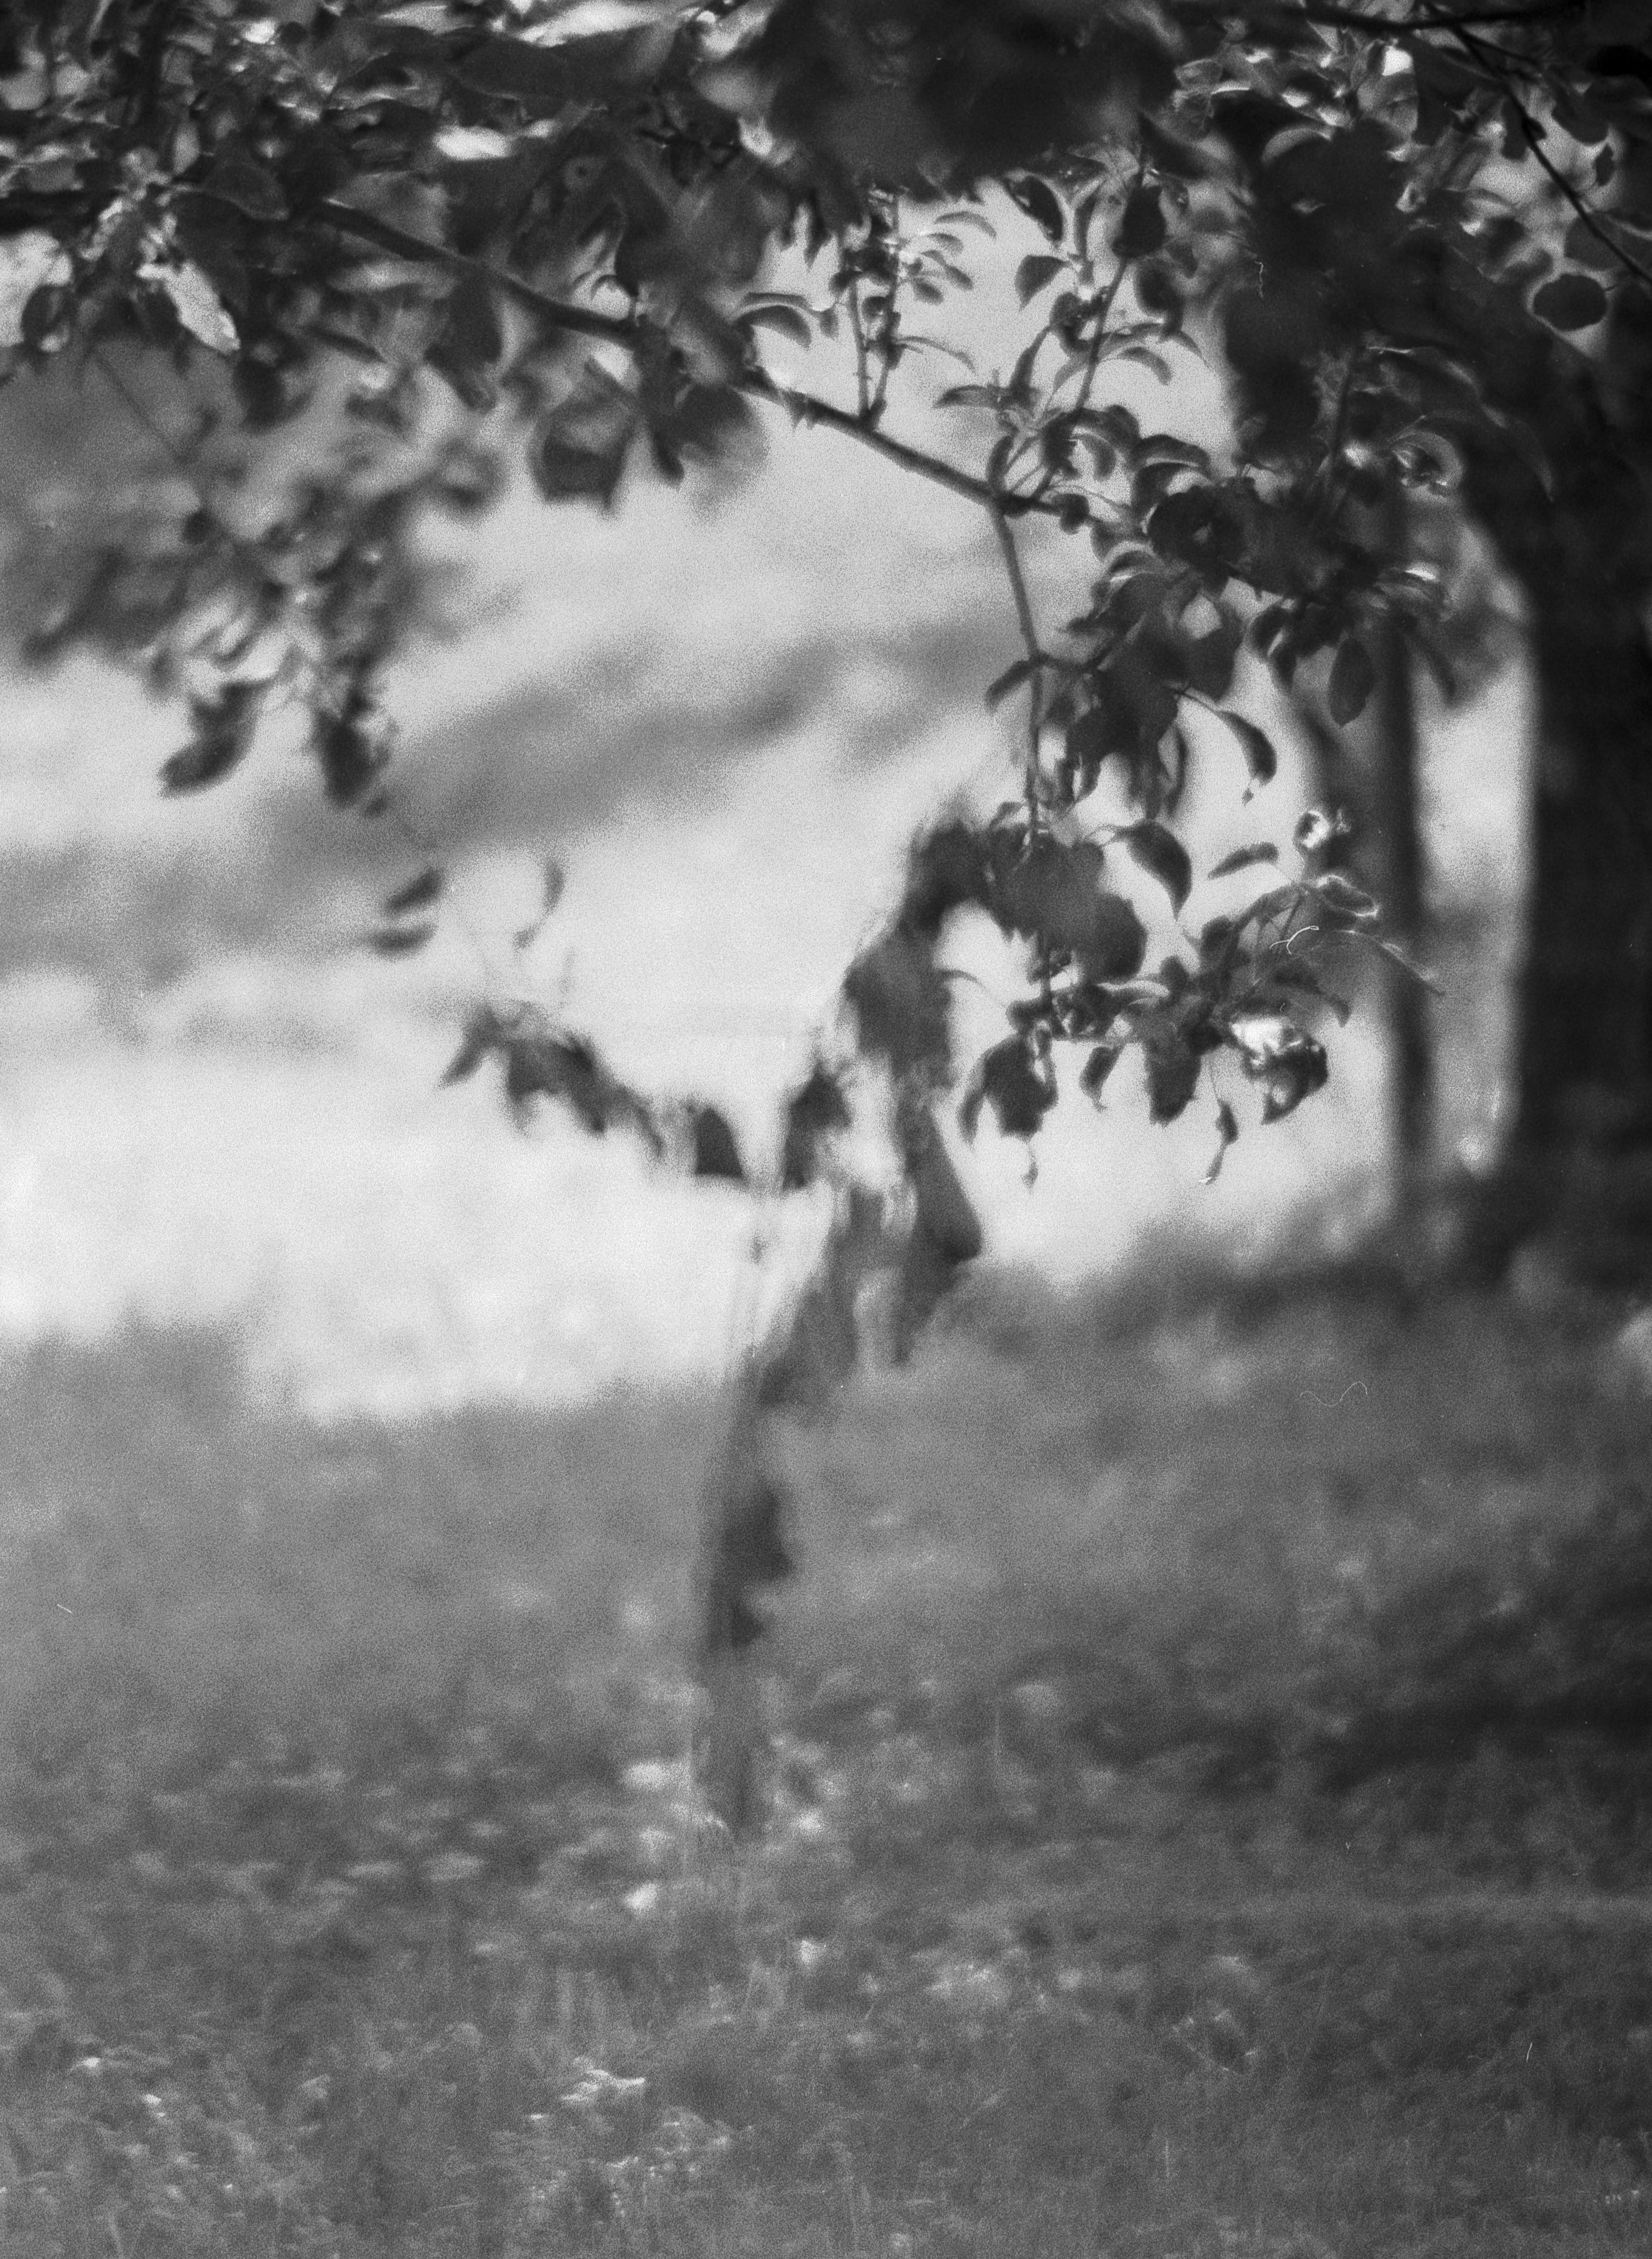
I loaded the Praktica with an Ilford Delta 100, and decided to give it a go with the different unripe apples and leaves present at the amazing location. With the East-German camera and the West German lens, I expected everything to be very smooth going.
It turns out, that focussing with the ENNA lens, was really difficult, and most of my images were slightly out of focus. This is because the Praktica Viewfinder with its focus help, did not work with the lens. For some reason.
That said, the Enna produces a really pleasant soft bokeh that I really adore. And for a cheap lens like this, I am very happy with the results. I will run a few more test rounds with this lens to make sure the problem is not the photographer.
Enjoy the images.
Images were developed using Kodak Xtol 1:0 for 8 minutes at 20 degrees, the water stop and fix. The fixer was at its last cycle here, and used 10 minutes to clear the negatives. I have come to like Delta 100 with Xtol, and would recommend this combo to anyone comfortable with developing in powder chemistry. It is not that different at all.
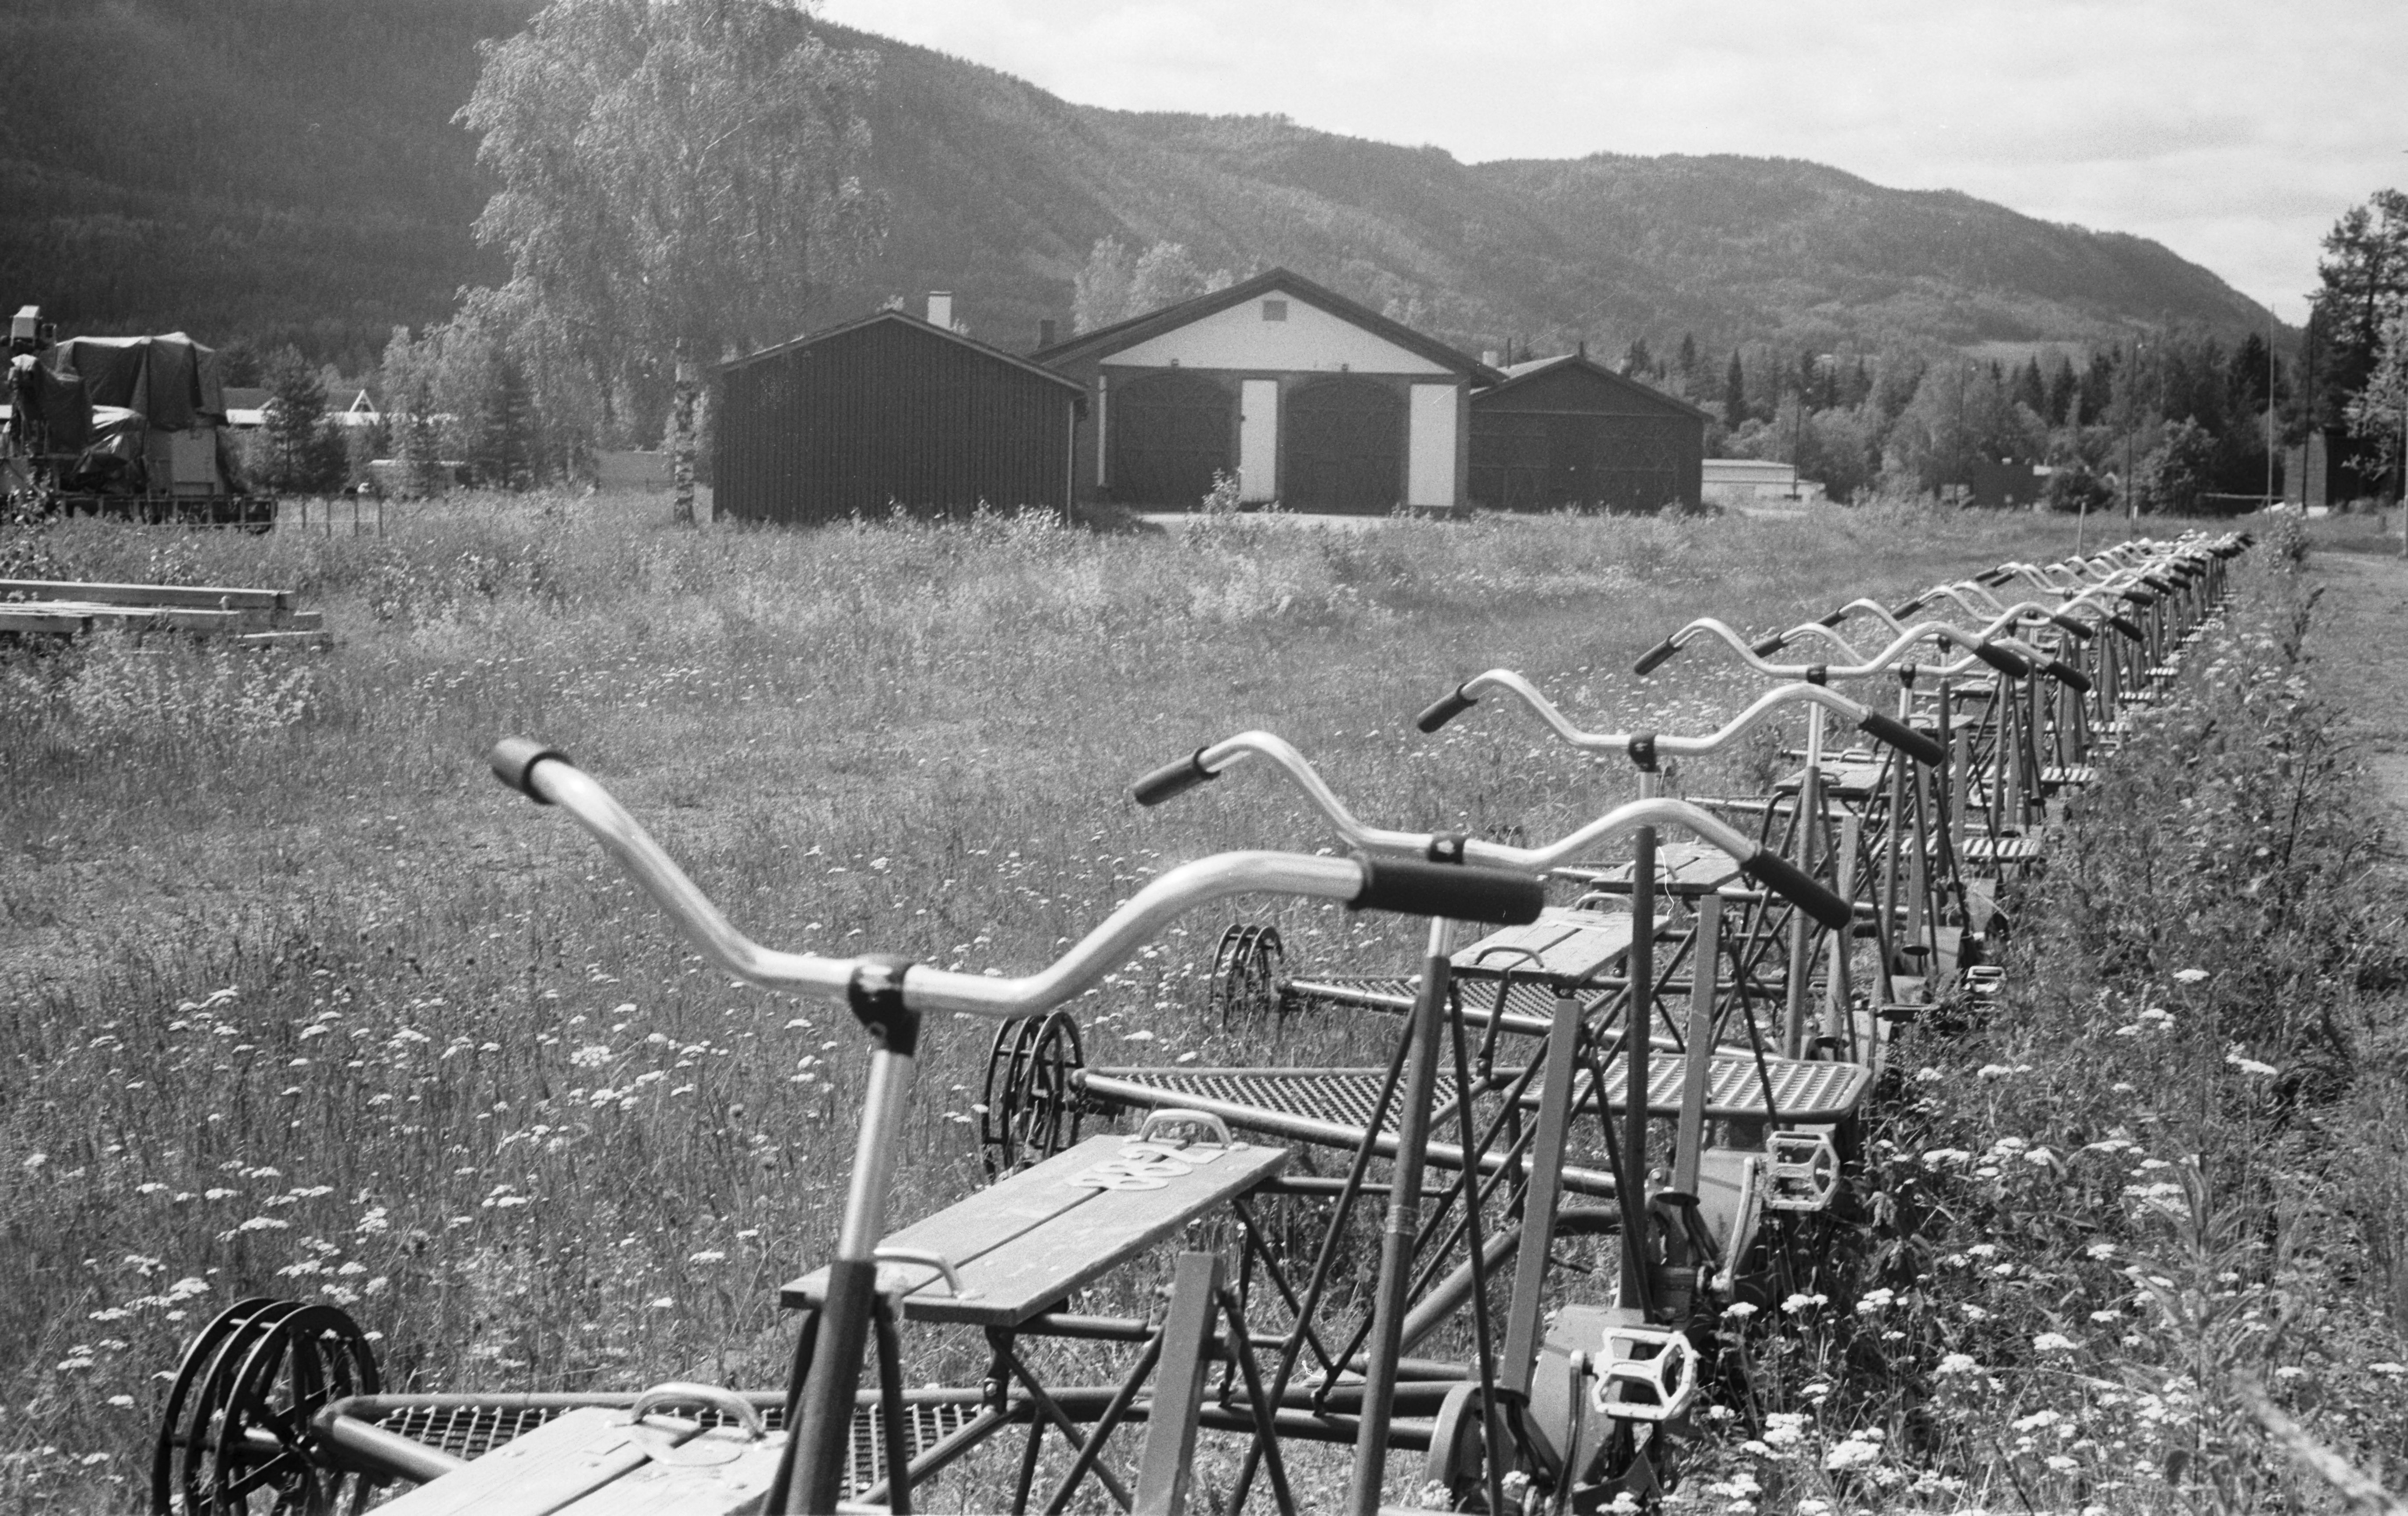
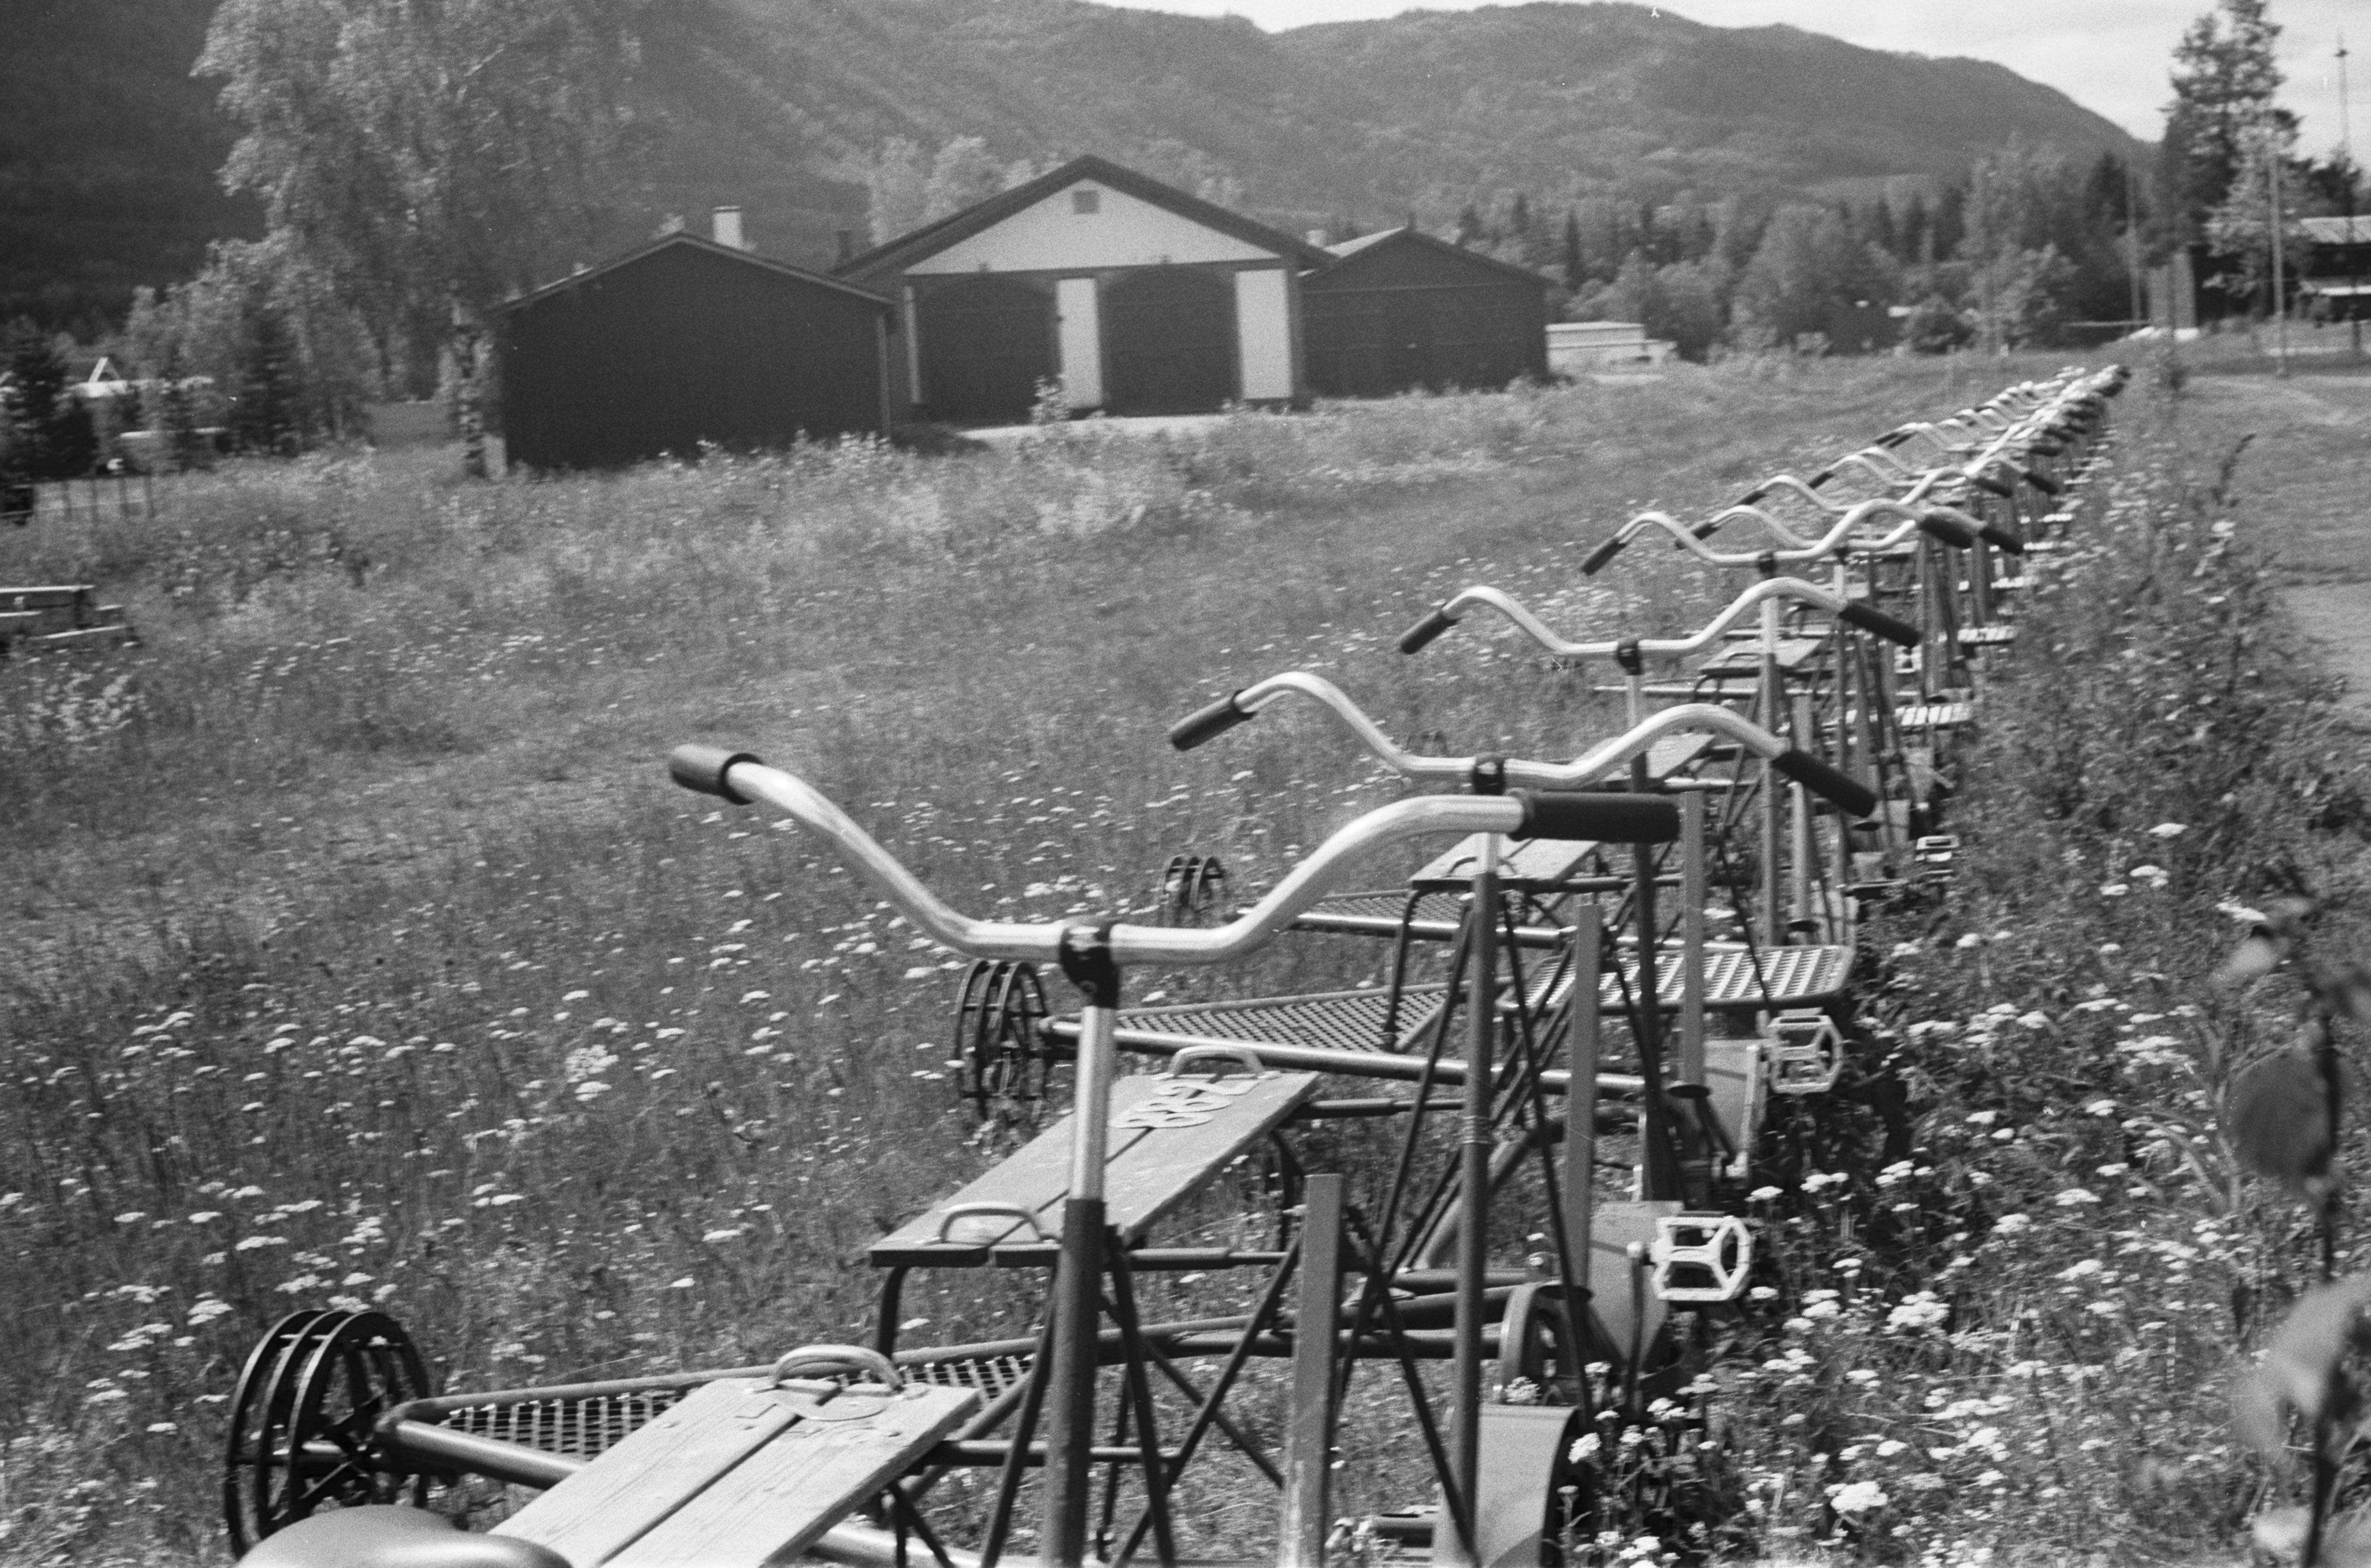
Today, I had a portrait assignment in Dokka, a little town nearby, and I brought the Voigtländer with an Ilford Delta 100 loaded in it.
I had the Voigtländer well placed in its leather casing.
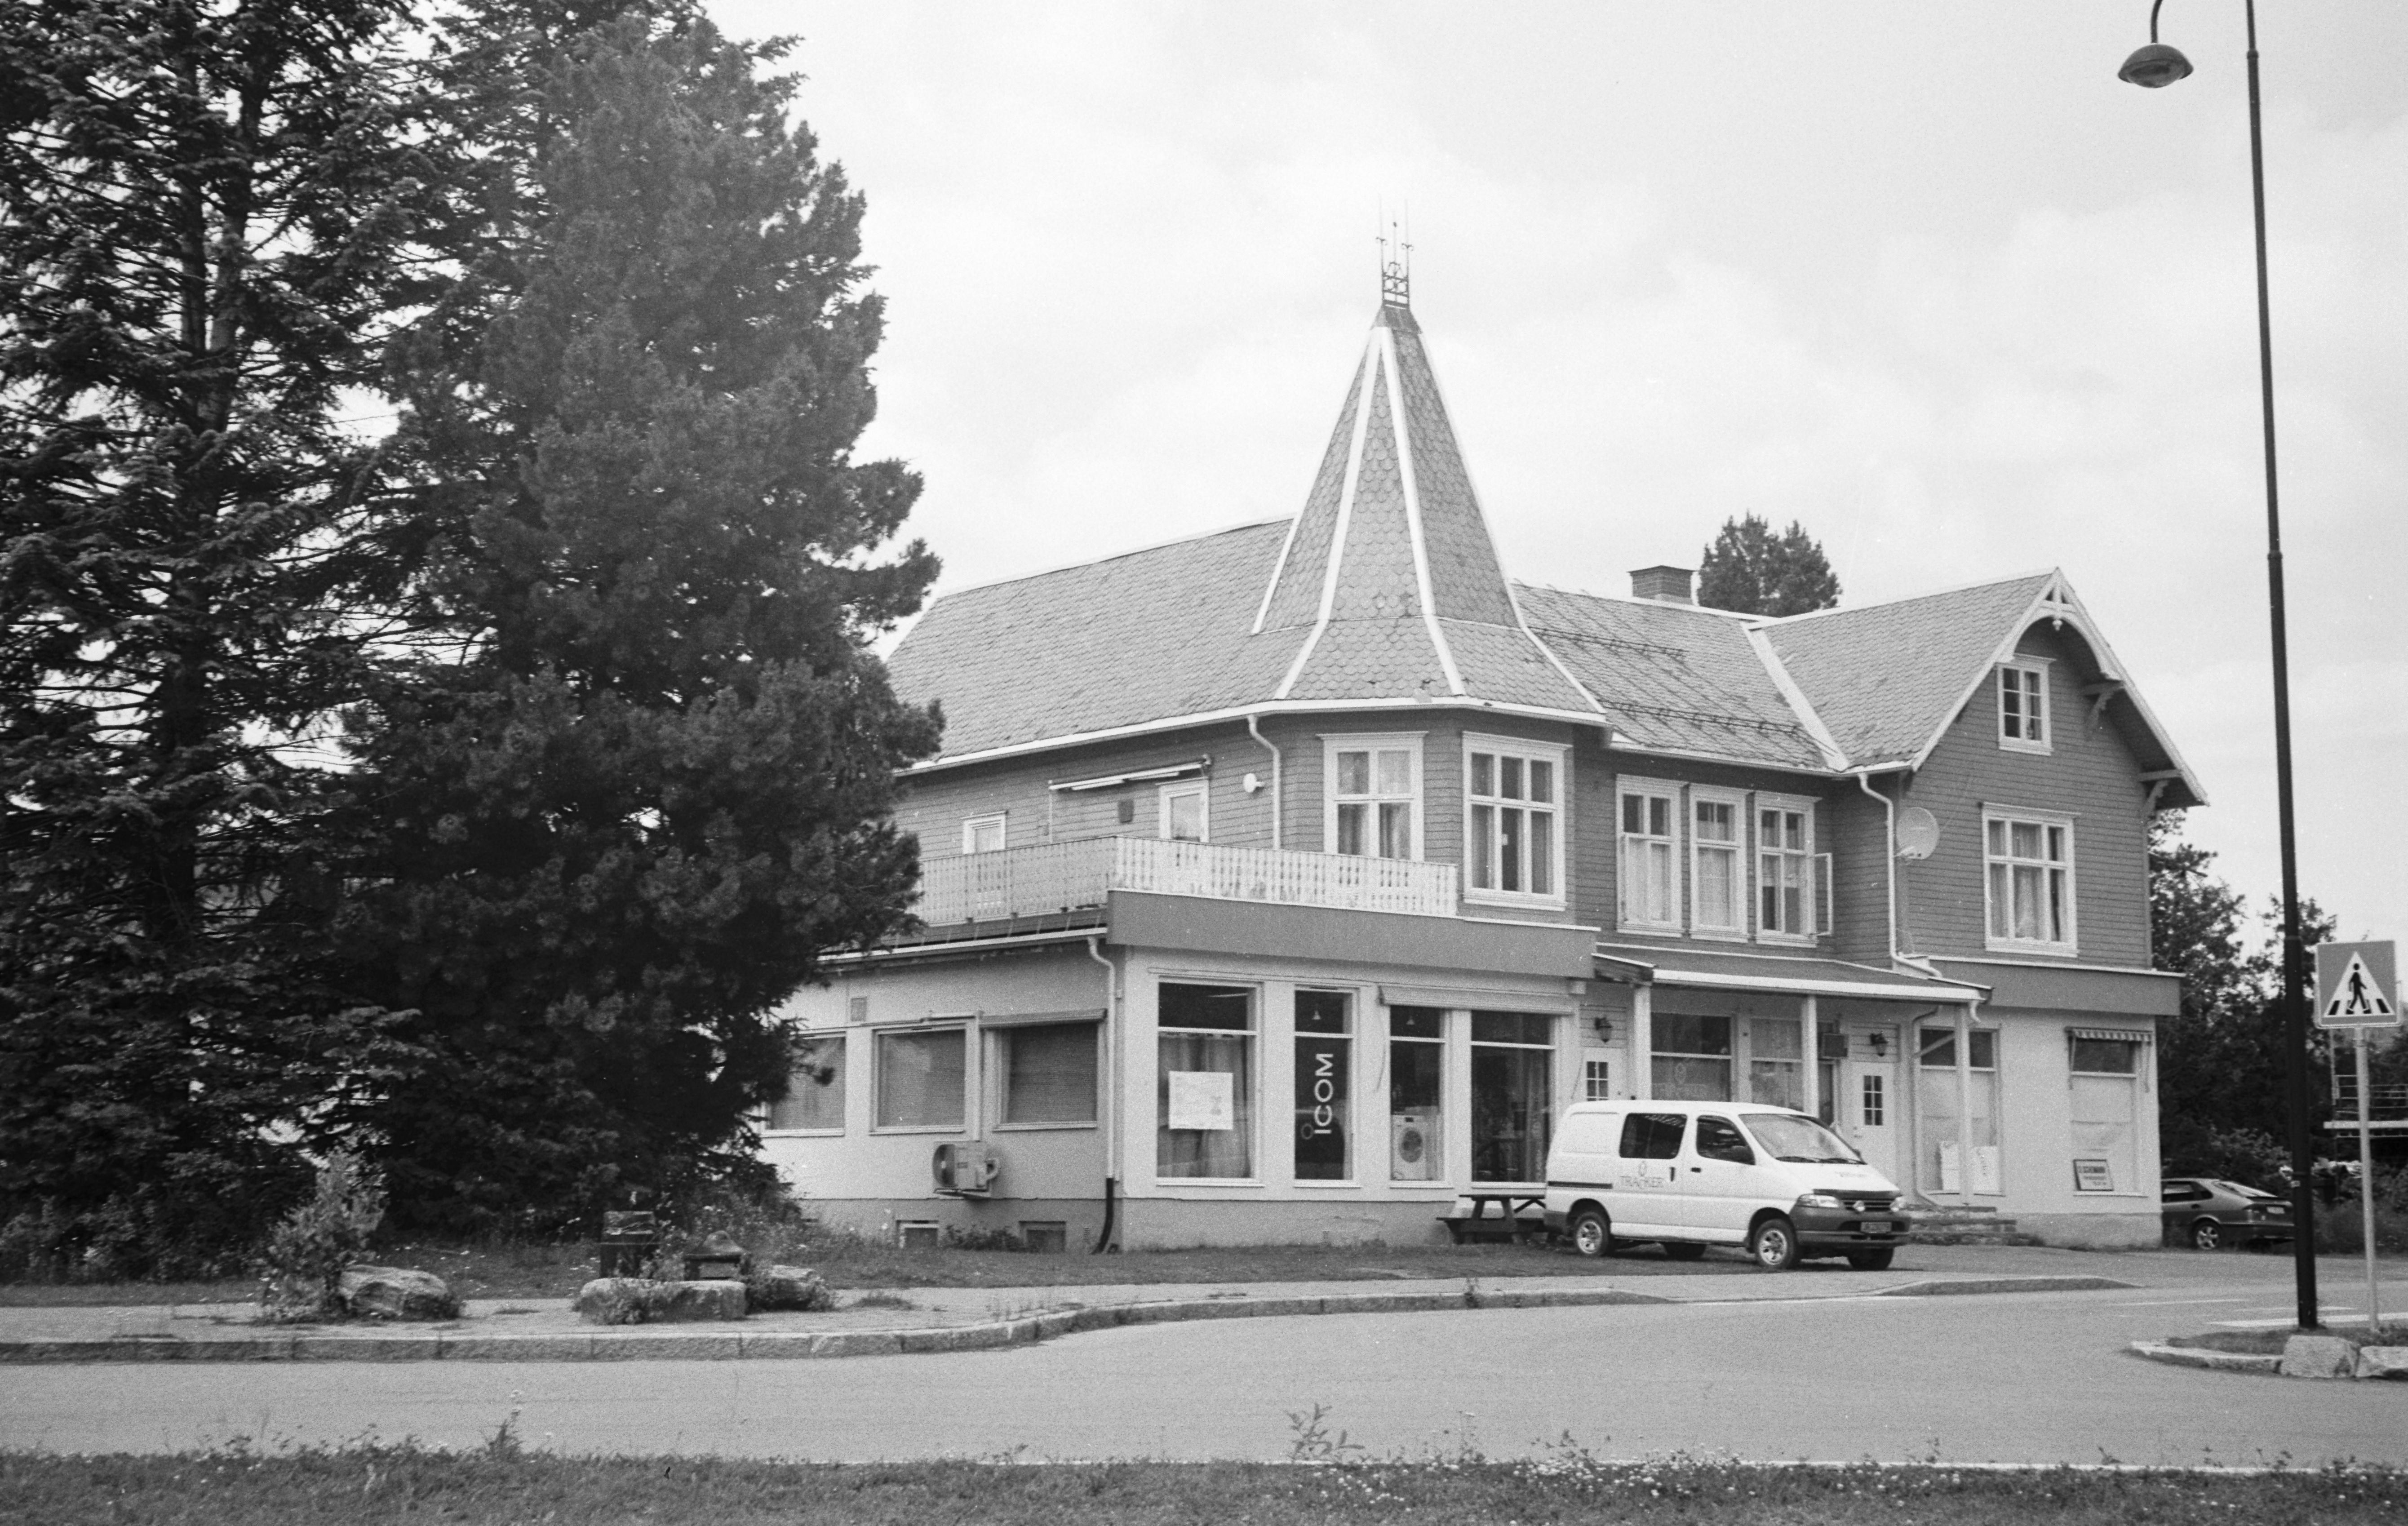
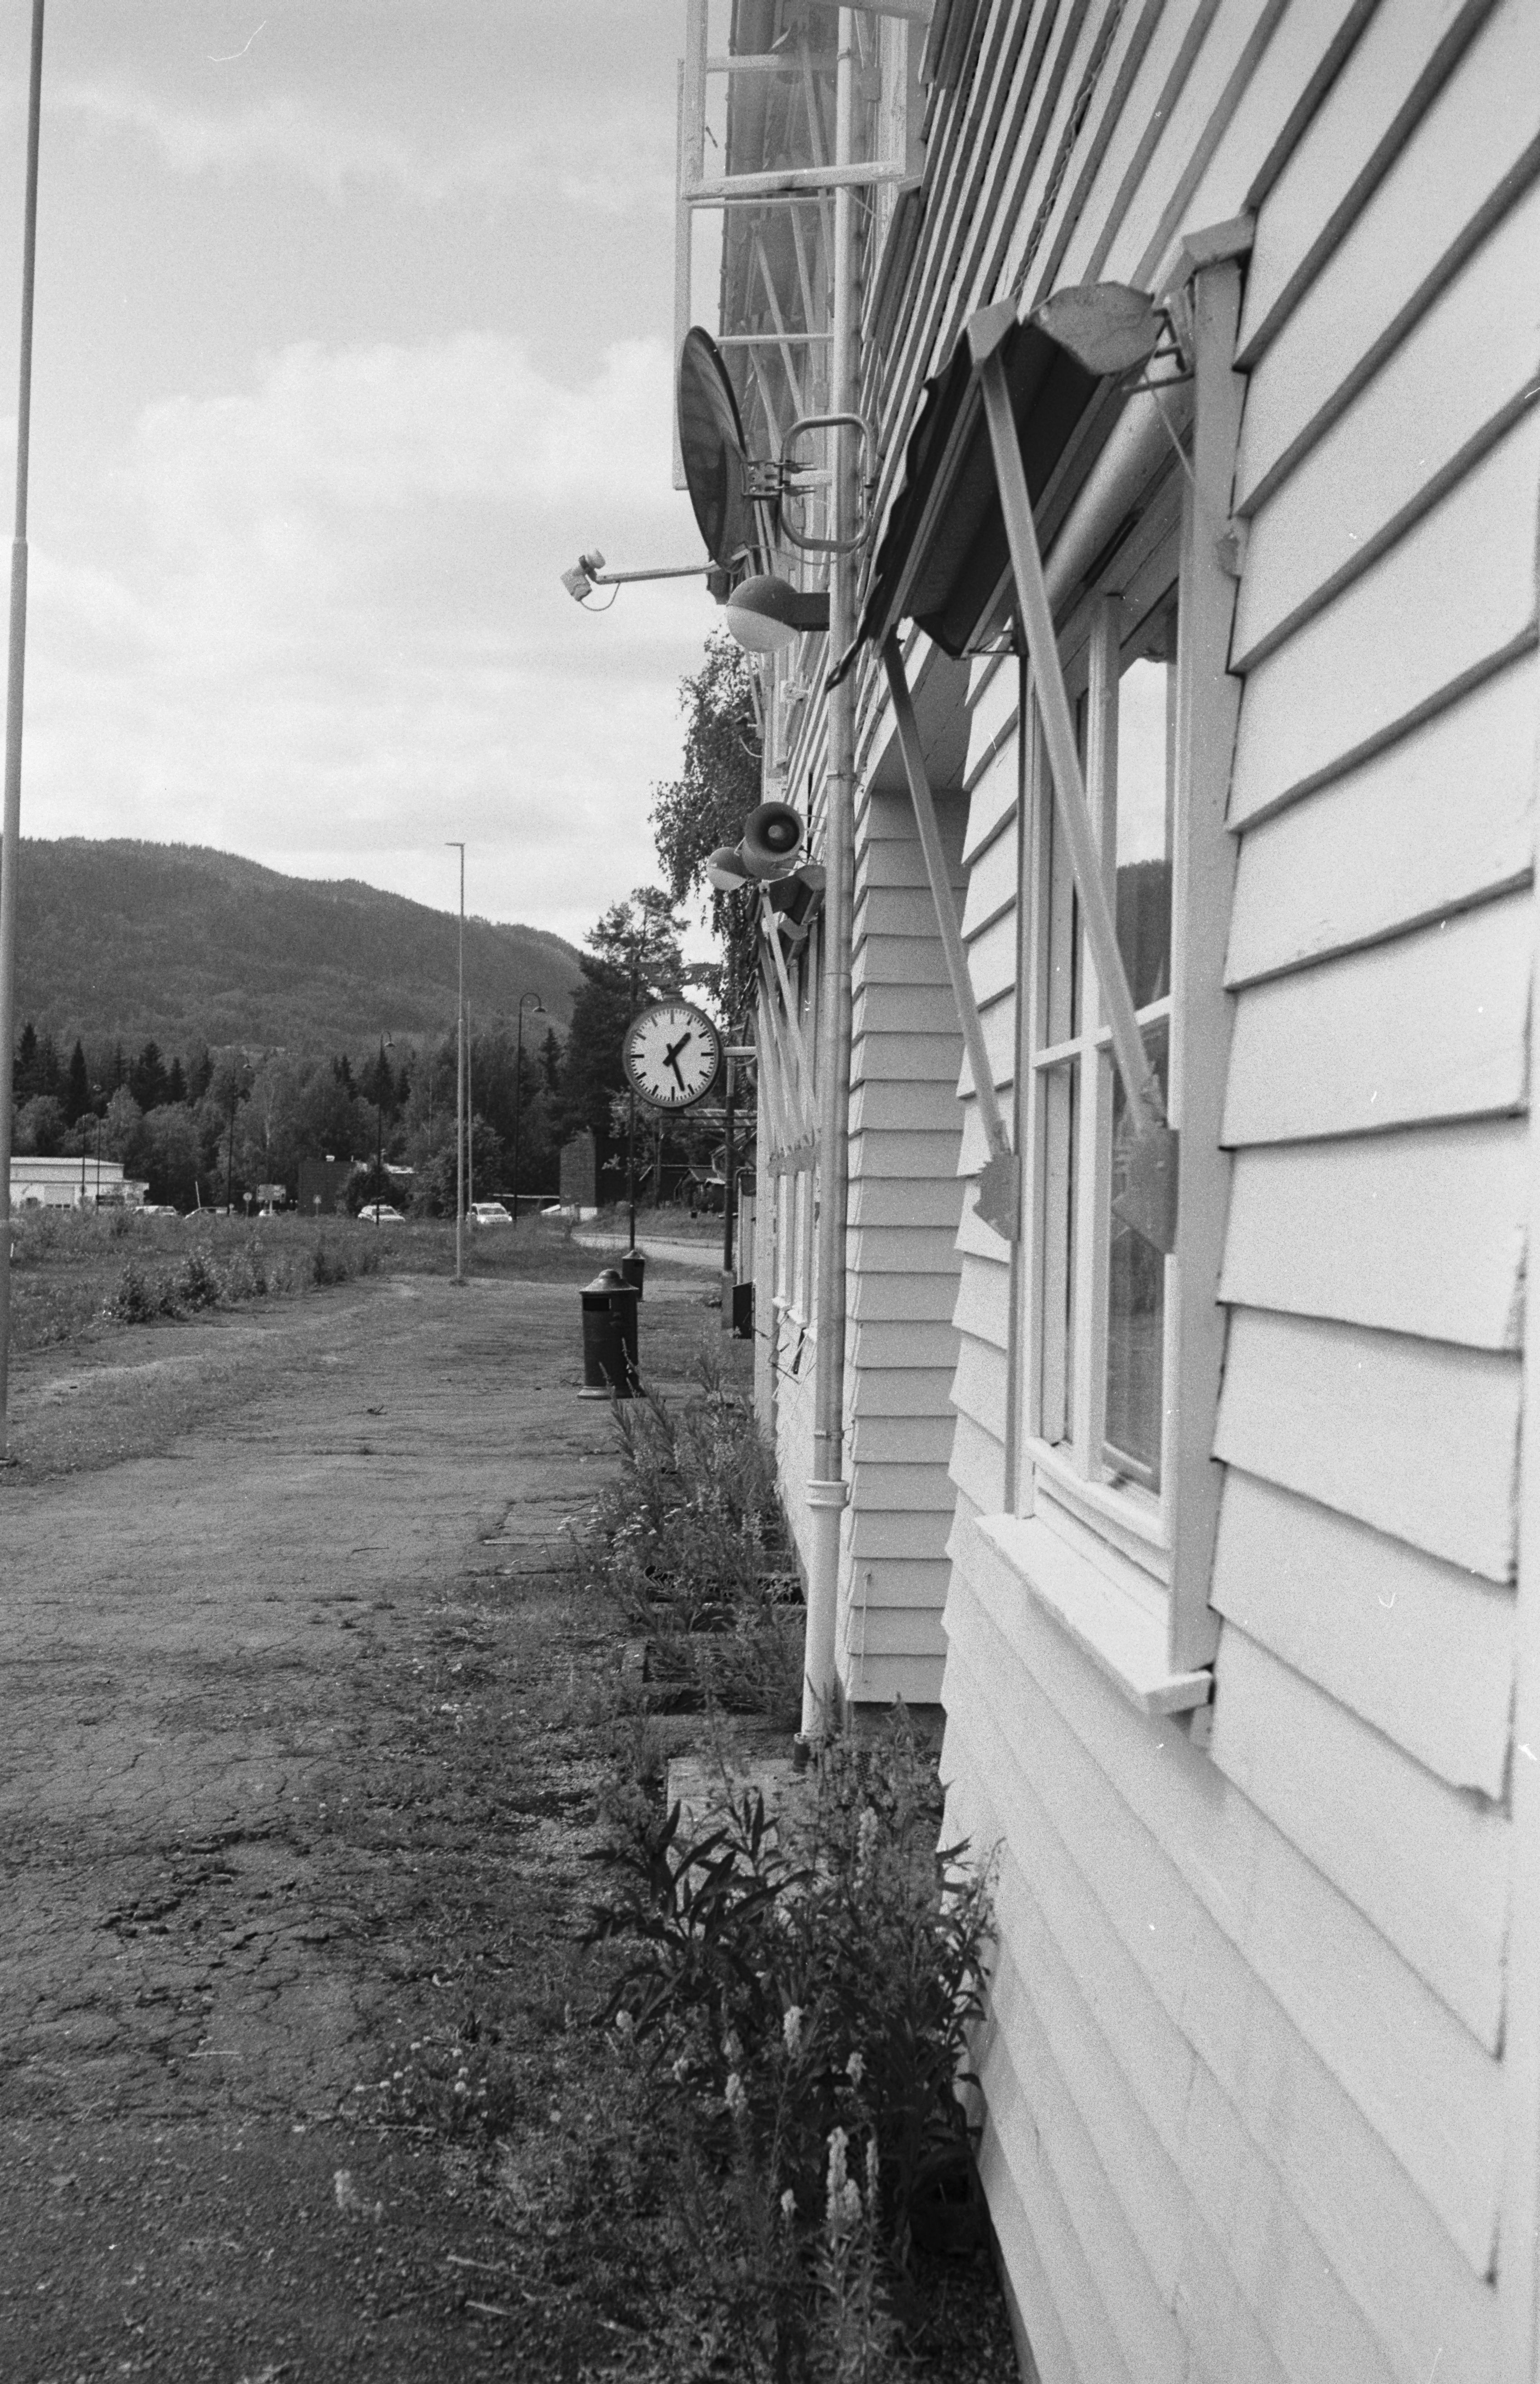
The location for my assignment was at a defunct railway station now used for rail bikes. I arrived a bit early to enjoy the sunshine and, hopefully, make some great images. I was not the only living creature enjoying the sunshine this lovely day. I also met some very social and eager horseflies and mosquitoes. A part of the Norwegian summer.
A little tip for shooting in Norway where light isn’t that bright; think «Sunny 11» not «sunny 16». The lighting conditions in Norway are not as bright as further south in Europe.
Maybe not in mint condition, but for sure a great model. And after all, the BMW still is on its wheels.
Since the Voigtländer is not a rangefinder or markfinder, the focus is based on guessing distance. Not too difficult for street photography and the lens is really interesting. Looking through the pictures after scanning, I can see that I should have used the sun shader following the lens.
I developed in Xtol 1:1 for 8 minutes 20 sec in 21 degrees chemistry. Then rinse and stop in water, and seven minutes fixer.
New for this development cycle was that I used a new termometer, as my last one died an Xtol death from falling into the tank of stock. RIP.
A few days ago I got hold of an old Voigtländer Vito B in «unknown condition». I know from before that Voigtländers are relatively sound cameras, and took it for a test drive with a Kentmere 100 onboard.
The Voigländer used in this test.
The small viewfinder tells me that this is a camera from the earlier production years, between 1954 and 1957. The fucis is done buy measuring the distance manually and setting it manually to the camera. No rangefinder or markfinder.
It’s always fun to play around with an old camera like this, and I must say that despite it’s reputation for being «immensly grainy» I am very happy with the results the Kentmere 100 provides. My guess is that photographers complaining about the grain are either after a smooth as gold PAN-F like smoothness, or just overexposes the film and gets grain in the scanning process.
As previously with the Kentmere, I chose to develop in Xtol 1:2 and used 10 minutes in 24 degrees chemistry. The negatives came out fairly evenly exposed and I am happy with the results.

















 Cheap Camera Adventures